Here’s how to get the free DAZ Bridge running with Photoshop, and streamline a chunk of the workflow with my additional automated script.
1. Download the Bridge.
BRIDGE: Most people will want the 64-bit installer current at DS4_3DBridge_1.13.0.17_Win64.exe and this is working with the latest DAZ Studio 4.20.x. DAZ Studio lacks Poser’s ability to render to a multi-layered Photoshop .PSD, so this is the only official way to get renders over to a layered Photoshop file.
PHOTOSHOP: In this 64-bit case you need a 64-bit Photoshop that also supports 3D. Adobe recently pulled all 3D support from Photoshop, for rather murky reasons. Technically that should not matter, as all we’re doing here is bringing in a 2D render via a Bridge. But you may still want to revert to an older 3D version of Photoshop. The following tutorial assumes Photoshop 2018 on Windows.
2. Install the DAZ bridge. In the installer, you specify the plugins directory for the version of Photoshop you want to target. In this case…
C:\Program Files\Adobe\Adobe Photoshop CC 2018\Plug-ins
3. Once installed, go look in your regular Photoshop’s ..\Plug-ins directory and you should see a new ..\DAZ 3D folder there, and inside that a psdzbridge.8li file. Success.
4. Now load Photoshop. Open the backdrop image (aka ‘background’, aka ‘backplate’) you want as the base layer for your picture, above which your 3D DAZ renders will appear as adjustable layers. Ideally this backdrop is not at some huge size, but rather more like 1800-2400px wide. Then you run the Bridge script thus…

6. The Bridge’s mini UI panel will then appear in Photoshop. DAZ Studio will also be auto-launched at the same time, if it wasn’t already running. Give it time to load. In DAZ you will see you now have a special camera which is being used to get and pass the renders, and you will automatically be looking through that camera.
7. In DAZ, the Backdrop now needs to match the same one you have open in Photoshop. I wrote a script that automatically takes care of all the fiddly steps involved in this: it first invites the user to select and load the same backdrop they’ve already loaded in Photoshop. Ignore other manual switches, as the script will take care of them. This is how you load a backdrop image…

Then, once you’ve done that, the script continues. It auto-sets the Viewport ratio to the new backdrop, then also matches the current render size to it in pixels, and finally it turns off visibility of the backdrop in renders. The script also sets the iRay Max Time (i.e. maximum render time) to 30 seconds.
* Script (save as Photoshop_Bridge_helper_script_for DAZ_Studio.txt and then rename to .dsa).
(I have a tutorial here on how to pin a script to your DAZ UI’s ‘Scripts’ menu).
8. Both DAZ and Photoshop should now have the same auto-magically matched backdrops. Set up your prop or figure in DAZ, via the special Bridge camera, so as to match the backdrop in terms of position and lighting.
For 64-bit users to get a cutout render on transparency, you need to first click “Preview Image”. This doesn’t Preview in 64-bit (see below for details) but does set up “Render to New Layer” to render onto transparency. 32-bit users with CS6 need no such workaround.

In Photoshop and via the Bridge’s mini UI, you then “Render to New Layer”. The resulting render will perfectly match the backdrop in Photoshop, and will also be a cutout on transparency.
And the DAZ render time is now reasonable, taking 30 seconds to get into Photoshop. The seconds can be adjusted at the foot of my script. Adjust the time to as long as you can bear…
// Max Time in seconds
oProperty.setValue(30)
oProperty.getValue()
Yes, sadly 64-bit users have to do a proper full render in DAZ before it’s brought into Photoshop. Because the Bridge’s “Preview” button no longer works in 64-bit. What “Preview” was supposed to do was… “create an image or layer in Photoshop using the current DAZ Studio viewport image.” But for most this no longer works. Bridge now only works fully if you can use this method which involves having CS6 32-bit on a 64-bit system.
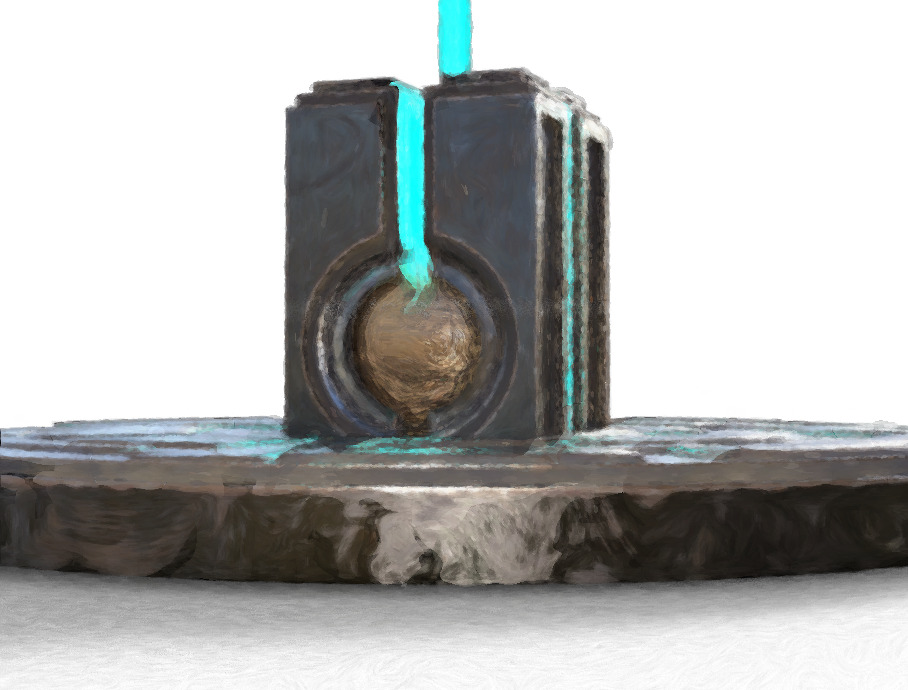
Thus for most people the best way to get an iRay render into Photoshop with any speed is to manually cap the render time to just 30 seconds, which my script does for you. At my default of 30 seconds the iRay render’s result is grainy, yes… but that doesn’t matter for me. The aim in Photoshop is “painterly via a filter”. The grain thus gets smushed away by the filter, and the painterly effect is perhaps even helped along a bit by the grain….

Alternatively you could try setting your DAZ engine to use a superfast custom iRay preset you have working with a ninja $1,000 graphics-card, or manually set the near real-time render-engine of OpenGL, after my script has run.
The advantages of rendering to layers over a matched background are various. Layers can be filtered differently or faded out for a ‘depth fog’ effect. Cutout edges can be stroked. Layers can be moved or deleted without having to go back into a big 3D scene. Very large complex pictures can be built, potentially with many elements, without burning out your PC trying to render some DAZ mega-scene all in one go.
That’s it. Enjoy, as the DAZ Photoshop Bridge could have cost you $200 back-in-the-day!