Poser 14 is reviewed in the latest edition of the venerable Imagine FX magazine (June 2026). A good one-page review, though with low-effort real-time viewport screenshots from the reviewer.
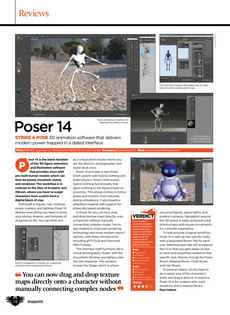
“Poser 14 is for creators who want simplicity and a massive library. […] Affordable base software cost […] The interface may be a little dated, but it’s clear and not overly complicated to use. […] offers a streamlined, budget-friendly alternative to professional suites, making it an excellent choice for those who need to pose and render pre-built assets quickly for their digital storytelling.”
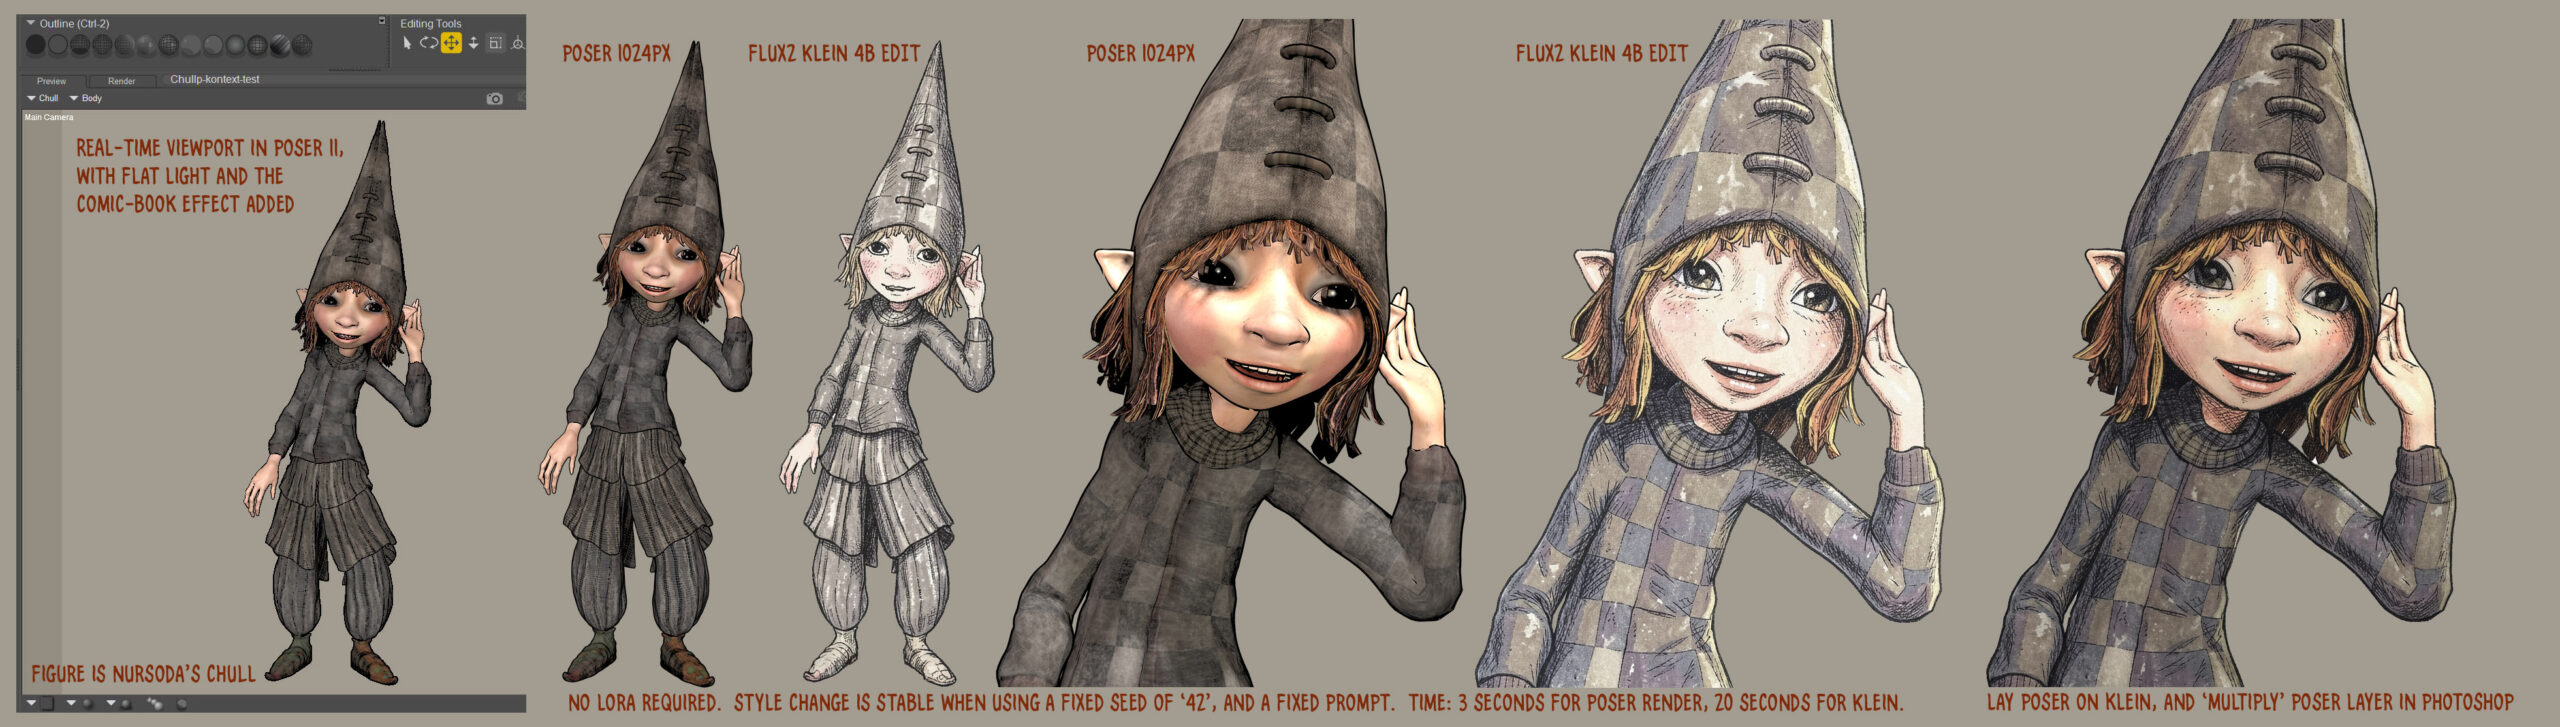
Sadly, considering it’s their ‘comic-book creation’ special-issue, there’s no mention of Poser’s unique real-time comic-book rendering.