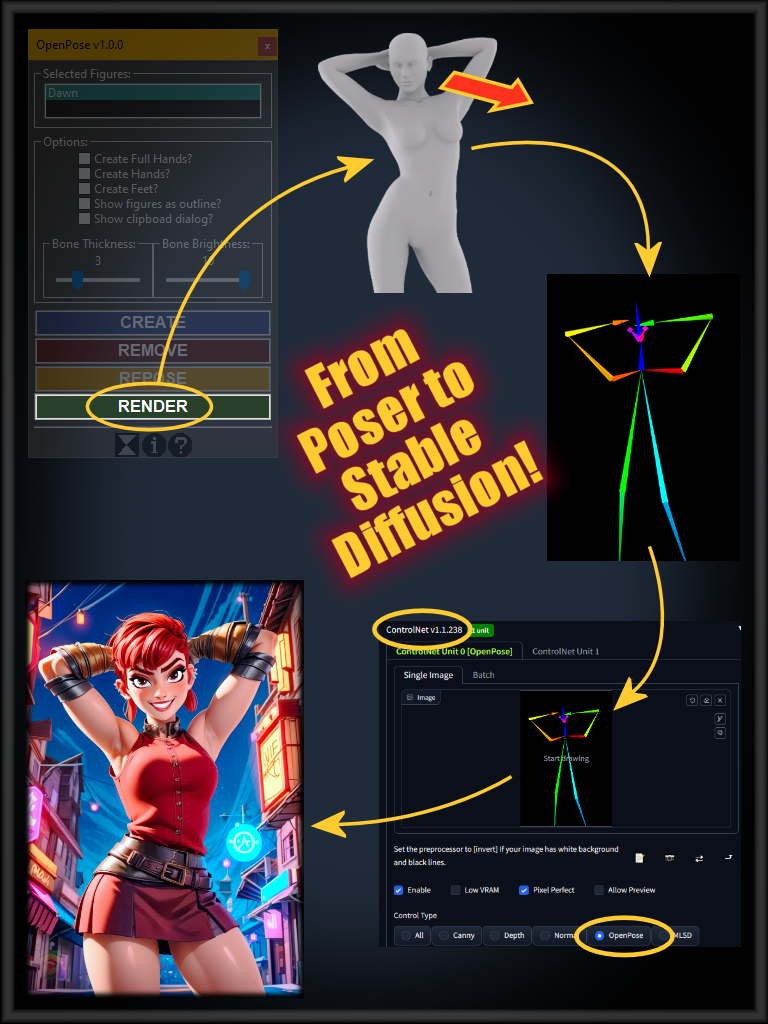
Free and easy, G8F to Openpose, for Stable Diffusion UIs with ControlNet. Available now.
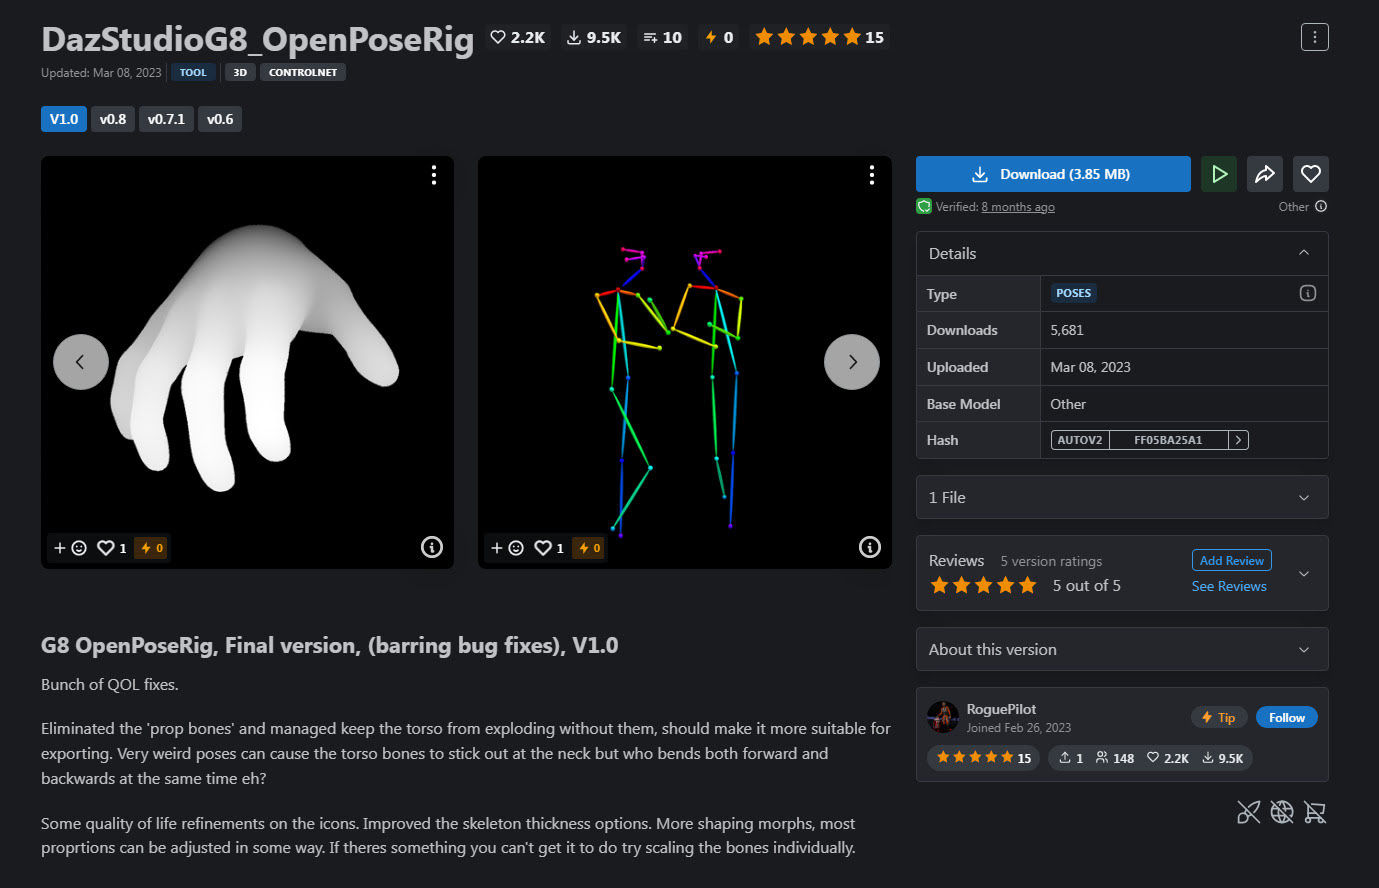
1. Get the free Daz Studio G8_OpenPoseRig V1.0. The end result is intended for Stable Diffusion’s ControlNet / Posenet module, which accepts images of poses in the Openpose format.
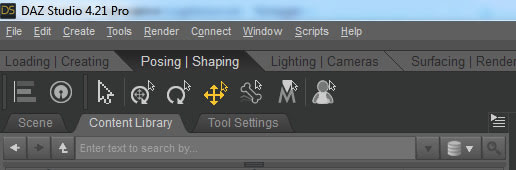
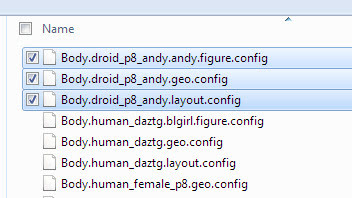
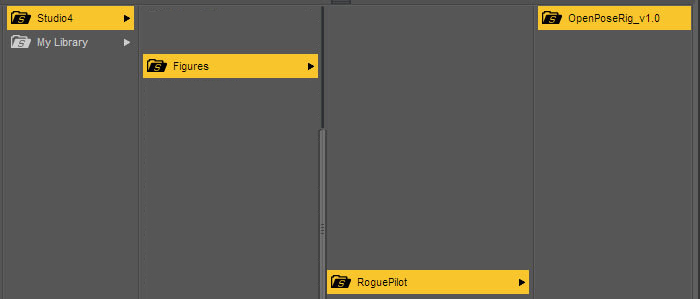
2. Once unzipped and manually merge-installed to the DAZ top-level content folder, open DAZ Studio and find G8_OpenPoseRig in the Library. It’s not under People | G8 Female. Instead it’s under Figures | Rogue Pilot | Open Pose Rig. Great if you know that, but almost un-findable if you don’t.
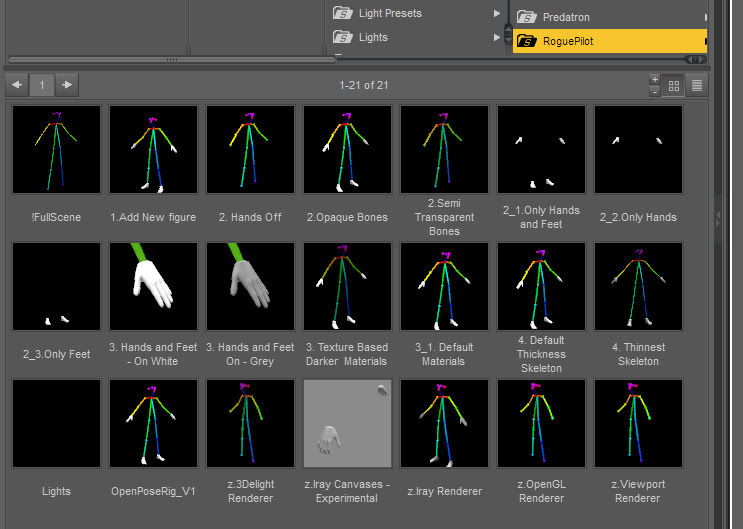
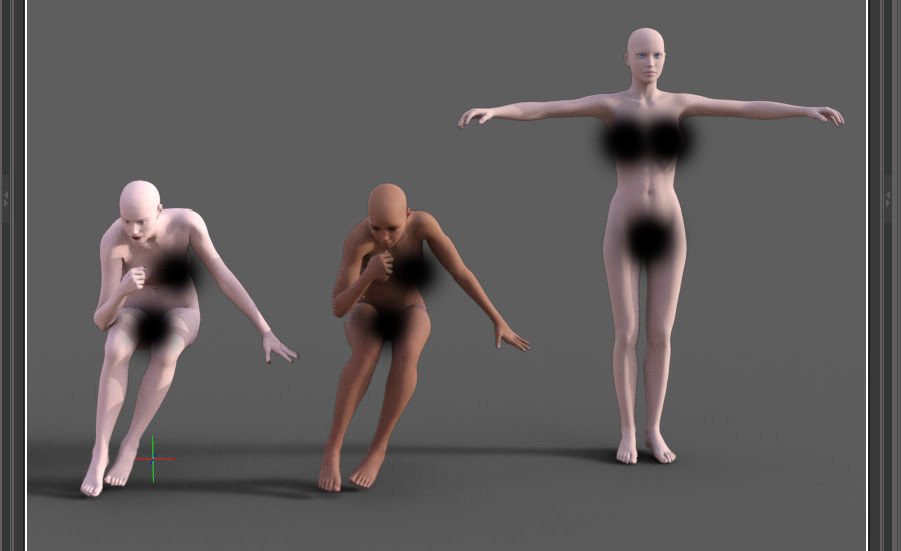
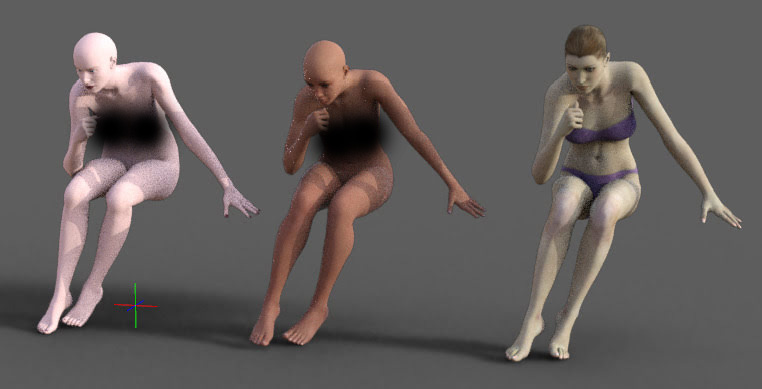
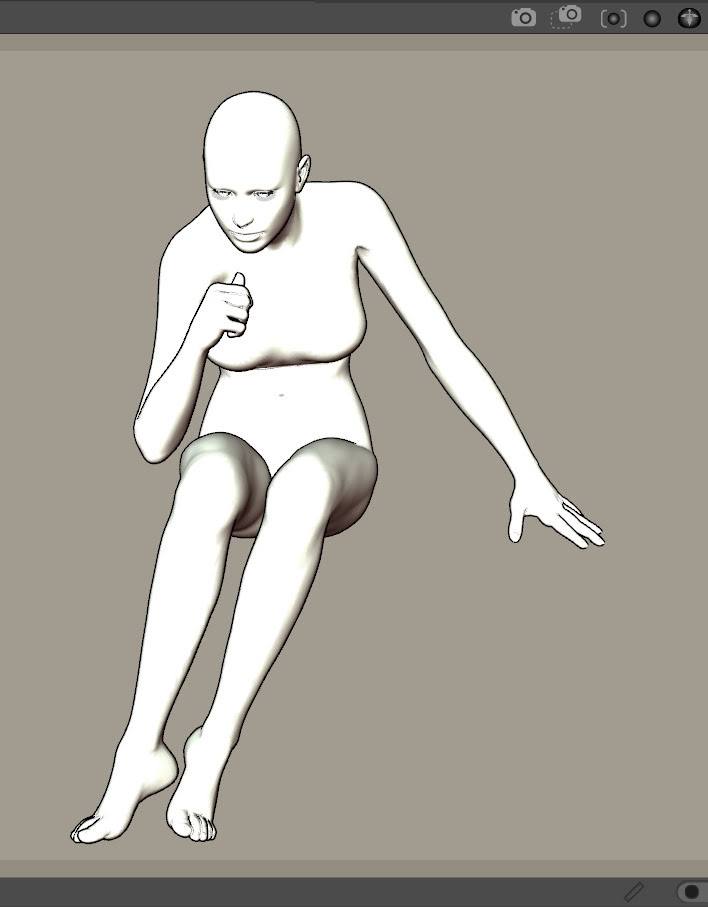
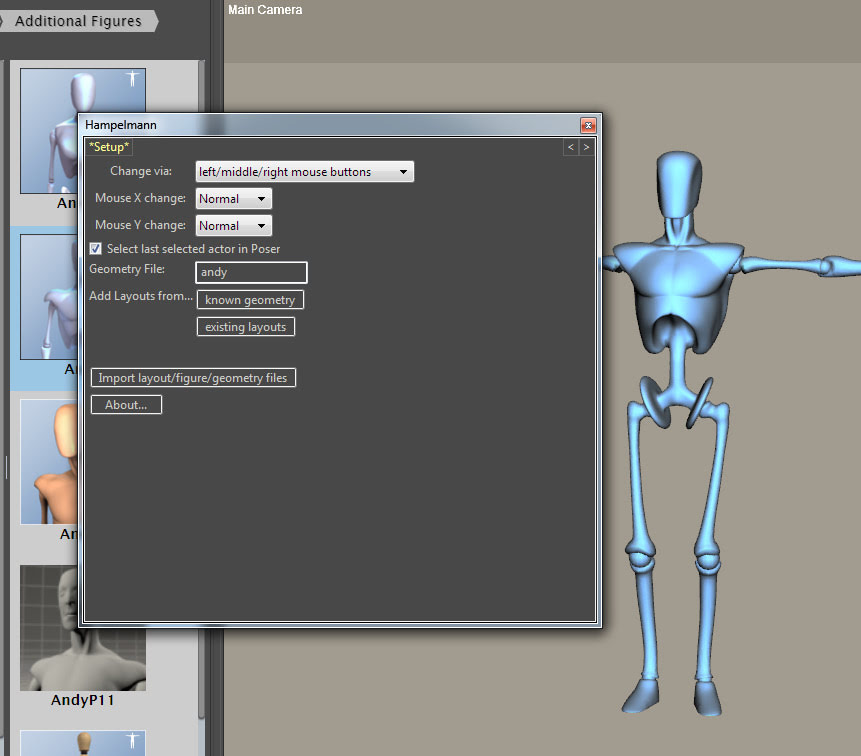
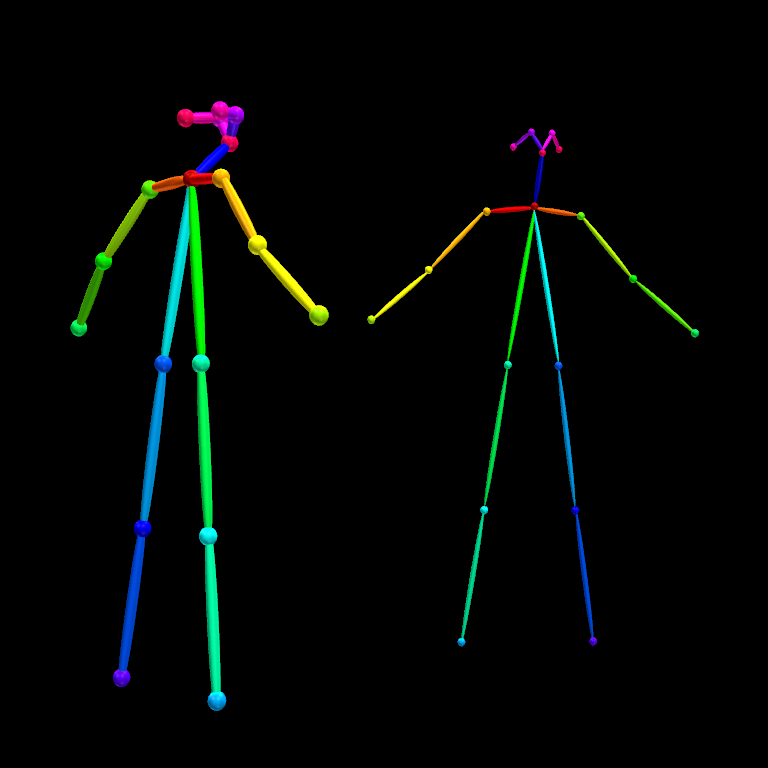
3. Load the G8F via !FullScene and switch the DAZ Studio viewport’s real-time rendering to Smooth Shaded. Apply a pose. Add another figure, if you want a two-person picture from SD. Tweak the bone positions in Posing / Shaping, if required. You can also load a proper G8F alongside, to see the pose on a more human figure.
Ideally you’ll then render this special Openpose skeleton at the standard SD image-generation size of either 512px, 768px (for SD 1.5) or 1024px (for SDXL), output to a .PNG file. It doesn’t matter if figures are highlight-selected or if viewport widgets are visible. The viewport clutter won’t be in the render.
(Yes, they look like .BVH stick-figures, but are not. So far as I can tell the only way to convert .BVH to Openpose is by dropping the .BVH onto this special G8F and then rendering a frame).
4. That’s it. Drag and drop the .PNG render into your ControlNet’s input window. Your subsequent Stable Diffusion image generation will then, assuming you have a suitable workflow and a pose-aligned prompt, ‘more or less’ conform to the figure poses in your Openpose guide-image. It’s not going to be exact, the Openpose being more of a guideline for SD. (If you want ‘exact’ you instead need Bondware Poser 12 or 13, and drop a Firefly lineart render into a Canny Controlnet, then use a low CFG with Img2Img using a full render).
Expressions are instead controlled with a prompt, and perhaps guided by the addition of a LORA. SD is weak at generating several things, and subtle controllable expressions is one of them.
Note the comment on the G8_OpenPoseRig page asking for this freebie to be updated for ControlNet 1.1, which he says can handle finger-bones and thus hands. This freebie doesn’t support these 1.1 style hands, and it hasn’t yet been updated for them. Thus… for 1.1+ hands support you would instead need Poser 12 or 13 with Ken’s paid OpenPose for Poser 12 plugin script.
Note that Ken’s scripts are encrypted and thus require Windows 10 or higher. Note also that Poser 12 can currently be had for $29.
Free scripts and workflows to convert older poses to G8F:
Many old poses in .PZ2 Poser format can just be drag-dropped to a G8, and may be ‘good enough’. But if you need more precise conversion, try…
V3/A3 Pose Transfer to G8F (Victoria 3, Aiko 3). Also try these scripts.
V4/A4 Pose Transfer to G8F (Victoria 4, Aiko 4).
G1F Pose Transfer to G8F (Genesis 1)
G2F Pose Transfer to G8F (Genesis 2).
G3F to G8F Pose Adjust Scripts.
You might also look at the DAZ Pose Converter (Standalone), also free. Half the many commenters just can’t get it to work, the other half think it’s ‘the best thing since sliced bread’. Apparently it can do batch conversion, if you can get it to work. I couldn’t.