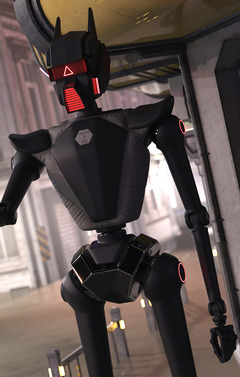
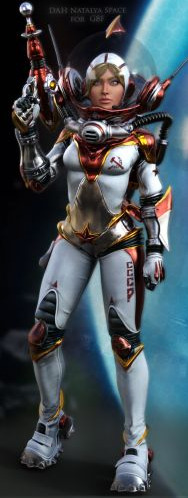
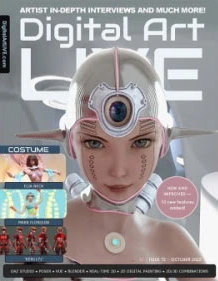
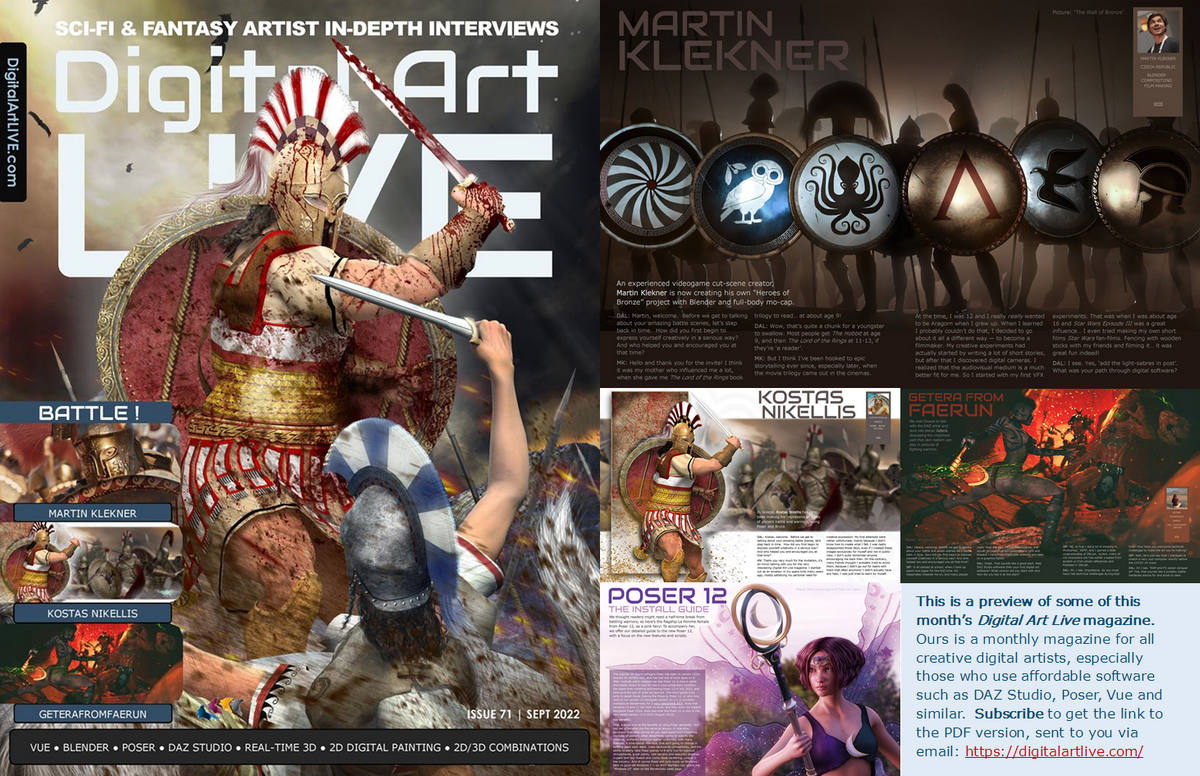
Now available, free on Gumroad, the “Battle” issue of Digital Art Live magazine. Also has a 12-page centre section on the Poser 12 software, to give some light relief in the middle. And a two-page technical primer on Poser-to-Vue.
Category Archives: Poser
Poser 12 has updated
Poser 12 has updated. Now at version 12.0.1029 in Windows. The Mac version stays as it was before, for now. The forthcoming Digital Art Live magazine #71 (Sept 2022) has a detailed install guide and guide to what Poser 12 has that Poser 11 doesn’t.
What’s New in July/August 2022
Time for another survey-pick of what’s new in content for Poser and DAZ, since it’s been a month now since the last one. I’m looking here at the tail end of July and most of August. As usual, freebies are listed only if “commercial use”, and there’s no “HD” stuff. Fan-art is listed only if obvious, such that you would not think to try to use it in a paid comic etc.
Science-fiction:
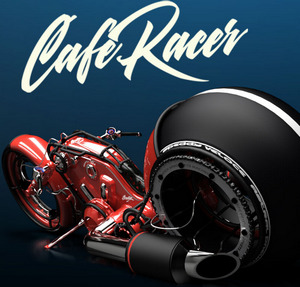
Colony Motorbike with both Firefly and Superfly materials.
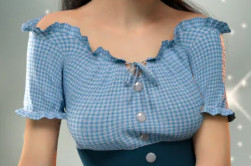
A usefully generic Worksuit for G8F. Could probably be made silvery for a more futuristic feel, and could then serve as a rider suit for the Colony Motorbike.
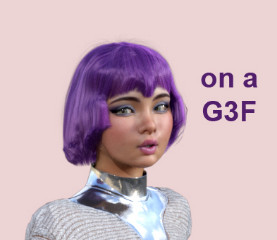
Moonbase Wig for G8F. Jerry Anderson’s UFO TV-series fan-art, but obviously so. Also a MoonBase Uniform DS Texturing guide.
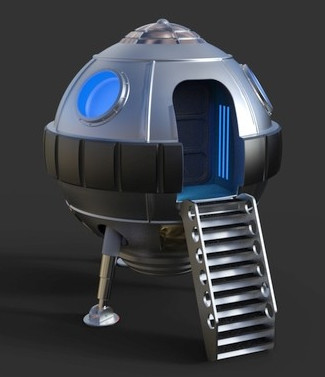
A cute little free retro Spaceship Landing Craft.
The inhabitant is probably Shooting Star. I assume this isn’t direct-copy J-pop / idol fan-art, but I guess it might be close.
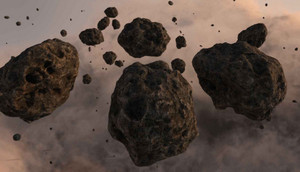
Photo Props: Asteroid World. Hi-res, quality texture and modelling.
Wastewater Area. A nicely done ‘vignette’ area. Looks useful, in combination with similar DAZ settings.
Jail Talks. A grim high-security prison visitor centre. Could probably be given a more clinical white makeover, for a sort of ‘future madhouse’. See also the generic new XI Modular Futuristic Prison.
Taisha for Genesis 8, possibly of interest to classic Spock/Kirk-era Star Trek fans, as a base for re-creating the character of Communications Officer Uhura, for fan-art purposes.
Fantasy:
Blood Omen for Genesis 8. Note that this is “a small creature-feature material pack” with four materials, not the impressive figure on the main promo. Still, these kind of unusual MATs are always useful.
Medieval Wagon Train, with implausibly large mega-wagon which puts it in the fantasy category. Probably hauled by dragons or trolls.
Amun-Raw Mummy for Genesis 8. An Ancient Egyptian ‘Living Mummy’.
Storybook:
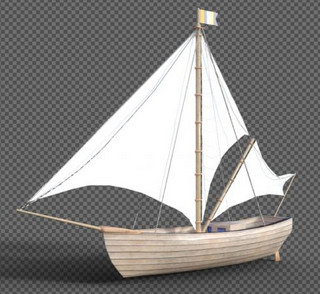
Schip, looks very suitable as a storybook boat for a group of children and/or animals.
Simple dForce Summer Pajamas set.
A free G8 piggy-back paired pose set, which might be adapted for adult/child.
A cute Star Armchair for DAZ Studio.
Songbird Remix Finches of the Caribbean Add-on. A little free pirate hat for the new Finches of the Caribbean Songbird pack.
Toon:
Toon aircraft in .OBJ.
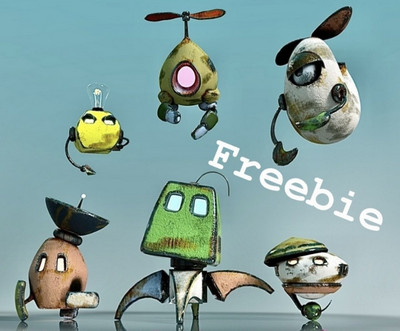
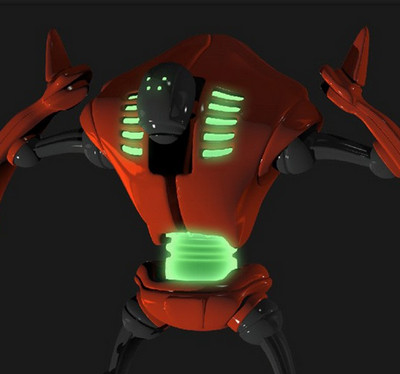
Cute flying Robot and Friends for DAZ.
Characters, poses, hair, expressions:
25 Expressions for Nursoda’s Eepo.
20 Expressions for Nursoda’s Doctor Pitterbill. Both Eepo and Pitterbill have custom face-rigs, so they can’t just take standard V4 type expressions.
Stylish Hair Mega Bundle. An appealing if expensive set, though what we really need are “looks nice + renders really fast” sets. But is it even possible to make nice hair that renders really quickly, unless it’s a displacement-mapped skullcap or has heavily been run through Scene Optimizer?
More free RAV Fredda Soft Fashion Poses Fredda. May require the paid Fredda, newly released in a new version.
Another catwalk animation set for G8F, this time with bobble… “add an animation of a female chest and change its intensity”.
A usefully generic newsreader-type dForce male suit.
Full urban hipster beard and hair. Possibly also useful for steampunk airship captains, ancient gods etc.
Animals:
Kitten For Cat Zeus. Cat Zeus is now only at Render Hub, along with the kitties.
More DAZ Dog 8 Animated Motions.
Landscapes, scenes:
dForce Dutch Milkmaid Outfit for G8F. This seems to belong more in “scenes”, as it’s a vital part of this sort of ‘old master’ painting of interiors. Purchasers of this may also want the new Studio Portrait Lighting Essentials for iRay tutorial set.
PW Mandrakia Island, a complete Greek Islands tourist resort. Really, it looks like everything’s here.
Vegetable Plot and Garden Flowers – Canterbury Bells for Daz Studio.
The Mount Olympus for DAZ Studio.
Sand and Beach Pebble iRay Shaders. Fine sea-grit and ocean-washed pebbles.
History:
Ancient battles MDBD Blood ‘n Dirt Bundle for DAZ. As geoshells, though.
Ancient Roman Simple Plebeian Domus. Generic Roman house, which might build out into a small district.
Ancient type dForce Angel Outfits. Possibly not all that authentic, but this looks like a good starting point for runtime-bashing. Great wings.
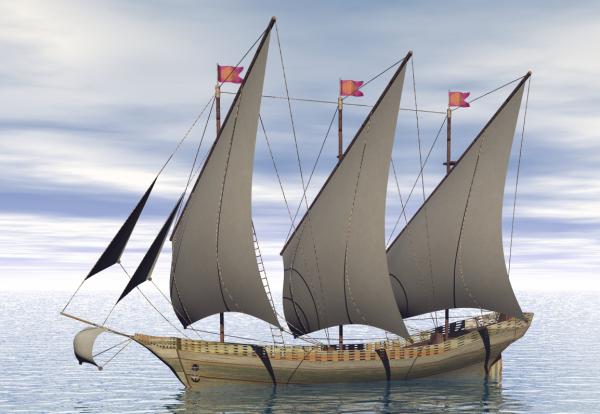
On ShareCG, a new flotilla of excellent sailing boats as .OBJ freebies. Boat06 is especially nice.
dForce U.S. Cavalry Outfit. See also Stonemason’s new Outlaw Alley Wild West town.
Agent civil 1940. Low-poly, accepts Poser M3 presets including face morphs. Good for Lovecraftian ‘Cthulhu Mythos’ type scenes.
Classic Second World War American Tank and Texture Pack.
1940/50s British Leyland Hippo Flatbed Truck and military version. For Poser.
1940s and 50s Vintage Vending Machines.
1950s American Diner Waitress outfit for G8F. A more modest and ‘home on the range’ top is in the new dForce MK Strapless Tight Dress pack.
Free, retro early 1960s Strand hair 2 and 3 for Genesis Females. Which may suit the waitress outfit.
Free 1930s-70s Hooded Nib Fountain Pens.
Later in time, and also free from the same maker are Disposable Ballpoint Pens.
1960s dForce Hippy Ponchos for G8F. Also new Hippie Dance Poses.
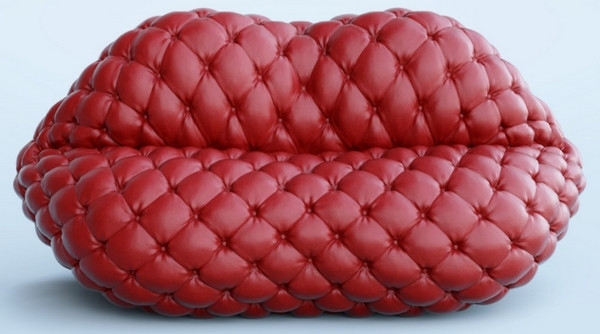
A free 1970s style Tufted Lip Sofa.
1970s Table Football.
Shaders, materials:
Universal Glow for Poser 11 and Poser 12, with light ‘spillover’. With Photoshop Action and full PDF manual.
A set of iRay Frosted Glass shaders.
Sand and Beach Pebble iRay Shaders.
Scripts and Add-ons:
Python script to disconnect all bump maps, for Poser 12. Also comes with matching render preset. The idea is to quickly get clean grunge-free line-art (only) from a Firefly render. May also be useful for Poser-to-Vue, since bump-mapping may not even be visible in a very big scene.
Bone Minion for Genesis 3 Poses Bundle. Apparently an on-the-fly pose converter. Try to load a non-G3 pose to a G3, and the script steps in and auto-converts it. Untested, but I assume it works.
SimDataSaver for Poser 12, specifically for Dynamic Cloth. “Always wanted to be able to save the Dynamic Controls Data as a Simulation pre-set? Now you can.” Sounds handy, if you use that Room in Poser.
Light shadow-blurring script for Poser. One-click to add soft ray-traced shadows to all your scene lights.
mcjHelpMeAssembleThisMachine, now in version 2, released 2021. Helps you “precisely position an object onto another object” in DAZ. Also updated, the related mcjLinks.
MCJ’s Neural Nets. Apparently with this you can train DAZ figures to auto-animate, using an AI. Now with a new Mac version. Updated a while ago, but I’ve only just noticed it.
fSpy Project Importer. Seems to be a way to import a Blender scene and also have your cameras match up in DAZ? Nice to see people wanting to go from Blender to DAZ, rather than the reverse.
A script to automatically create a DAZ ToolBar from a directory/folder of scripts.
Tutorials and magazines:
Free, Digital Art Live magazine #70 (August 2022).
Brian Haberlin’s Hellcop comic, made with Poser. About to conclude its second story-arc.
Studio Portrait Lighting Essentials for iRay as a tutorial webinar.
Poser to Vue, a quickstart guide. A more detailed guide will be in the next Digital Art Live magazine, along with a look at Poser 12.
Add an overlay on any existing texture in Poser.
Add tattoos and overlays on characters in Poser (may be out-of-date in parts).
Some practical tutorials for Poser figure rigging (may be very out-of-date in parts).
That’s it for now. More toward the end of September. As usual, if you like what I do here, please consider becoming my Patron on Patreon.
Scene shadow blurring scripts for Poser
One-click to improve your scene render in Poser! Poser Python scripts to instantly switch your scene lights to use softer ray-traced shadows, or to switch back again to the default Depth-map shadows. Working in Poser 11 and 12. In just one click, they save you having to fiddle around with each of the lights to turn on softer shadows across a scene.
Note that you can also soften shadow intensity manually, with the dial found on Light / Parameters / Shadow.
In both scripts the shadows are softened from the defaults (defaults = 0.0 for Ray-traced, 2.0 for Depth-map). Here the softening is increased to 6, but you may want to go to 12 or so. The free PASS Poser watercolor shaders on ArtStation Marketplace work best with even higher shadow blurring.
Change the script’s “(6)” to the shadows softness setting you want. If you want a full reset script, just set the “(6)” on the second script to the default (2) setting.
Set Ray-traced Shadows:
|
1 2 3 4 5 6 7 8 9 10 11 12 13 14 15 16 17 18 19 20 21 22 23 24 25 26 27 28 |
# SWITCH TO SOFT RAY-TRACED SHADOWS FOR YOUR POSER SCENE # A small script to have all lights in a Poser scene move from using Depth Map Shadows # over to Ray-traced Shadows (with SOFT shadows set at 6.0). All scene lights are # assumed to be on and casting a shadow of some sort. Script is tested and working in # Poser 11 and Poser 12. # # Also boost sample size when rendering, for less grainy shadows. # You can also soften shadow _intensity_ with the dial on Light / Parameters / Shadow. import poser # Tell Poser we expect a scene to be loaded. scene = poser.Scene() # Get a list of lights in the Poser scene. lights = scene.Lights() #Run the script on all lights in the scene. for light in lights: # For some reason this old line needs to be above SetRayTraceShadows - or the switch over won't work. light.ParameterByCode(poser.kParmCodeDEPTHMAPSTRENGTH).SetValue(1.0) # Ok, now we can set the Light to cast Ray-traced shadows. light.SetRayTraceShadows(1) # Now we can set the amount of softness for the Ray-traced Light's shadows. # Note that here we do not use SetShadowBlurRadius() but rather SetShadowRaytraceSoftness() light.SetShadowRaytraceSoftness(6) scene.DrawAll() |
Set Depth-map Shadows:
|
1 2 3 4 5 6 7 8 9 10 11 12 13 14 15 16 17 18 19 20 21 22 23 24 25 26 27 28 |
# SWITCH TO SOFT DEPTH-MAP SHADOWS FOR YOUR POSER SCENE # A small script to have all lights in a Poser scene move from using Ray-traced Shadows # to using Depth Map Shadows (with shadow softness at 6.0, from normal 2.0). All scene lights # are assumed to be on and casting a shadow of some sort. Script is tested and working in # Poser 11 and Poser 12. Also boost sample size when rendering, for less grainy shadows. # # Also boost sample size when rendering, for less grainy shadows. # You can also soften shadow _intensity_ with the dial on Light / Parameters / Shadow. import poser # Tell Poser we expect a scene to be loaded. scene = poser.Scene() # Get a list of lights in the Poser scene. lights = scene.Lights() #Run the script on all lights in the scene. for light in lights: # For some reason this old line needs to be above SetRayTraceShadows - or the switch over won't work. light.ParameterByCode(poser.kParmCodeDEPTHMAPSTRENGTH).SetValue(1.0) # Ok, now we can turn off Ray-traced shadows, if they are on. light.SetRayTraceShadows(0) # Now we can set the amount of softness for the depth-map shadows. # Note that here we use SetShadowBlurRadius() rather than the ray-traced SetShadowRaytraceSoftness() light.SetShadowBlurRadius(6) scene.DrawAll() |
Especially useful for soft indoor “old masters” type portraits, not so useful for hard-edged sun-baked beach scenes.
Rivetted…
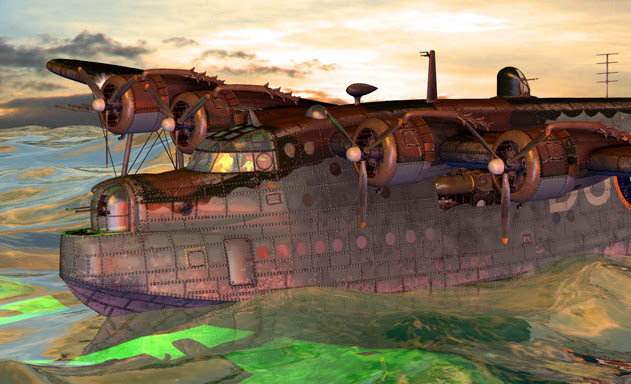
It’s not wise to judge Cybertenko’s items wholly by their store previews. His Short Sunderland British Empire flying-boat for Poser, for instance.
What you think you’re getting (store preview picture)…
What you get…
Here seen in Vue. And as you can see, the off-puttingly prominent bumpy rivets on the previews are not so much of a problem on whole-plane renders. Although they are perhaps a bit too prominent on the front base (the ‘planeing step’) and I could have cleaned them off there in Photoshop.
Vue’s magic “w”
Problem: In E-on’s Vue, the Camera Zoom / Pan controls and Nudge are way too sensitive for Poser scene imports to Vue. The settings there appear to be intended for vast three-mile wide scenes, where exact artistic framing of the picture is not so important.
Former solution: Pressing down Crtl while moving the camera used to work to damp down the camera, but now no longer does. The old manual had: “You can slow down the camera controls by holding down the Ctrl key as you move (this can be customized using the Operations tab of the Options panel).” This was good for Vue 11, Vue 2016, and still is if you have them. Not for the latest version(s).
New solution: The answer is “w” for the new versions of Vue. It is the new keyboard modifier for slowing or ‘damping’ the camera. Who knew? Not E-on’s Learning Center, certainly. No results for a search there for ‘Camera Controls’ and similar.
Customised as before with: Top menu | open Options panel | switch to Operations tab | scroll down the long list to find ‘Trigger Modifiers’.
There doesn’t seem much to be done about Nudge, though I guess a Python script could “move currently selected item down by X units” in a far smaller increment. I expect my nudge to be like Photoshop, one pixel at a time. Not 50 feet at a time.
Vue users could also use a Python script that runs through all possible settings that could have the damnable ‘Lens Flare’ enabled, and turns it off. Ideally permanently. It still takes forever to run at the end of a completed render, if enabled. You may think you’ve turned it off, but always seems to find a way to sneak back in. As Vue renders are now so fast, this is a big drag.
Haberlin’s Hellcop – made with Poser
I only just noticed that Brian Haberlin has a new comic, Hellcop. Same style and wild sci-fi as the earlier Sonata and Lighthouse (collected Nov 2021), and I definitely recognise that Poser monowheel, the steampunk rifle etc. So I’m 99% certain the production is still Poser + his usual studio workflow.
Seems to have debuted October 2021 and then raced through the issues, possibly monthly? Hellcop is already in a trade “Vol. 1” which collects issues #1-5, and I see that issue #9 just came out last week. So I’m guessing the title’s second 5-issue story-arc will be finished by the end of the summer. I’m not used to such a fast pace, and often hand-drawn comics issues are glacial in appearing and you wait ages (sometimes years) for an actual concluded story. But I guess that’s what Poser does for you, speeding up production.
Texture Paint Helper for Poser
I was prompted to take a quick look at Texture Paint Helper 1.3 aka texturepainterhelper. Long marked as “Unavailable” at Renderosity. No videos though there is a helpful short user-guide, and the software itself has a step-by-step workflow built in.
If you want to see if you have it archived somewhere, the DAZ Studio installer was DS3_TexturePaintHelperLoader_1.0.0.0_Win64.exe (possibly DAZ 3 only) and it was ps_ap204b_TexPaintHelper.exe for Poser. Windows only. I find I have a copy of the latter installer. Re-installs and runs fine for me. Works with any Poser figure, is not restricted to a base V4 or just DAZ figures.
It doesn’t appear to be a re-texturer / re-painter as such, but an overlay-builder (think ‘tattoos’, ‘body-paint’) which lets you use regular Photoshop to do the painting of the overlay. There may be better tools now. I guess 3D Coat, and I recall many used Blacksmith3D at one time, and a simple node setup in the Material Room can also work with any Poser version, and don’t overlook that Poser 11 had new Material Room features in that regard. But it’s nice to know that ye olde standalone desktop software dedicated to working with a Poser runtime can still run. It only requires the ../content folder and not access to Poser, so does not require a specific Poser version due to scripting etc. It knows about Poser runtime structures and presents these quickly and well.
Pitterbill in Texture Paint Helper, 2022. A fine use of structured workflow with incorporated buttons for the user.
No drag-and-drop from its loader library, over to the Poser stage. Lack of drag-drop or any keyword-search means it can’t be re-purposed for use as an alternative Library. Still, if someone can access the source code today, there seems no reason those features could not be added.
Poser to Vue
A 10-step Poser to Vue guide in 2022. Yes, it still works.
1. Install Poser 11. If possible, tell its Library about your Poser 12 runtime, if you also have Poser 12.
2. In Poser, make a scene with Poser.
3. Save the scene as a normal .PZ3 Poser scene file.
4. Install Vue (Vue 2016 R5, or latest subscription Vue R6, or both).
5. In the Vue “Options”, find the Poser button and set the path to the Poser 11 .EXE file’s folder. The Poser SDK version will be automatically set.
6. In Vue, New Scene, File, “Import Object…” (NOT “Import entire scene…”). Find and load Poser .PZ3 file.
7. On the import options pop-up: Group figures as single meshes. Render using Poser Shader Tree. Single Frame at “0”. (Research the other import options, as needed).
8. Ignore Vue’s legacy warning notice about your puny under-powered PC — it appears to say the same thing regardless of if your PC is a 1876 steam-driven abacus or a modern workstation with oodles of RAM and many cores. Just say “No” to having Vue over-ride your Poser scene import options with settings that it thinks are best.
9. Vue imports the Poser scene. Should not take too long. There’s a Progress Bar.
10. Frame the Poser scene nicely (Vue does not import Poser cameras), apply a Vue Atmosphere, Vue plants etc. Save file. Render.
There should be no materials tweaking required. Vue knows about Poser textures. The only thing you have to watch out for is spectacular on the lights and the sun in Vue.
Crtl is the camera movement damper key for Vue 11, Vue 2016, and W is the damper for the current versions. With this key pressed down on the keyboard, the camera moves in far small increments, more suitable for artistic framing of a Poser scene that’s smaller than the vast landscapes Vue is mainly used for.
Call: Fantasies Attic
Fantasies Attic has a call for donations of Annual Community Gifts of Poser / DAZ freebies, for release at Halloween and Christmas. Note that pre-release testers are also very welcome.
A basic DSON test for Poser 12
A basic DSON test.
1. Load a Genesis character to Poser 11 with DSON. Save scene file. Open it in Poser 12.
2. Switch figure to Unimesh. Ok, working in Poser 12, with morphs. The seams go away when rendering, as before. The slightly off unisex texture also looks more uniform when rendered.
But… the morphed toon figure seen here has a plain Genesis base ‘ghost’ mesh underneath it. Which cannot be selected or got rid of. This remains fixed when the upper layer is moved. This “body doubling” problem makes the whole thing impracticable, as soon as you start to pose or morph the figure. The problem doesn’t appear to be the result of the file paths. For instance, if you put the DSON conversion from Poser 11’s runtime into Poser 12’s then the same problem occurs.
Thus, if you want to use DSON for Genesis 1 and 2 in Poser for line-art, you need to do so in Poser 11. Or if you only want photoreal, then just use DAZ itself.
DAZ renders as camera-facing billboards in Poser could be another option, for background crowd scenes.
The main option for line-art is .OBJ export of a dressed and posed Genesis from DAZ, for which there’s a semi-automated scripted helper ‘Automatic OBJ’ with mesh decimation. This will work with Poser 12, with very little fiddling around. But you can’t do anything further with the figure in Poser, other than angle the camera at it and get the lines for trace-over or Photoshop filtering.
Poser 12 to Vue test – success
I’ve tested the Vue import of a standard .PZ3 scene saved from Poser 12. Works fine, with a couple of setup caveats.
An older Vue such as mine does not know about Poser 12 and its own dedicated runtime location(s). It only knows about Poser 11 in its Options…
There Vue needs a path set to the Poser 11 .EXE and it also needs to be set to use the Poser 11 SDK. These are easily set, just a drop-down and a file-path. No plug-in is needed, as Vue already knows about Poser and visa-versa. There was a long relationship between E-on and Smith Micro, and the importer was worked on intensively for many years.
Vue presumably needs to see the Poser 11 .EXE folder for two reasons: i) Poser knows about the runtime locations to be searched to accurately rebuild the scene inside Vue, and ii) because Vue has to locate and run the Poser 11 SDK. The SDK is presumably what then does any Poser-Vue material auto-conversions and adjustments that are needed.
Thus for a scene file with Poser 12 content, I find that you must also tell the Poser 11 Library about the new runtime at C:\Users\Public\Documents\Poser 12 Content\Runtime\ (and probably also the P12 ‘Downloads’ if that also has its own Runtime). Give Poser 11 time to index this new runtime then exit.
Your Poser 12 content, if saved to a Poser scene file, will then load into Vue. This is done in the usual way in Vue: New Scene | File | Import Object, load the Poser scene file and apply a Vue atmosphere…
Poser 12 content, “Pink 2.0”, in Vue. Real 3D clouds, not a photo backdrop.
It only takes a minute. To Vue the Poser 12 scene file must seem to be just a normal .PZ3 scene file from Poser 11, 2014 etc. It’s just the file paths in it that may differ, if your scene was built using content from Poser 12’s new runtime. If you only build scenes with your regular Poser 11 runtime content, you may not even need the above steps — even though you are importing a scene file saved with Poser 12.
So far as I am aware the Poser-to-Vue SDK has not yet been updated in the new subscription Vue to handle a few of the funky new Blender Cycles 2 (aka SuperFly in Poser 12) nodes. Thus the very latest Poser 12 SuperFly materials with strange funky new Cycles nodes may not convert so well. But Vue has its own fab funky materials to use, and it looks like everything else should work as with any previous Poser-Vue import.
Note also that Vue has excellent exporters… “includes integration plugins for 3DS Max, Cinema 4D, Maya and Lightwave”, though I’m uncertain what would happen to the scene if it were no longer connected to the Poser shader tree via Vue. I guess you try it and see. However, Vue is very capable on its own and a great adjunct to Poser for large expansive scenes that could also benefit from a generous scattering of foliage and some misty atmosphere.
Duplicate and Scatter for Poser 12
Duplicate and Scatter for Poser 12, a free script meant for low-poly props.
Still stumped by how to set up PBR in Poser…
Spurred by today’s release of the free PBR Material Maker, I made a bit more progress in solving the seemingly inscrutable mystery of how to set up PBR materials in Poser. I found a useful official tip from an old La Femme webinar…
“In the Library there’s a thing called Tileables, Superfly Tileables. The image maps that you get out of Substance Painter, you can plug them right into that node and you’re done. You don’t have to do anything else. Just plug those image maps in and you’re done.”
Great. They’re found here in the Poser Library, and I must say the preview thumbnails look distinctly uninviting and un-sexy. Which is probably why I’ve never paid any attention to them…
The examples load and look useful. But I cannot find a way to add the image maps. The nodes are correctly labelled, but utterly without the ability to input or swap-out any new image maps.
I guess that what you do is not replace image maps on the existing setup nodes. Rather you disconnect and delete what’s there at present. So for instance, disconnect and delete “Metallic” and then replace it with a completely new node on “Metallic” which uses (somehow) the Metallic material output from the PBR maker software. Then name the node “Metallic”.
But that assumes you know what specific type of node needs to be added, from the gazillion possibilities, for PBR to work. And then there’s the problem that the nodes in the example above don’t appear to be image-loading nodes at all. Except that they do seem to show tiled images within them.
Like I said, a bit more progress… but still stumped.
Add an overlay on any existing texture
How to add a simple overlay on top of an existing texture in Poser:
The overlay has not destroyed the original glossy effect, I just took that off manually to make for a simpler demonstration of the nodes.
1. At the top Diffuse node, right-click and disconnect the connector to your current 2D texture. This does not destroy the texture. It’s still there waiting to be re-connected.
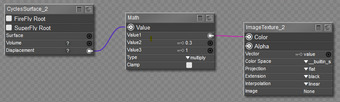
2. Right-click the empty Diffuse slot and there plug in a new Math | Color Math node.
3. Set the Color Math node’s Argument to Multiply. Also have both of its values be pure White.
4. Connect the Color Math node’s Value 1 slot to the original texture map.
5. On the Color Math node’s Value 2 slot, right-click and then add a new standard 2D node.
6. On the new 2D node you then load your overlay as a square 2D image source, in the usual way. Pure b&w appears to work best.
Here we have a puny low-res dash-shading overlay for demo purposes. Nor is it even uniform, which it ideally should be…
For dash or hatched-shading of the object you may want to dial this source’s U and V scales down from their 1.0 settings, to something like 0.10 or 0.12, as seen here.
You can save this as a standard material setup, and then just switch the source texture and overlay texture. Obviously you’d use a seamless tiling texture, which I haven’t here.
Of course, it would be nice to have the overlay effect render on its own. There are two ways to do this, that I know of…
1. Also plug the overlay into the Alternate Diffuse, which should be set to white. You then see the change in the Preview. Then render again, in Preview even. In Photoshop, knock white out of the render with an automated Action.
2. Also plug the overlay into the Custom_output_1. There will be no change in the viewport.
But if you render to Firefly with the following settings…
… and save as a Photoshop .PSD then you get a nice Photoshop layer of the effect on its own…
Yes, ugly seams… but this is just a quick demo. The seams could be fixed.
We still don’t have it in a form where the white is transparent, but any good Photoshop Knock Out White Action will do that.
Of course, it may be possible to just leave the whole current material setup alone, and just plug your overlay shading into the Custom_output_1. I’ve yet to investigate that. Though that would limit you to Firefly rendering only. But doing it that way should be simple and reliable enough for a script to handle automatically.