Now even the Daz/Poser dinosaurs are going “semi-toon”! This cute dino is new from dinosaur expert Dinoraul…
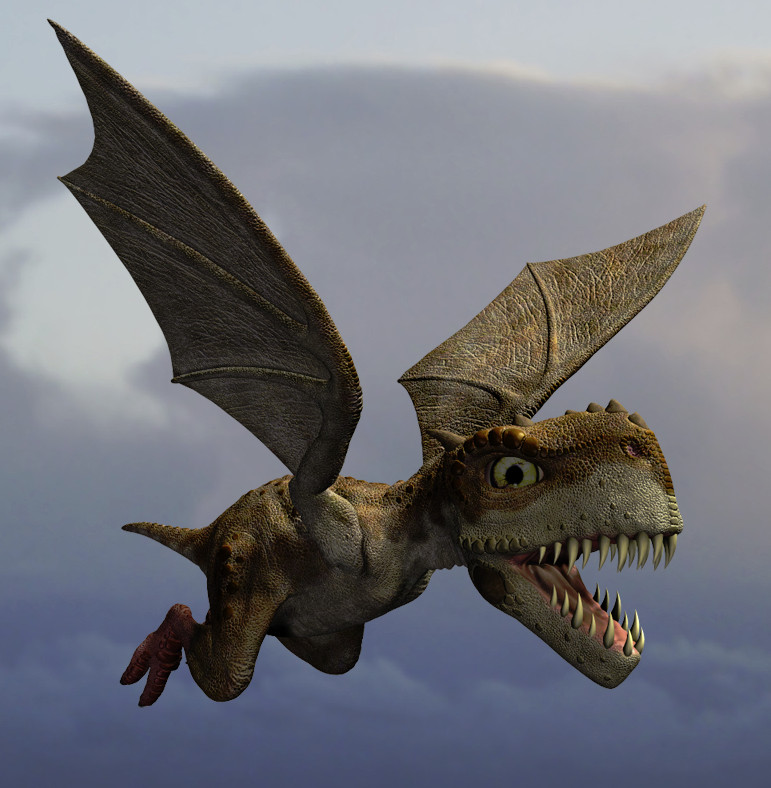

Now even the Daz/Poser dinosaurs are going “semi-toon”! This cute dino is new from dinosaur expert Dinoraul…
New Renderosity video tutorial, for Poser Pro beginners, A Tour of the Poser Pro 2014 Interface, and How to Reset It (10 minutes)…

It’s part of a premium series of video tutorials intended to get users started with Poser Pro 2014. These are set to be released soon…
“Beginning in January, we’ll be releasing a new tutorial each month that will build on the knowledge you developed in each of the previous lessons.”
So what cool free stuff has been released for DAZ Studio and/or Poser, over the Christmas break?
Simple Wood Sign is a nice example of the species. Could be combined with the werewolf above, maybe pointing the way to granny’s house?

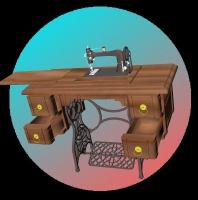
Granny’s Old Sewing Machine, ready to animate. Are you sensing the Little Red Riding Hood theme, yet…? 🙂
Nubian Complex looks impressive and has lots of nice comments, although I haven’t loaded it yet and the maker rather ominously states… “textures do not load appropiately, the textures are located in the texture files.”

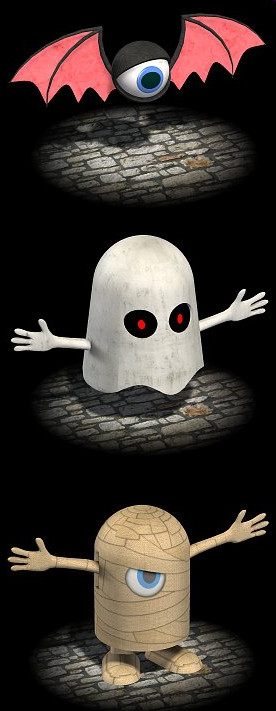
Unusual Melted Snowman at Poser Direct, along with other new toons. Including the Tremblin’ Terrors for Halloween which I must have missed back in October/November…

I also seem to have missed Poser Direct’s huge Toon Train set.

I’m pleased to see continuing development on the PzDB DAZ/Poser content library management software. (My review of PzDB). Version 1.3 is currently in public beta testing…
“We’ve expanded to PzDB to work with more of your favorite CGI programs, so many in fact, we have introduced a new File Types window to enable you control which files PzDB indexes for you. You can now index more kinds of bitmaps and CGI Content files from Anime Studio, Corel Creative Suite, Google Sketchup, iClone, Maya, Quindam, Softimage, Wings3D, and even movies and audio files.”
Yep, iClone content indexing, as well as DAZ/Poser! Nice. Plus better indexing of those annoying new-fangled DAZ 4.x file types. It has a new and more polished look, too…

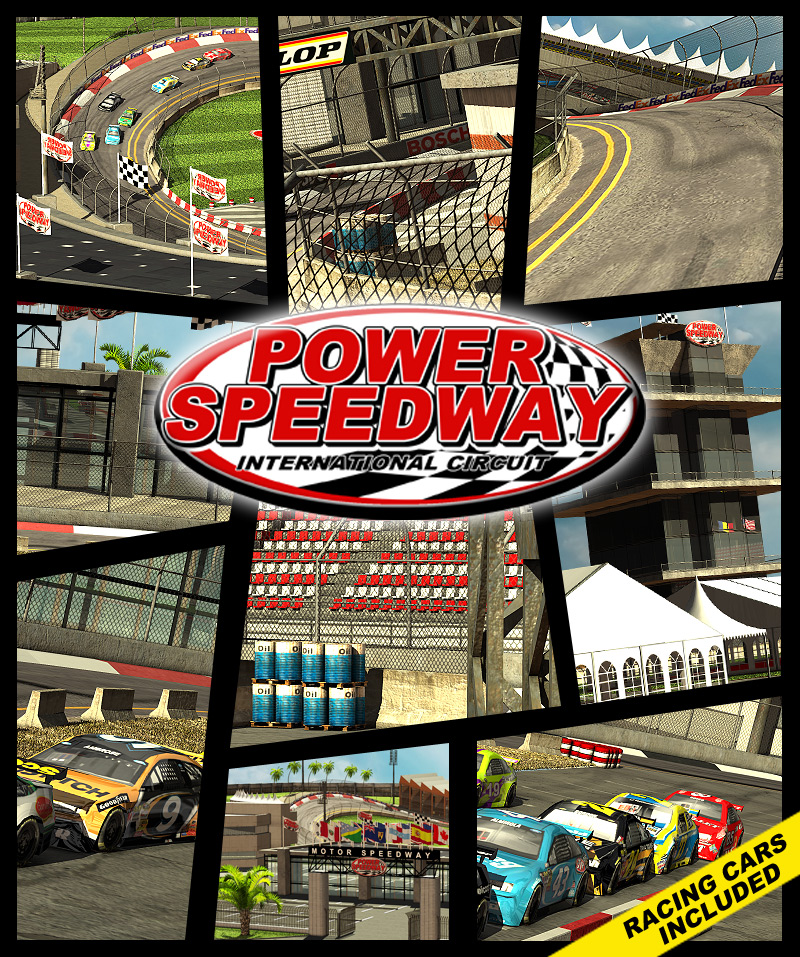
Got your racing snails in good shape? Powerage has released a complete and massive new Power Speedway set for Poser (not tested in DAZ Studio).
You can get Racing Snails here for Poser and Daz, although they’re not as cool as those in the excellent new movie Turbo. But you could probably have a lot of fun customising them with jet packs and suchlike, scavenged from other content.
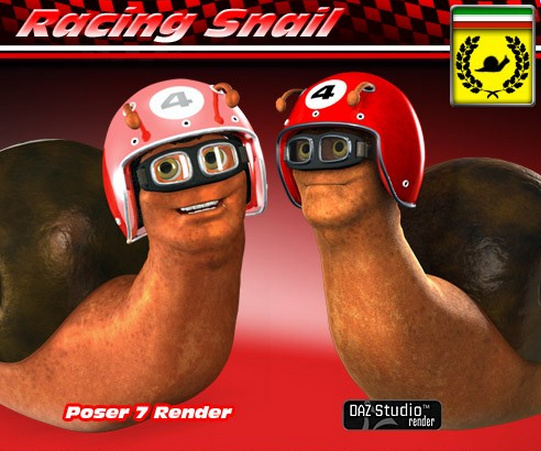
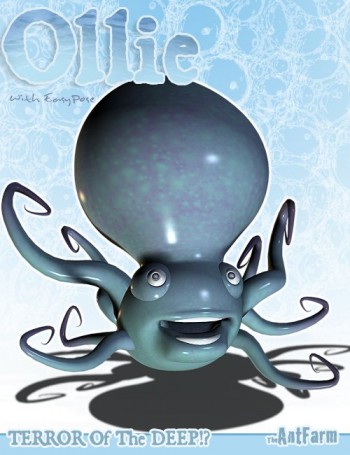
And I’d suggest Ollie the toon octopus as the perfect TV race commentator for your racetrack.
Ok, ‘Black Friday’ is here. Time to take a look at what’s on offer at the DAZ Studio or Poser content stores.
* Nothing on my wish list at Content Paradise has any discount on it, at the moment.
* Not much on my DAZ Store wish list is discounted yet, although there are a few discounts scattered here and there from 33% to 71%. I note that a lot of the Daz Originals environments and monsters are on heavy discount. The Steam Dragon character is a nice bargain at just $5.

On my DAZ wish list the Aslan Court interior architecture and its extensions and addons has chunky discounts. Carrara 8.5 Pro is also on a nice 50% discount at the DAZ Store.
* Renderosity has a couple of fairly light discounts at the cheaper end of my wish list. Nothing major though, and generally I’m really having to hunt to spot any “on sale” signs inside my huge Renderosity wishlist.
* Runtime DNA is a much better. They were the best and widest discounter last year, and this year about half my Runtime DNA wish list is on discount. Some of the discounts are quite heavy. The Sassafras semi-toon cat character is less than $10, which I’ll pick up along with discounted poses. Yep, it looks like Runtime DNA will be getting the big bite of my PayPal balance this year.

* Teknology3D has got the right idea, with a no-nonsense “50% off everything” one day sale. Including their merchant-resource clothing template kits for Sammy and Sadie…

* FoRender has a Black Friday vote on which item should get a 65% discount.
9pm on Thursday night (UK time) and I’m waiting for the big Black Friday sales to start on the Daz Studio and Poser content stores. I just went round my store wishlists, nothing yet…
A virtual Tilda Swinton character for Poser and DAZ Studio (3 and 4.5)…

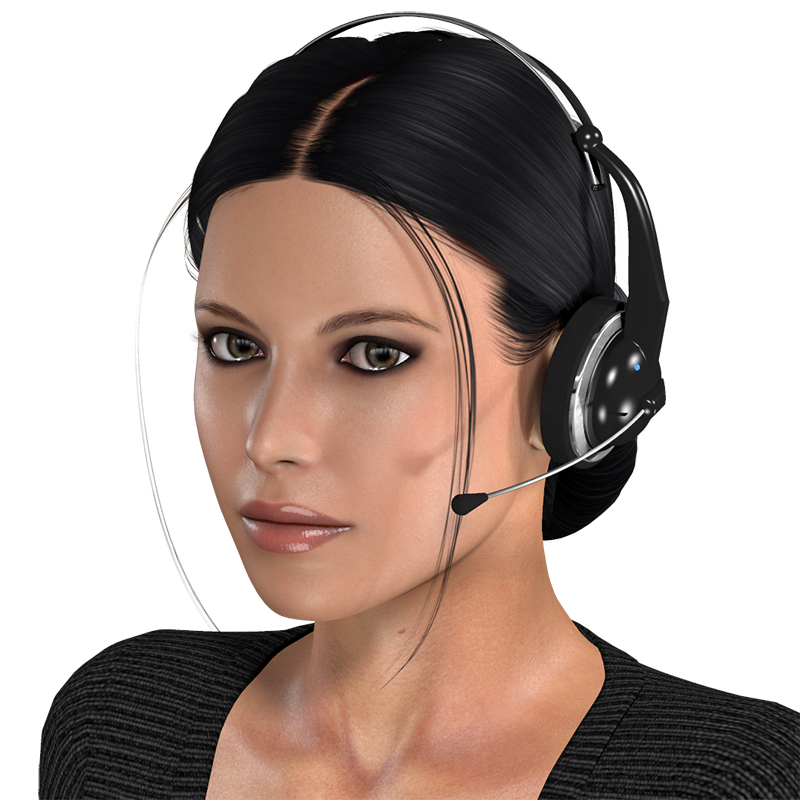
A useful new free headphones and microphone accessory for Poser.
Following my recent tutorial on “how to make a simple sphere glow in Carrara 8”, I’ve found that there’s also a way to have a light glow, rather than have geometry glow. Doing it this way takes whole lot less render time than my earlier technique, but the effect seems less convincing unless you want a standard “car headlight” effect. So it seems useful for middle and far-distance lights, especially in instances where you have some geometry objects intersecting the light — objects that would complicate any Photoshop postwork using a gradient glow filter.
1. First, drop a bulb light onto the stage…
2. Click on the “General” tab in Carrara’s Assemble room. Boost your “Brightness” slider way up, maybe between 170% to 200%. Change the bulb’s colour to the colour you need. Run the “Range Falloff” slider up to 100%. Make sure that “Cast Shadows” is turned on.
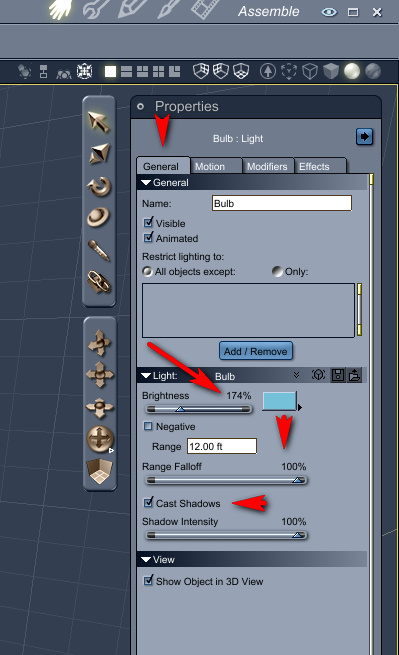
3. Now switch to the adjacent “Effects” tab. There, tick “Light Sphere”, then click the edit button next to it.

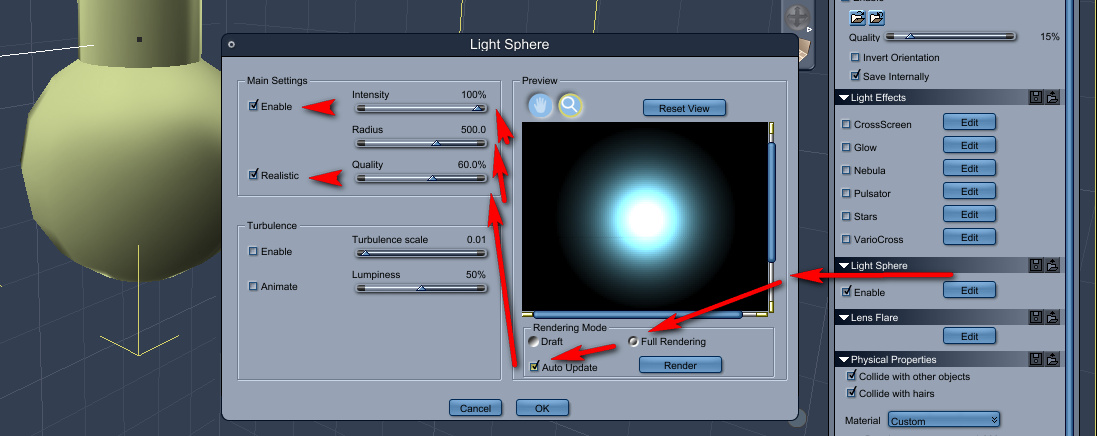
4. Clicking in the “Edit” box will pop-up a window containing all the “Light Sphere” effects. Here, turn on “Full Rendering” and “Auto Update”, so you can preview the glow effect in real-time. Then increase “Intensity” to 100%, “Radius” to about 500, and “Quality” to perhaps 60%.
5. Here’s the final PNG render of the glowing bulb light, with the above settings…
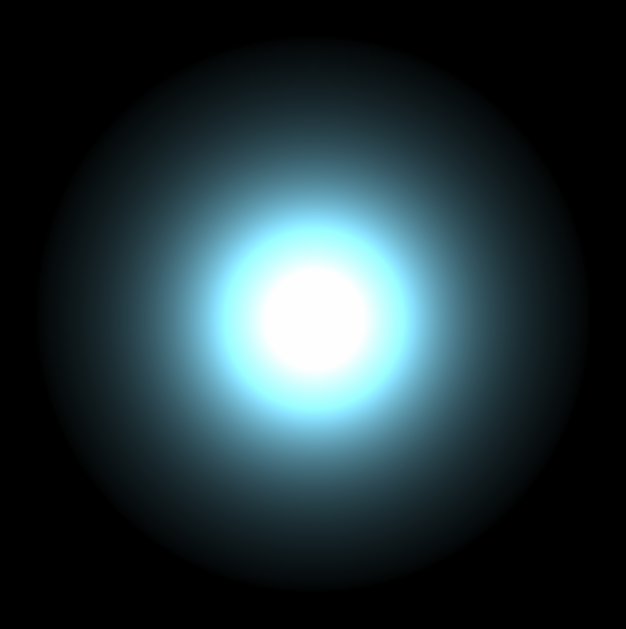
Compare this render to the the more subtle results I got from making a textured sphere glow in the last tutorial…

So, my conclusions from my Carrara glow experiments (so far) is:
* glowing bulb lights are vastly faster to render, and also more suitable for use as middle and far-distance lights in a scene.
* glowing textured geometry is likely to give far better and more subtle effects, and would be a good choice for props and characters that are close to the camera. Although choosing this way to make things glow is likely to significantly increase render time.
(As before, note that Google Chrome’s graphics rendering-engine can’t handle the subtle graduations of the light spillover, and will dither/”band” the glow effect thus making the renders look rather ugly)
Here’s a DAZ Store coupon code, apparently valid through November 2013. Don’t blame me if it doesn’t add the discount at the checkout, but enjoy it if it does 🙂
Coupon code: SAVE-30
“30 percent off on any purchase at Daz3D”
DAZ Carrara 8 and 8.5 now have free patches that translate the interface into German.
How to make a simple sphere glow in DAZ Carrara 8:

1. File | New | Empty Scene
2. Drop a simple sphere primitive onto the stage. Keep it selected.

3. First we apply a basic texture to the sphere. To do this we go over to the General tab, over there on the right of the screen. There we click on “Preset”, in order to choose a texture for the sphere that will match the desired type of glow. I chose the “Blue Chrome” texture.

4. On the right hand panel, switch to the Shading tab, and click “Edit”. This will switch into Carrara’s Texture Room. Here we can see the sphere texture’s “Glow” channel, and we need to switch this channel from “Nothing” to “Texture Map”.
 (Ignore that the screenshot shows “Normal Map” instead of “Texture Map”: I messed up the screenshot).
5. Switch back to Carrara’s main Assemble Room. On the right hand panel, switch to the Effects tab, and then tick “Enable” in the “Aura” panel. Then click on the “Edit” button next to Aura. This will bring up the Aura settings window.
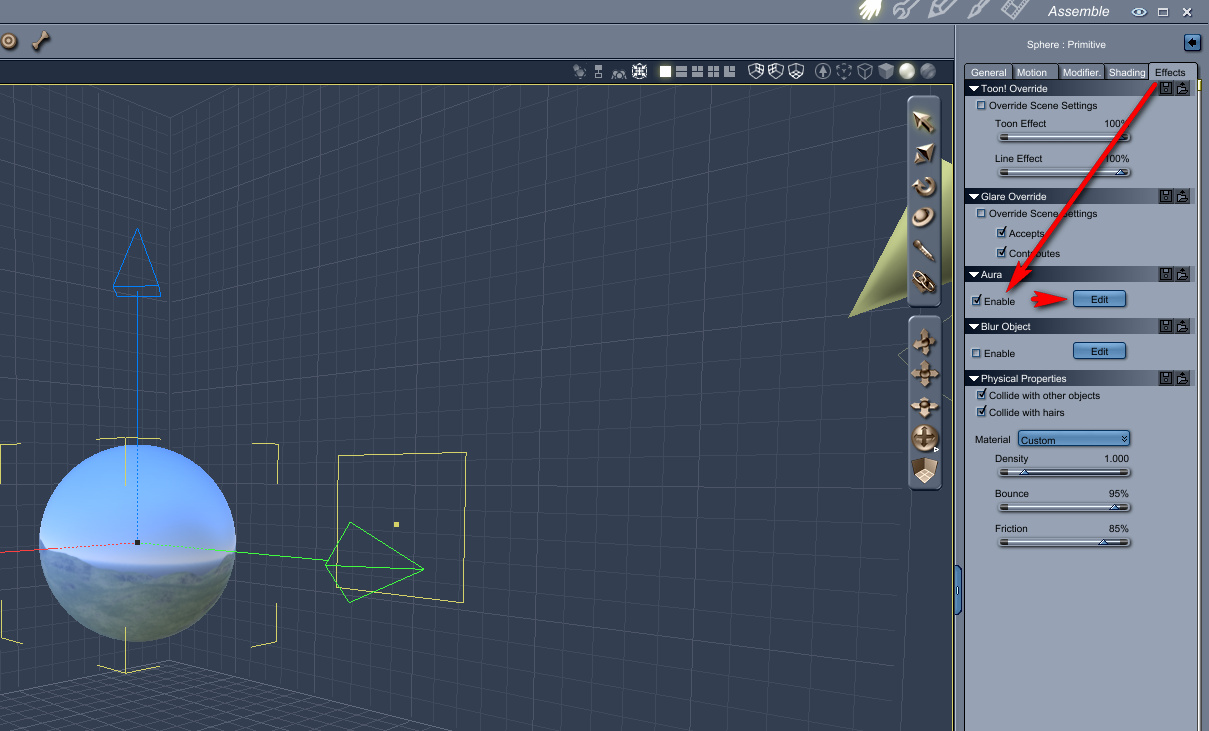
6. Your sphere should be glowing in the Aura setting window’s handy little real-time preview box (see screenshot, below). Click “Auto Update” in Rendering Mode, then slide the sliders to change the glow effect. Here I have the glow Radius at 70 (too high) and have ticked Distance Attenuation (meaning: adding the effect of light spillover, into the air around the sphere). I also have Intensity effect reduced, so that we can still see something of the original sphere texture. And I also changed the colour of the aura to match the sphere’s texture. When you have the glow looking how you want it to, then click OK.

7. Now switch to Carrara’s Render Room. Here I set an 800 x 800px render with Fast anti-aliasing. The initial render of the sphere will be almost instant. But then a little bar will appear at the top of the screen, preparing to overlay the glow effect. This may take a long time to run, even for a simple sphere. If it’s impossibly long for you, pressing Esc on your keyboard will stop almost instantly.

You can try to switch to a fast render preset…

But it hardly speeds up the slow application of the 3D Aura effect. The main render-speed killer here is having ticked that Distance Attenuation box in the Aura settings. A setting of 50 in Distance Attenuation is a good deal faster than 70, and yet still gives you something to add to with a glow layer effect later (when working on your final render in Photoshop). For a complex scene you might have to have minimal Distance Attenuation, and then add more glow later in Photoshop or (for animation) HitFilm.
Here’s my final render with an Aura | Radius | Distance Attenuation of 50…
And here is the same render with a bit of Photoshop enhancement, applying Alien Skin EyeCandy “Gradient Glow” filter to a circular selection (made just inside the rim of the sphere). The edges of the sphere are blended in a little by this Photoshop tweak, and there’s a more believable falloff of light.
(The Google Chrome browser can’t handle the subtleties of the glow banding, and will make it look rather ugly. Save the PNG and view it from your hard drive).
All in all, it’s way too complicated (iClone can make a sphere or any other object glow in about one second of work, and render it in real-time too). But it’s good to know spillover glow can at least be done in Carrara. For a more complex example see the Neon sample scene that ships with Carrara (Browser | Special FX | Luminescent Logo).
The other problem is that if the maker of the figure or model did not name things correctly, you have no way of finding the shader/material you need to glow. Sadly Carrara is not like Poser, where you can just ‘eye-dropper’ on something to find out what its material name is. Thus, though Carrara can do nice glows, the setup can be nearly impossible.
DAZ Carrara has a new “Move to Camera” plugin, bringing to Carrara a wonderful feature that I used constantly in iClone. The $5 “Move to Camera” moves the currently selected prop or character to the centre of the current render camera. This means that, wherever your prop gets mysteriously placed on import to your scene, you don’t have to spend 10 minutes hunting it in order to grab it and bring it in front of the main camera. A few simple keystokes will re-position it front-and-centre.
The sci-fi corridors I surveyed here last week feature heavily in the superb sci-fi short Modern Times, from Ben Craig in the UK. The FX and sci-fi sets were done with Carrara, DAZ Studio’s ‘big sister’ software.
MODERN TIMES from BC2010 on Vimeo.
Hat-tip: Carrara Cafe.