How to make a simple sphere glow in DAZ Carrara 8:
1. File | New | Empty Scene
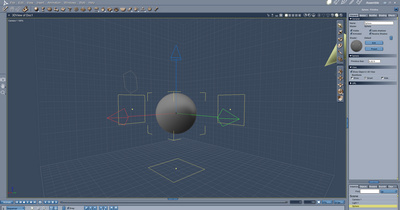
2. Drop a simple sphere primitive onto the stage. Keep it selected.
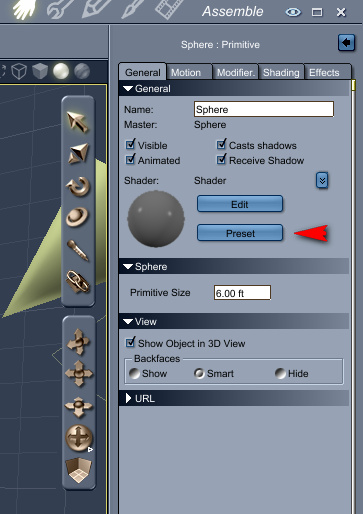
3. First we apply a basic texture to the sphere. To do this we go over to the General tab, over there on the right of the screen. There we click on “Preset”, in order to choose a texture for the sphere that will match the desired type of glow. I chose the “Blue Chrome” texture.
4. On the right hand panel, switch to the Shading tab, and click “Edit”. This will switch into Carrara’s Texture Room. Here we can see the sphere texture’s “Glow” channel, and we need to switch this channel from “Nothing” to “Texture Map”.
 (Ignore that the screenshot shows “Normal Map” instead of “Texture Map”: I messed up the screenshot).
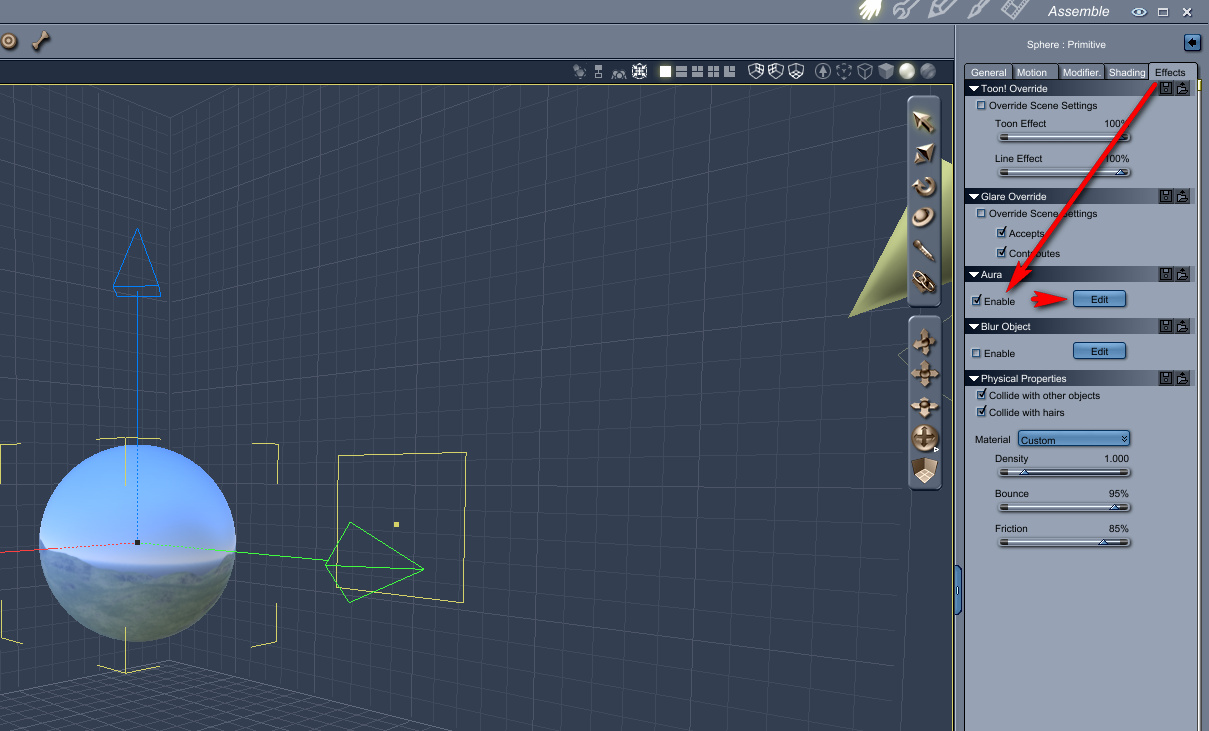
5. Switch back to Carrara’s main Assemble Room. On the right hand panel, switch to the Effects tab, and then tick “Enable” in the “Aura” panel. Then click on the “Edit” button next to Aura. This will bring up the Aura settings window.
6. Your sphere should be glowing in the Aura setting window’s handy little real-time preview box (see screenshot, below). Click “Auto Update” in Rendering Mode, then slide the sliders to change the glow effect. Here I have the glow Radius at 70 (too high) and have ticked Distance Attenuation (meaning: adding the effect of light spillover, into the air around the sphere). I also have Intensity effect reduced, so that we can still see something of the original sphere texture. And I also changed the colour of the aura to match the sphere’s texture. When you have the glow looking how you want it to, then click OK.
7. Now switch to Carrara’s Render Room. Here I set an 800 x 800px render with Fast anti-aliasing. The initial render of the sphere will be almost instant. But then a little bar will appear at the top of the screen, preparing to overlay the glow effect. This may take a long time to run, even for a simple sphere. If it’s impossibly long for you, pressing Esc on your keyboard will stop almost instantly.
You can try to switch to a fast render preset…
But it hardly speeds up the slow application of the 3D Aura effect. The main render-speed killer here is having ticked that Distance Attenuation box in the Aura settings. A setting of 50 in Distance Attenuation is a good deal faster than 70, and yet still gives you something to add to with a glow layer effect later (when working on your final render in Photoshop). For a complex scene you might have to have minimal Distance Attenuation, and then add more glow later in Photoshop or (for animation) HitFilm.
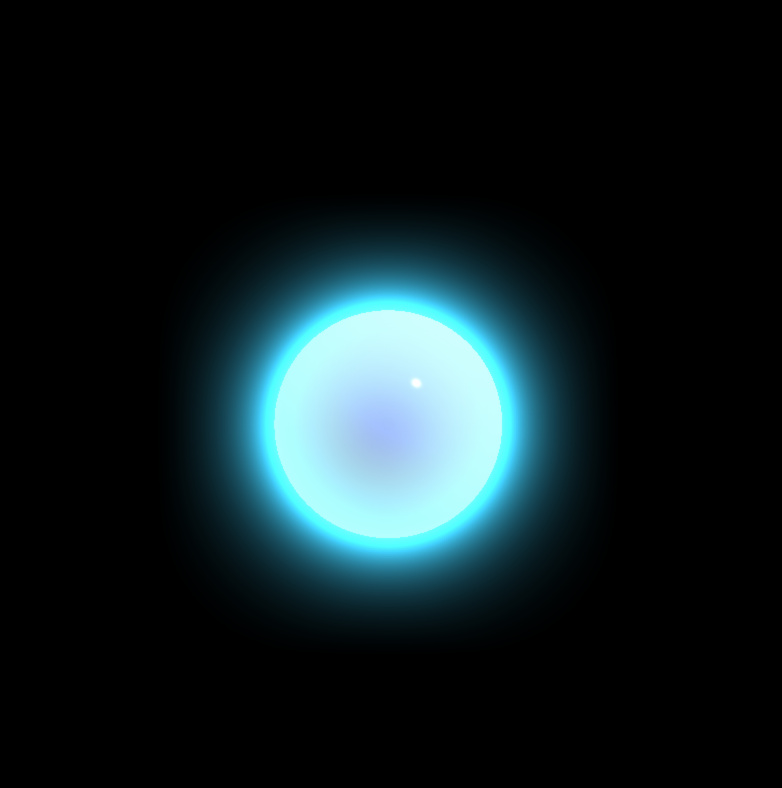
Here’s my final render with an Aura | Radius | Distance Attenuation of 50…
And here is the same render with a bit of Photoshop enhancement, applying Alien Skin EyeCandy “Gradient Glow” filter to a circular selection (made just inside the rim of the sphere). The edges of the sphere are blended in a little by this Photoshop tweak, and there’s a more believable falloff of light.
 (The Google Chrome browser can’t handle the subtleties of the glow banding, and will make it look rather ugly. Save the PNG and view it from your hard drive).
All in all, it’s way too complicated (iClone can make a sphere or any other object glow in about one second of work, and render it in real-time too). But it’s good to know spillover glow can at least be done in Carrara. For a more complex example see the Neon sample scene that ships with Carrara (Browser | Special FX | Luminescent Logo).
The other problem is that if the maker of the figure or model did not name things correctly, you have no way of finding the shader/material you need to glow. Sadly Carrara is not like Poser, where you can just ‘eye-dropper’ on something to find out what its material name is. Thus, though Carrara can do nice glows, the setup can be nearly impossible.


