Update: Poser 11.2 has restored these render switches.
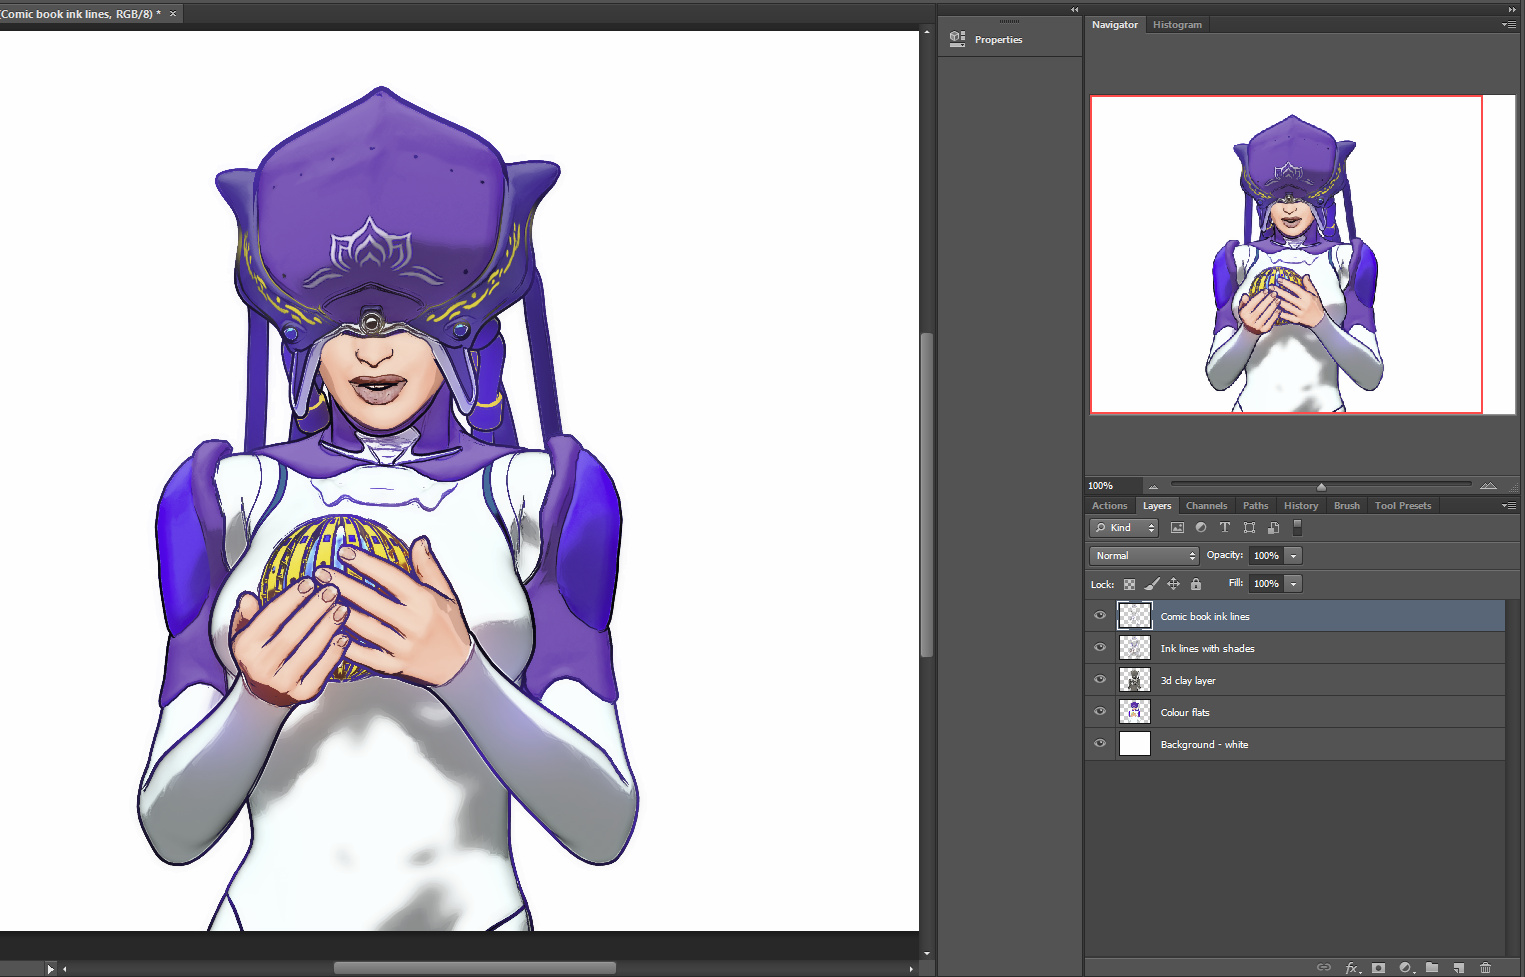
Possibly as a result of the latest Poser Pro update, I seem to have lost the Firefly “auxiliary render” switches. These add additional render types, and their drop-down switches are usually always found on the Firefly Settings panel. These extra renders are then bundled into a saved Photoshop .PSD file as layers.

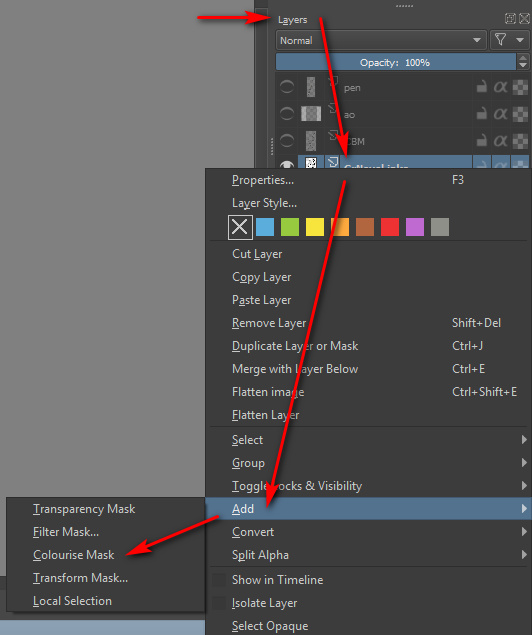
But there’s a workaround fix for this problem, for me and possibly for others. Because Firefly renders can also be controlled by an official partner script, which ships with Poser. This script still works, and is robust. Go up to the top menu and find: Scripts | Partners | Dimension 3D — and from there launch the ‘Render Firefly’ scripted panel. This can also be invoked instantly with Shift + F on the keyboard. Update: Shift + F seems to have changed now.
Note that this panel may require you to toggle the render type – see the drop-down in the top-right corner. It appears to default to the last-used render type.
At the foot of this alternative Firefly rendering panel, you’ll see the expected Auxiliary render type switches (the ones which seem to have vanished from the standard Firefly settings panel).
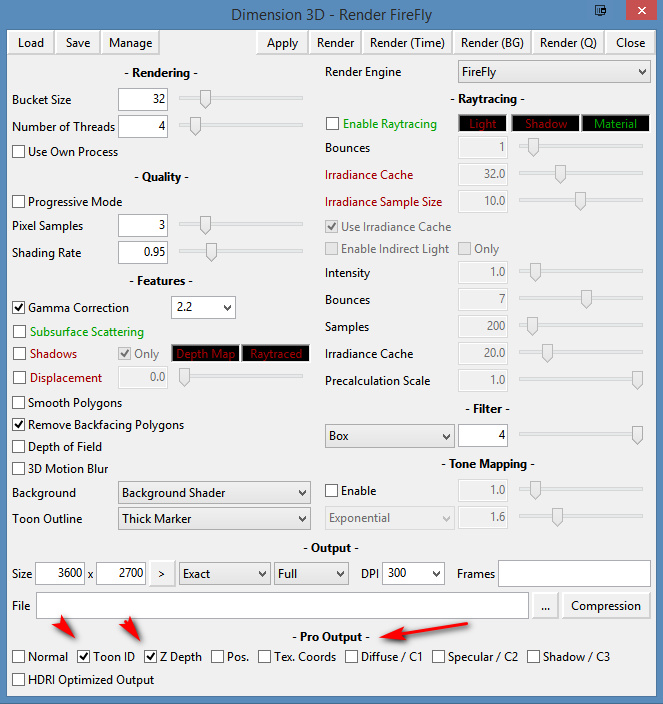
Regrettably this can’t use your regular render presets, but you can recreate them and then save them as presets for the new panel.
Doing a Firefly render this way works fine, as the features are still there even if the switches are not. You then save a Photoshop file and it has the expected extra layers. In this instance, Z Depth and Toon ID.

For future reference, here’s what these Auxiliary renders give the Poser Pro user, even if these days you may not care much for the main Firefly render itself:
* Normal. This produces a psychedelic colour-shaded render. I’ve never had cause to use it, but apparently such renders can be used for adding enhanced bumps and scratches, and were most useful back in the days of low-poly gaming? See the page ‘Normal mapping’ on Wikipedia.
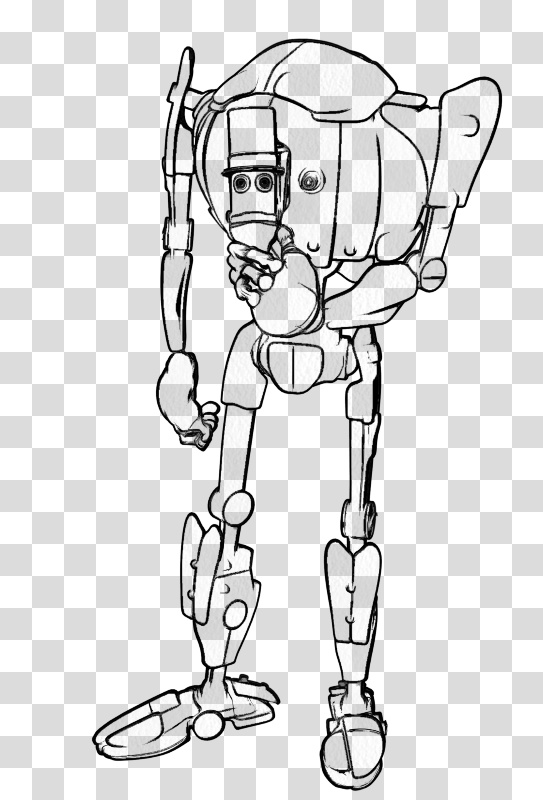
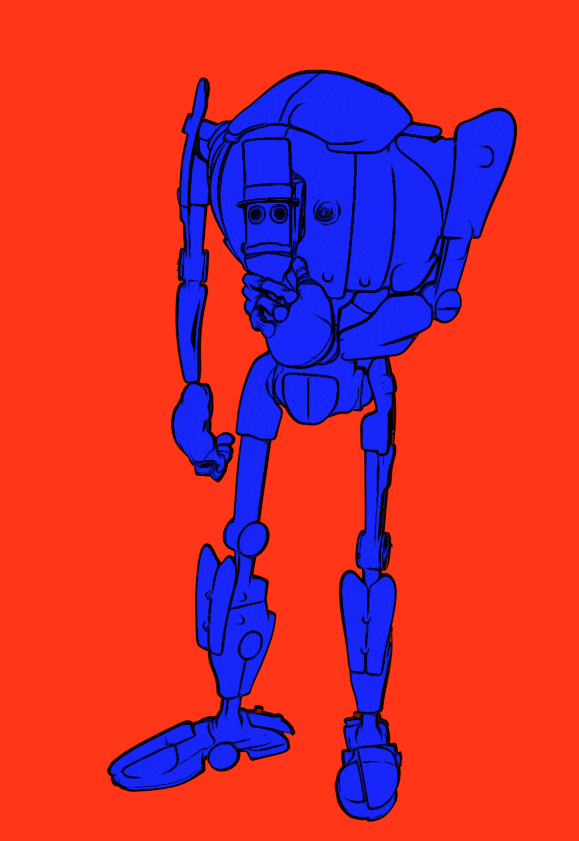
* Toon ID. Also called ‘ToonID’ in the Poser Material Room, and simply ‘ID’ when its render is in a Photoshop layer. Each material on your character gets its own material colour, and this is rendered out to a plain flat RGB colour. This enables easy part-selection in Photoshop. For instance, instantly select all of a helmet, and just the helmet. ToonID is automatically assigned and its number (and thus colour) can be changed per-material in the Material Room.

* Z Depth. A greyscale depth mask for your scene. Not useful for scenes with transparency-mapped elements such as leaves and petals, which become ugly square blocks.
* Position. Aka a Position Pass. Looks similar to the Normal render. I’ve no idea what it does, but the Cinema 4D manual says vaguely… “The Position Pass can be used in 3D-compatible compositing applications that can in turn be used to create all sorts of effects with it.” Sounds like it’s of use to high-end compositing and video editing software, such as After Effects.
* Texture Coordinates. Looks similar to the Position render, and a sort of combination of Position and Toon ID. Again, possibly useful in video compositing, at a guess?
* Custom 1. Renders Diffuse only, unless it has a Material plugged into its node in the Materials Room. In which case this channel will only render that material.
* Custom 2. Renders Specular only, unless it has a Material plugged into its node in the Materials Room. In which case this channel will only render that material.
* Custom 3. Renders a Shadows only layer, with dense shadows hard-merged onto a white background (i.e.: not over transparency). As with Custom 1 & 2, Shadows only render if no materials are plugged into its node. Note that this is not the same as: Render Settings | Options | Shadows only, which appears to produce shadows lighter in tone than Custom 3 (even from exactly the same scene).
One can also fairly easily get an Ambient Occlusion (AO) shadows pass from Poser, though not via the Auxiliary render switches.