
Once again, my pick of the best recent 3D models and more, for Poser and DAZ.
I find that some idiot at Renderosity has put a stupid ‘Human Verification’ script on their site and forum, each time with an infernal ‘photo-captcha’ puzzle… which means no Renderosity items in my survey, this time around. The site is now effectively unusable for me.
Science-fiction:
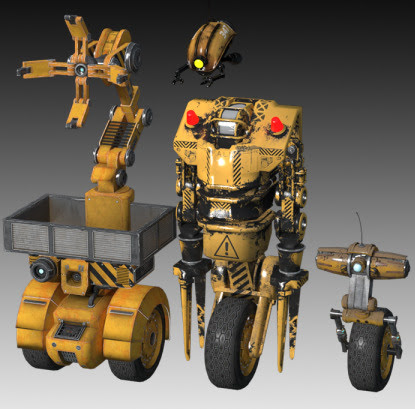
Robot-droid drone workers free for Poser.
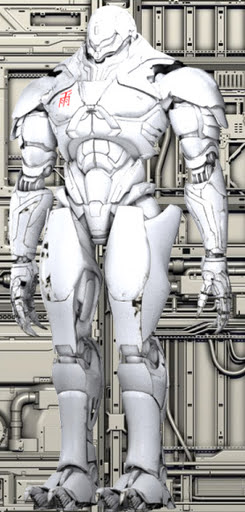
A free Robot Guard for Poser.
A free Gravastar in .OBJ format.

Science Fiction Head Shapes for Genesis 9.
Artifact Figures, or information drones.
Fantasy:
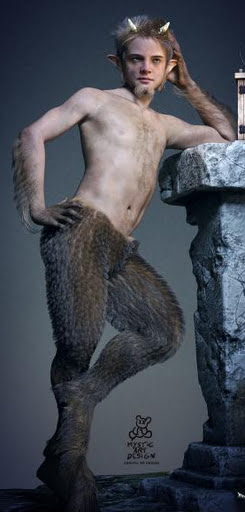
Free Faun Fur & Horns G9.
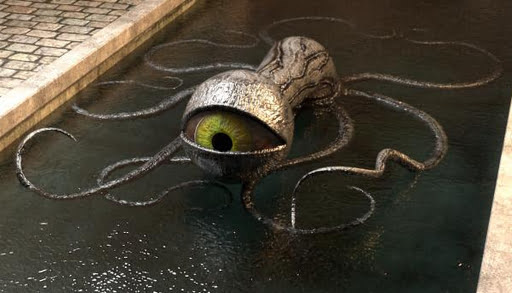
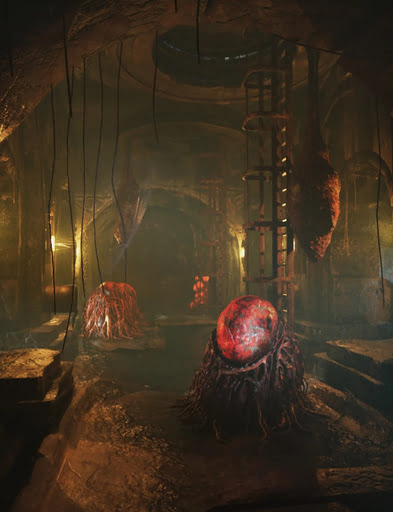
A free SY Tentacled Eyeball Creature.
Halloween:
Just the place to lock the SG Reanimated Monster HD for Genesis 9. Frankenstein, basically.

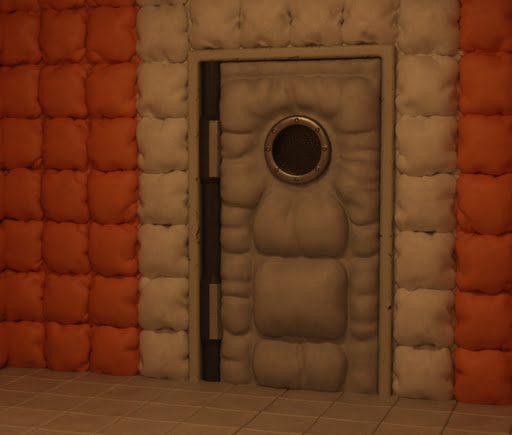
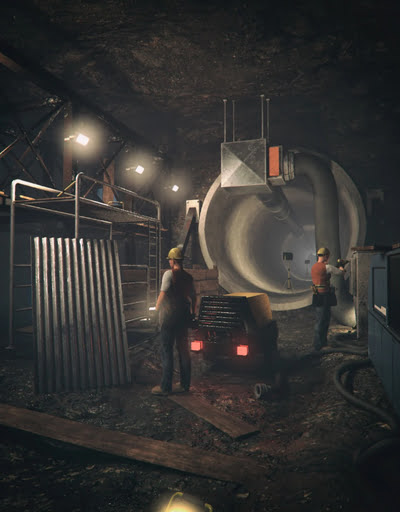
Underground Tunnel Entrance. Yup, definitely going to find a monster… possibly in the XI Dark Sewer.
Characters:
Frank Sinatra for M3 Lowres, for Poser.

A free Dr. Spock for DAZ, from the authentic Star Trek series.
Toon:
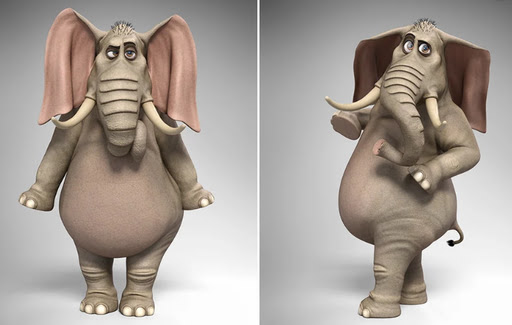
3D Universe Toon Elephant, now with dForce.


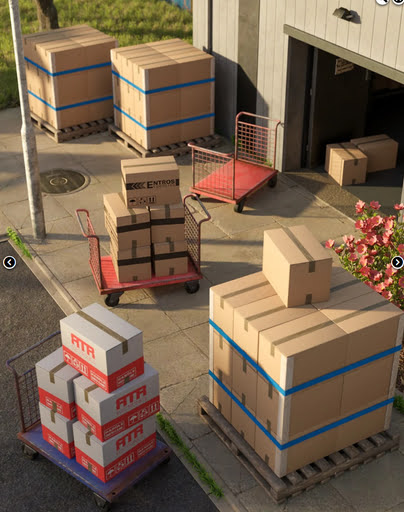
Props and packs for making industrial training-videos:
Depot Building Props with potential for a use in a basic pallet-stacking training video. Also the wider Depot Building and delivery entrance.
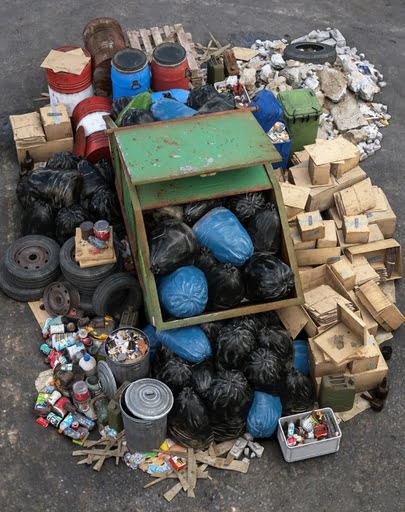
 Mega Trash Pack, aka ‘litter and rubbish’ in the UK.
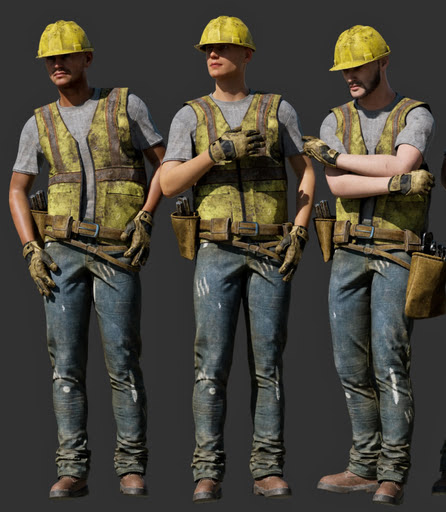
dForce MI Everyday Construction Worker for G8M.
Storybook:

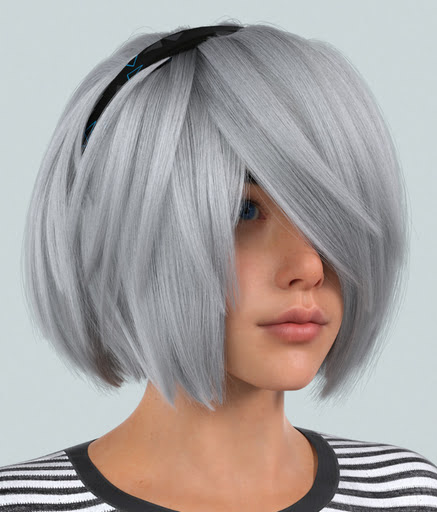
Shy Girl Bob Hair for Genesis 9.
TF Playground Tent for DAZ.

Greenhouse for Poser, pre-lit.

Animals:
Flea for DAZ.
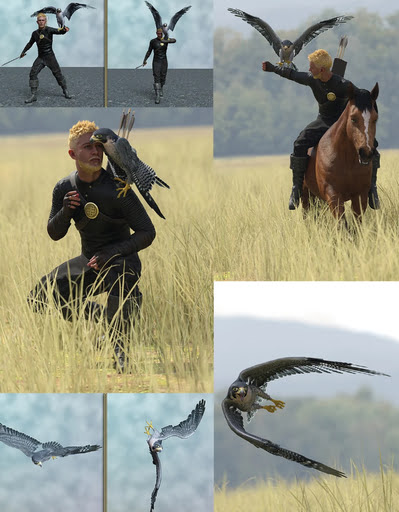
Magic Messenger Poses for the fine DS Magic Owl released a few months ago.
Ocean:
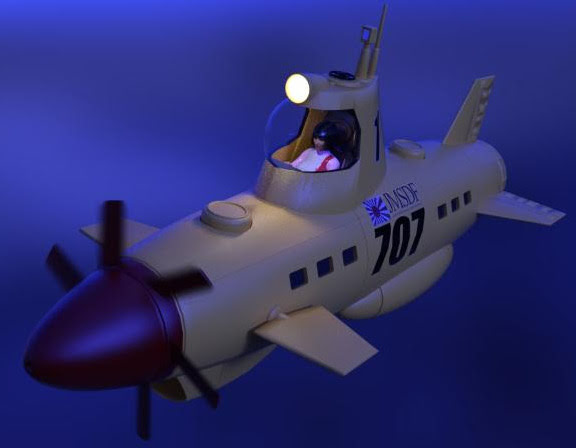
Submarine 707Jr type-2 for DAZ Studio, a retro-futuristic mini-sub. Free.
A modern Remote Mini Sub for deep diving.
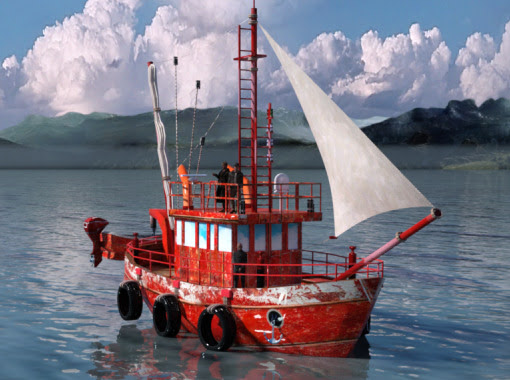
The free Boat MMM, a dinky little Scottish fishing boat, with wear and tear.
Also Boat PPP, suitable for a 1800s Congo river cruise.
Historical:
Australopithecus for Genesis 9, an authentic-looking prehistoric ape-man, with fur.

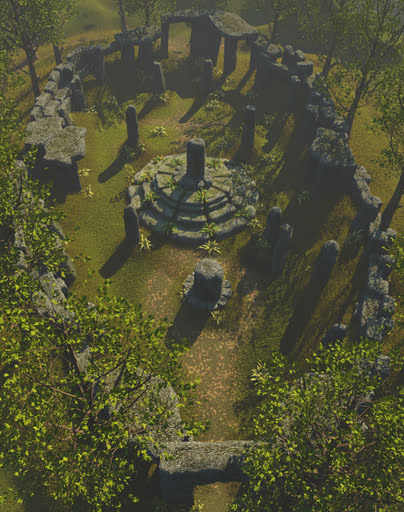
The Druids, a large outdoor scene. See also the new Mysterious Stonehenge set.
Desert Huts 1, one of which would be suited to bird’s eye views of prehistoric British or Irish settlements.
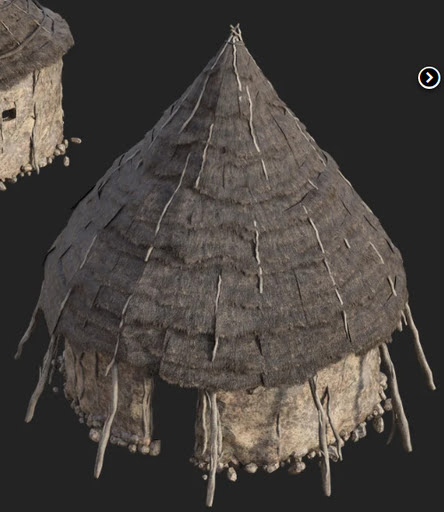
Desert Huts 2, primitive desert huts and a stockade.

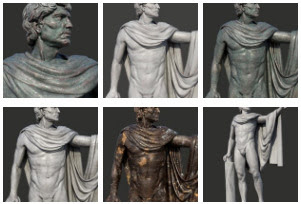
Roman style Hero Statue.
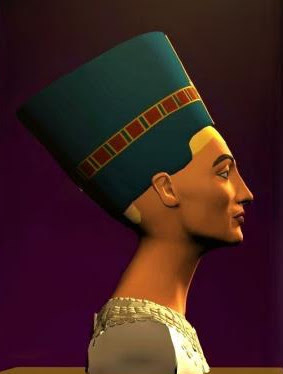
The famous Nefertiti Sculpture for Poser. Ancient Egyptian.
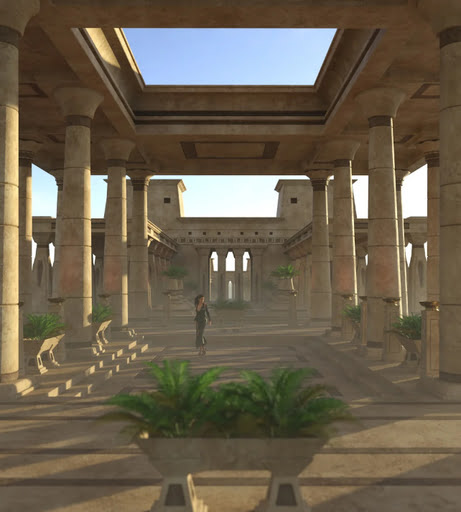
Egyptian Atrium 1 and Egyptian Atrium 2. And Egyptian Odyssey iRay Shaders Vol. 1.
Shadow Egypt Headdress for G8F.

British Artillery Redoubt Bundle, Napoleonic era.
Napoleonic British Household Brigade Cavalry, Napoleon’s Polish Lancers and Napoleon’s French Carabiniers.
dForce Confederate Civil War Outfit for Genesis 9 and dForce USA Civil War Outfit for Genesis 9.
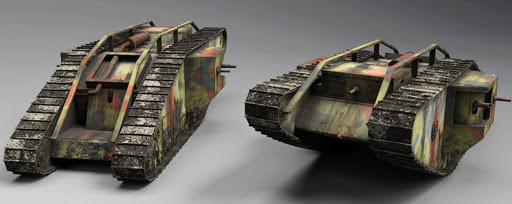
British MK IV Tank, from the First World War.
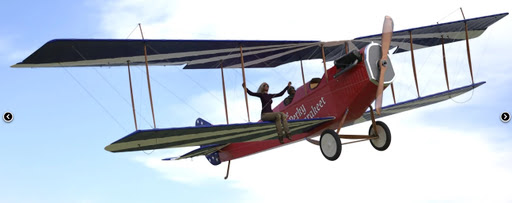
Curtiss Jenny bi-plane. And Biplane Hawker Fury.
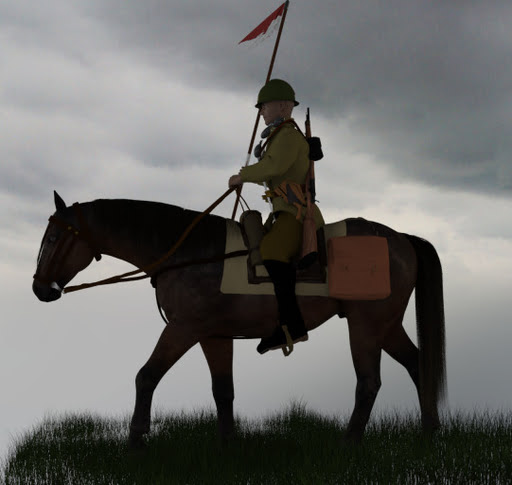
Polish Cavalry of the Second World War.
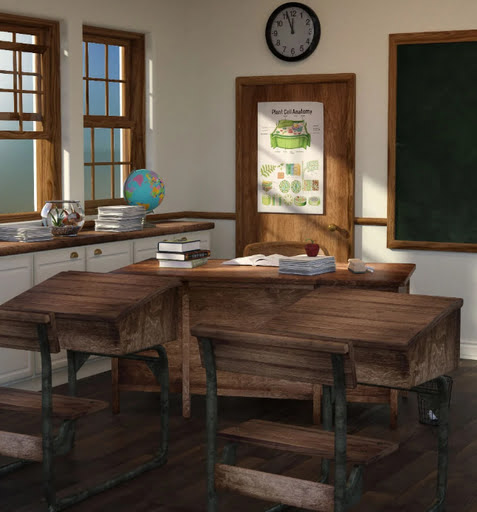
Mini Scenes School Room, remove the ugly strip-lights and perhaps it could be 1950s-60s in a small settlement in mid America?
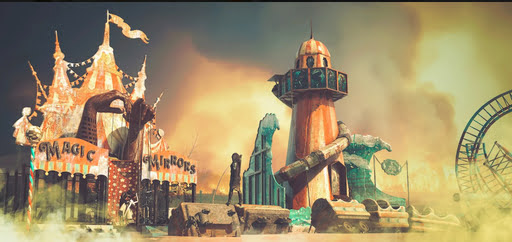
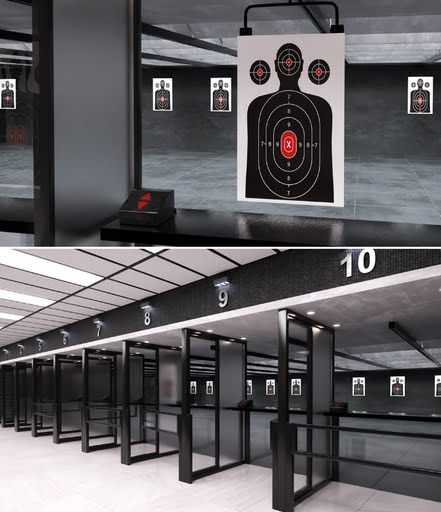
Shooting Range, could be useful for a 1970s or 80s spy / thriller graphic-novel?
AI image generation:
All free.
The latest InvokeAI 4.1 with a new Style and Composition IP Adapter.
Bria 1.4 Background Remover for InvokeAI 4.x and also a version for InvokeAI 3.x.
Basic auto face-detection and refine example for ComfyUI. Also a new set of OpenArt ComfyUI Basic Workflow Templates.
IPAdapter v2: all the new features video and IPadapter Version 2 Install Guide.
900 Hand Library for Control Net for Stable Diffusion.
(SIMPLE) IF_branch_node for ComfyUI. Boolean-logic IF node for ComfyUI.
LooseControl. Use the box depth map to control the protagonist’s position in the AI generated image.
A new ‘AI Comic Corner’ for makers of western non-manga comic art, though unfortunately hosted on Discord.
Photoshop, software, and fonts:
Layer Factory for Photoshop CC, a Tools panel for working faster with layers.
Moho Pro 12.5 Encore in a humble bundle. (Note: no Poser integration in this version of Moho). Two days to go.
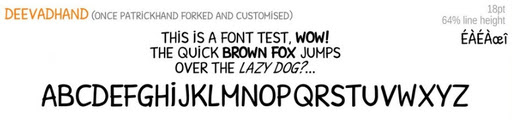
A new David Revoy font (official, Open Font) in the Pepper & Carrot style.
Scripts:
A free universal DAZ “Look at Camera” script for Genesis 1 through 9.
A free V4 M4 Eye Clock, to make your character look where you want them to.
RSSY Clothing Converter from Genesis 9 to Genesis 8. Also try MMX Genesis 9 Clones for All which claims to autofit G9 clothes to previous Genesis versions, even the original Genesis 1.
Seamster for DAZ, a clothes making utility.
Bullet Time: Multi Angle Camera Render Script and Tutorial Set for DAZ.
Tutorials:
6 (ish) things you should always do when you install Poser (or soon after).
Advanced surface recolouring for Poser.
Setting up depth-of-field in E-on Vue.
A 10 min “lesson” on bending the rule of anatomy for comics.
Chicken Feathers in hair tool tutorial.
Render 3D Geometry and Double Load Brushstrokes in PD Howler 2024.
Navigating Sketchy Toon Edge & Art Style Shader for DAZ.
Build, Combine, Create: Modular Set Magic in DAZ Studio.
Content Wizard : Tutorial Set on Improving your DAZ Content Library.
The Power of AniMate 2 in DAZ Studio.
Gone:
I see that ‘Genesis Clones for Genesis 8 and 8.1 and Vice Versa’ is now unavailable to buy. It enabled auto-fitting of G8 clothes to the original Genesis figure onwards.
That’s it for now. More picks next time!


