So what’s new and eye-catching in the DAZ Studio / Poser stores, since late December 2016? I see that the remaining content from Runtime DNA has continued to pop up on Hivewire (Scene Toy Pro for Poser) and Renderosity (creepy clowns), presumably as vendors get time to upload and price it.
There’s a new flagship HiveWire House Cat: Kitten at HiveWire. Requires the adult HiveWire House Cat.

A Sakura Extreme Detail cherry tree, from new vendor Whitemagus, possibly an ideal setting for your romping new kittens.


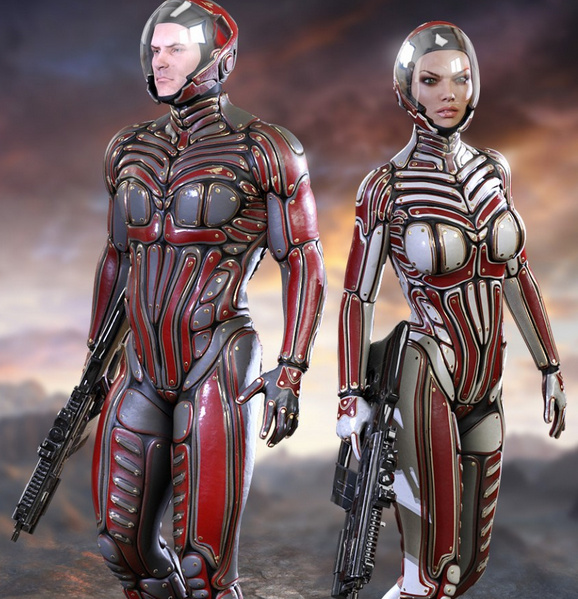
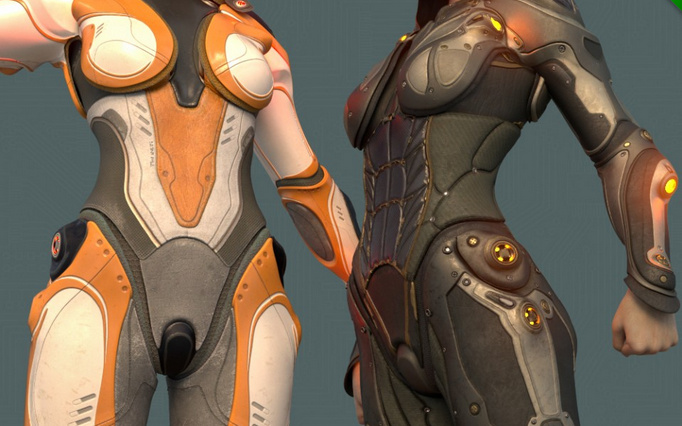
Aeon Soul’s popular V4 Tau Ceti Overseer armour arrives for Genesis 3 Female, along with an XPS expansion pack.
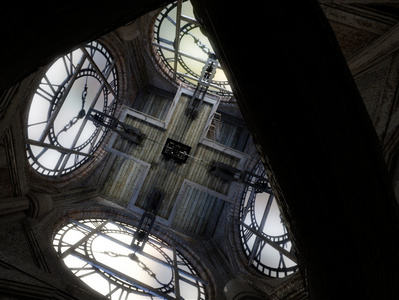
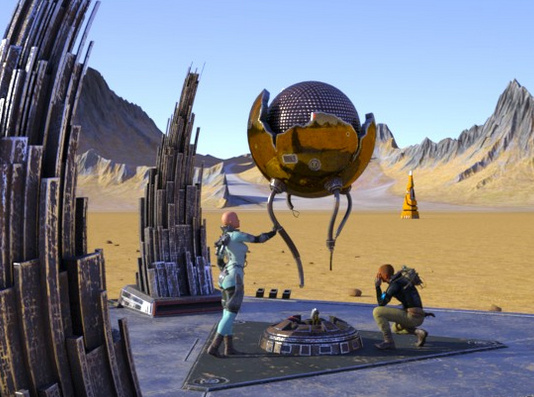
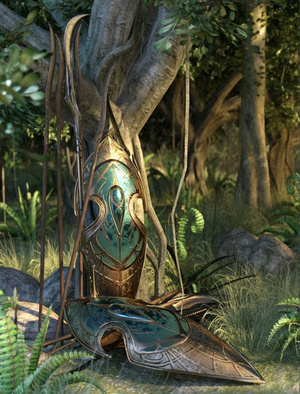
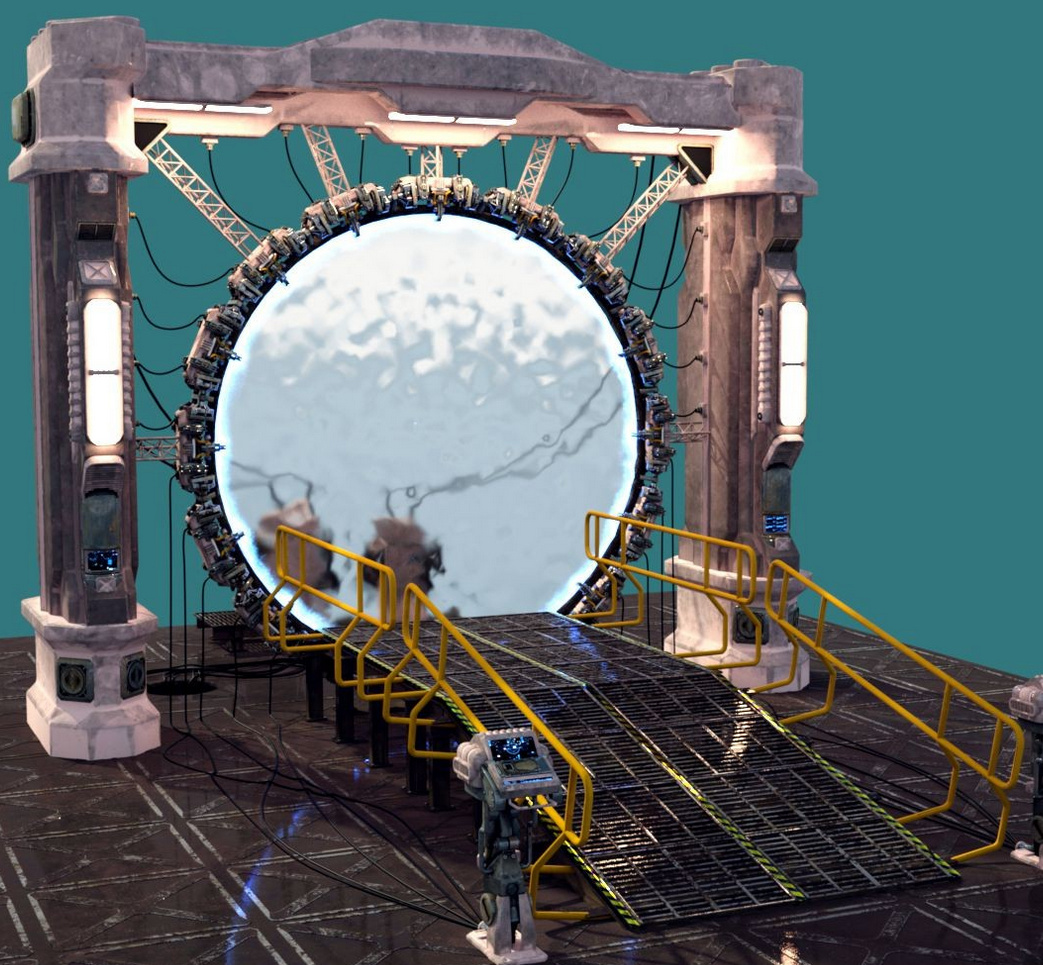
A detailed generic Time Gate or inter-dimensional gate.
Atlas Rover is for Poser, but looks like a vehicle probably best seen looming up into a Vue atmosphere.

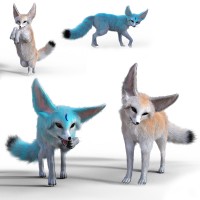
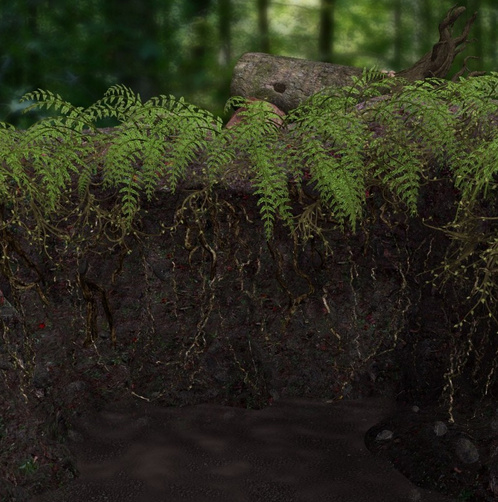
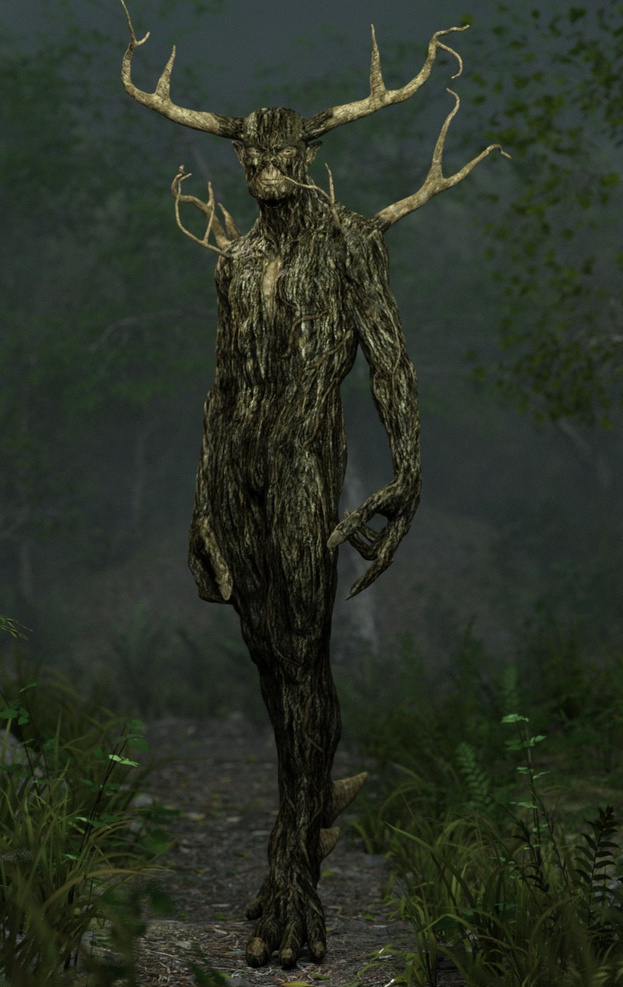
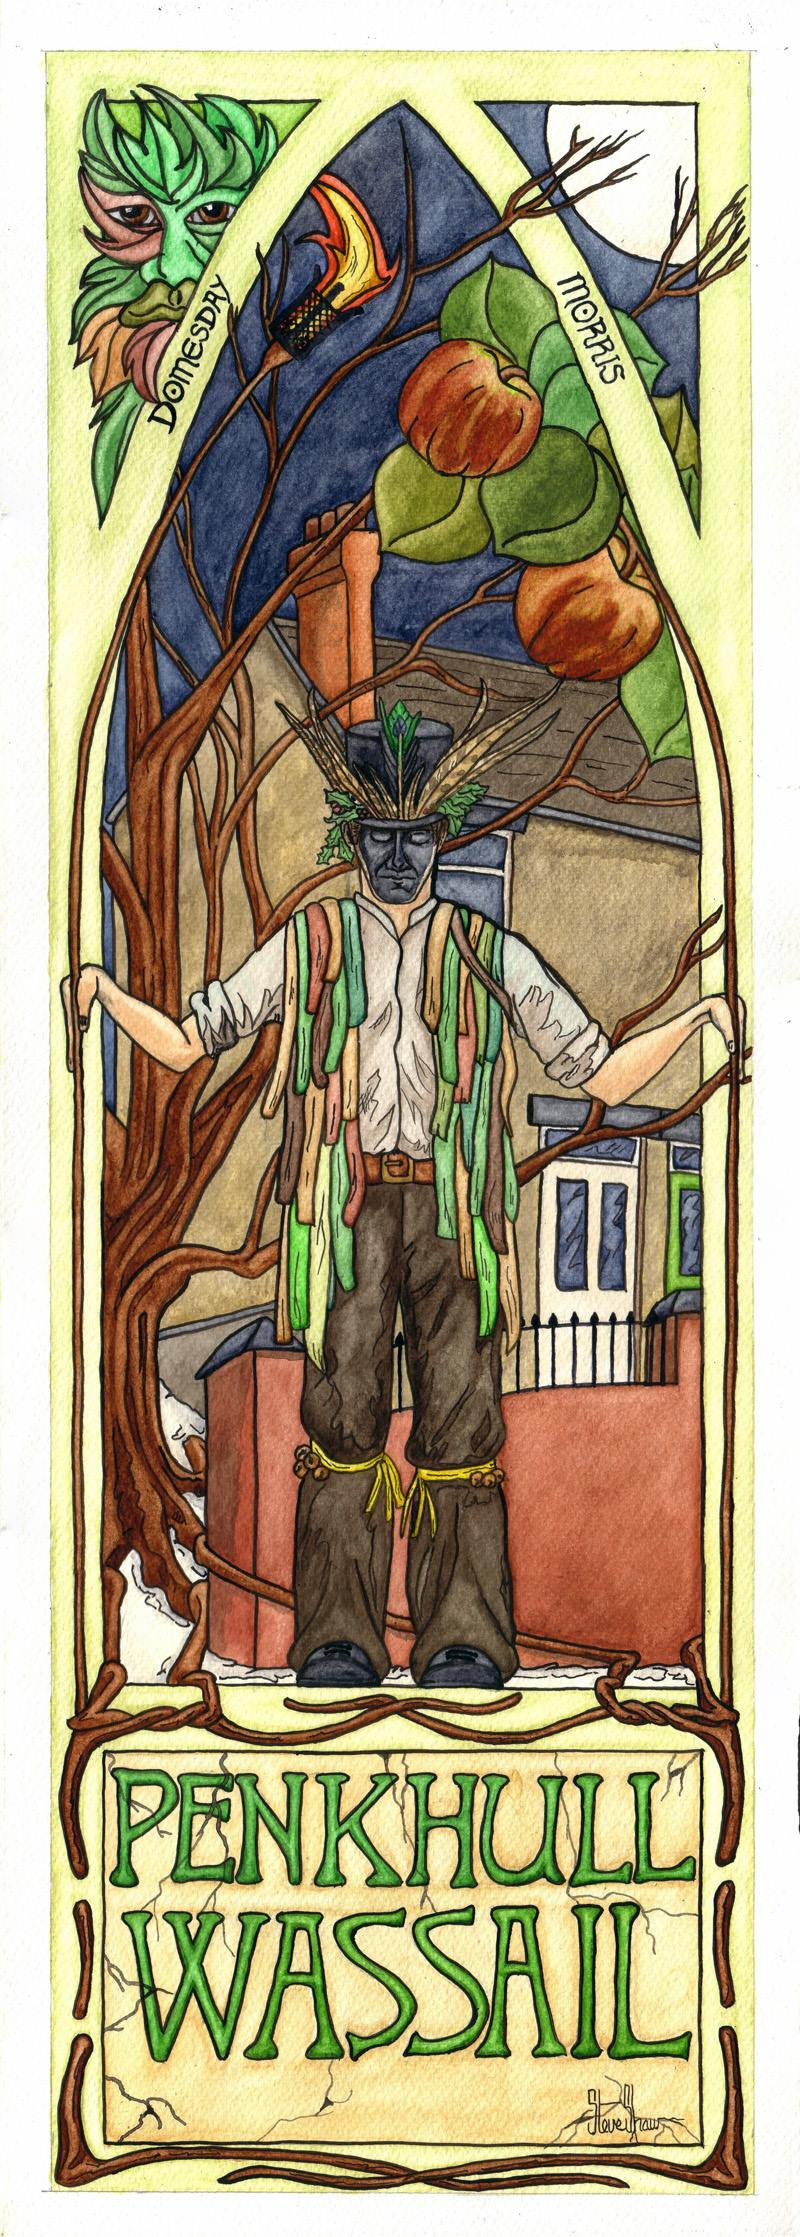
The AntFarm’s Twiglet Wood Spirit is lovely, and also currently sensibly priced at $10.47.


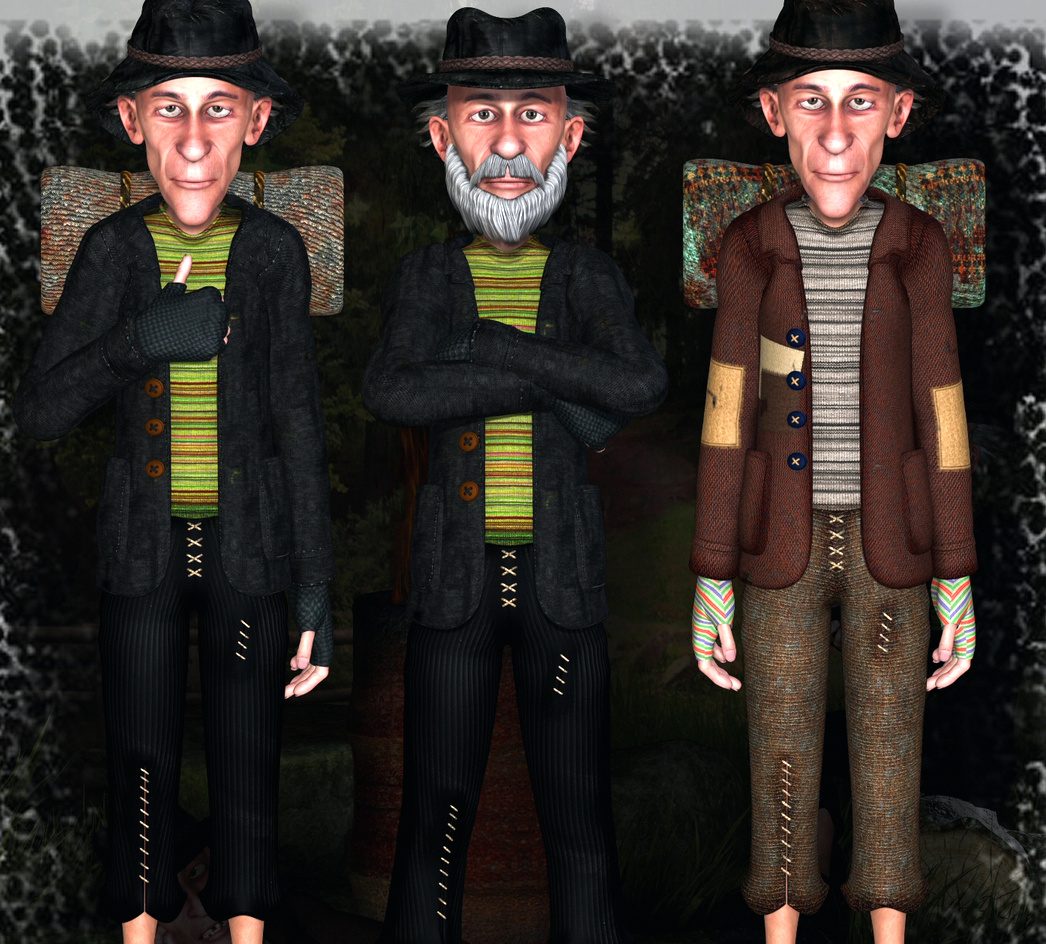
Robbus Goblin HD for Genesis 3 Male has a lot of detail and character.

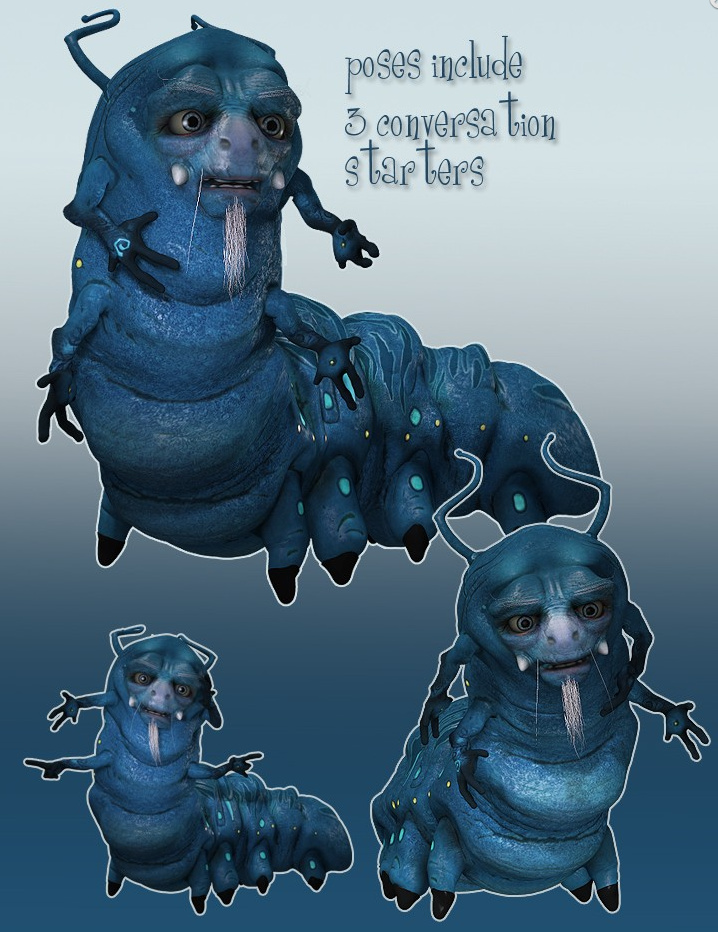
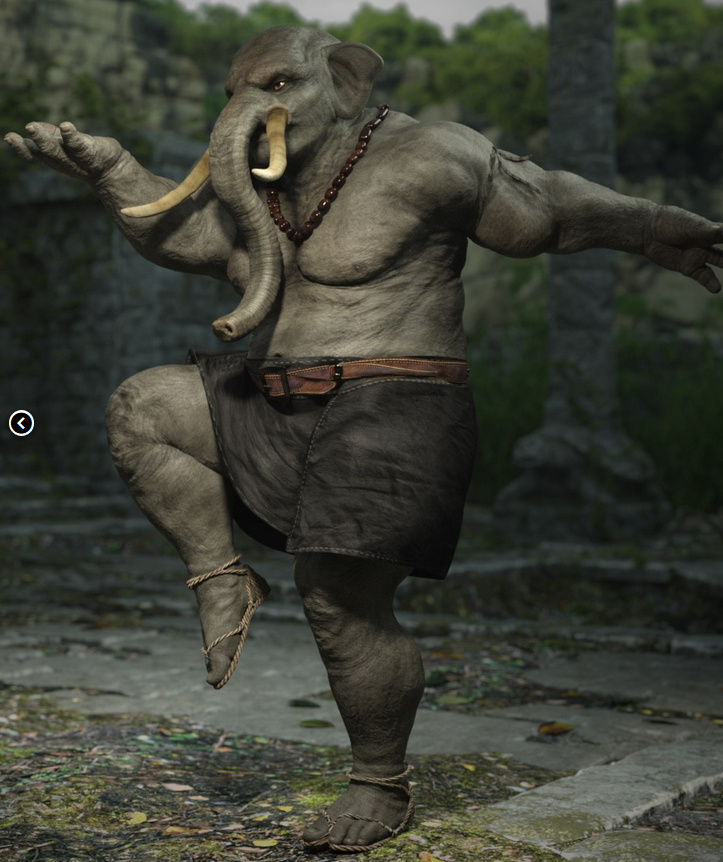
EleBeast for Genesis 3 Male also has both detail and character.
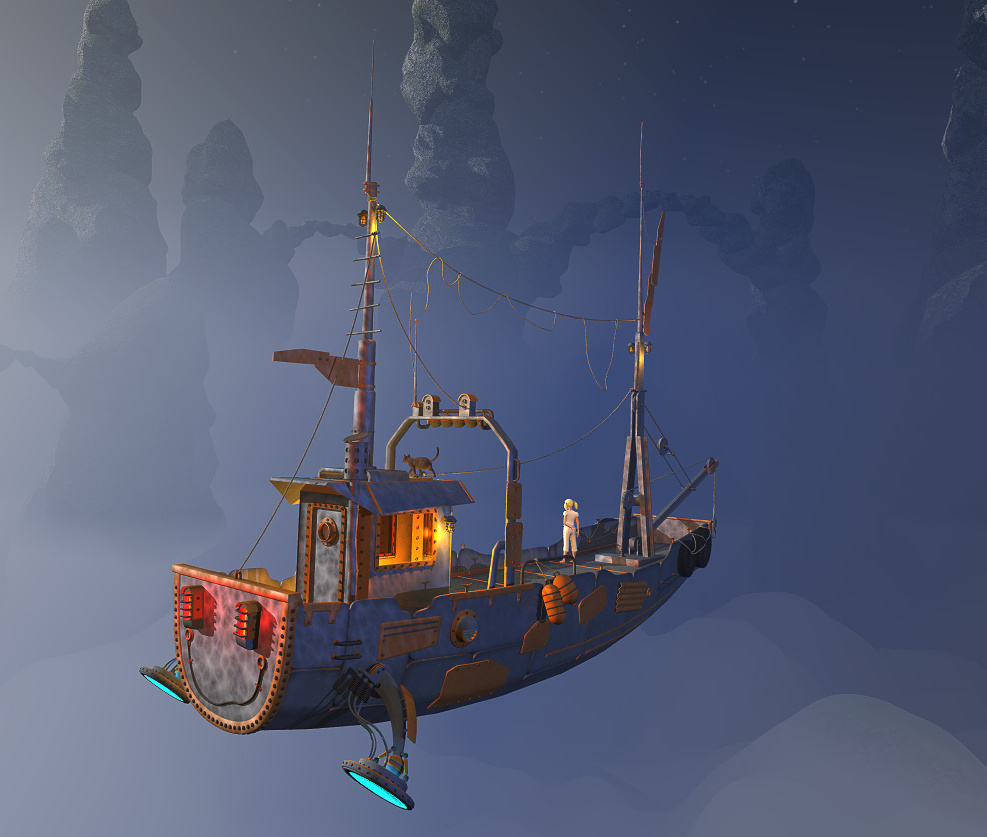
A storybook flying fishing boat, by 1971s.
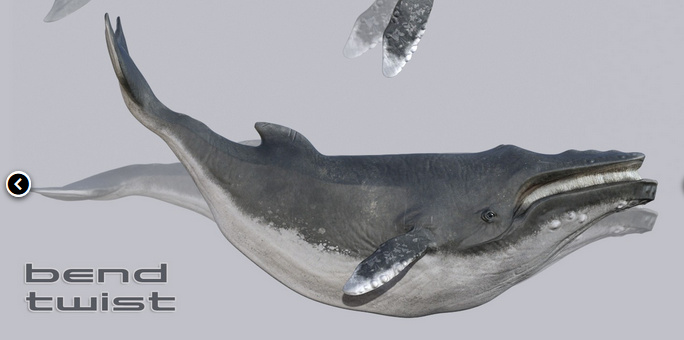
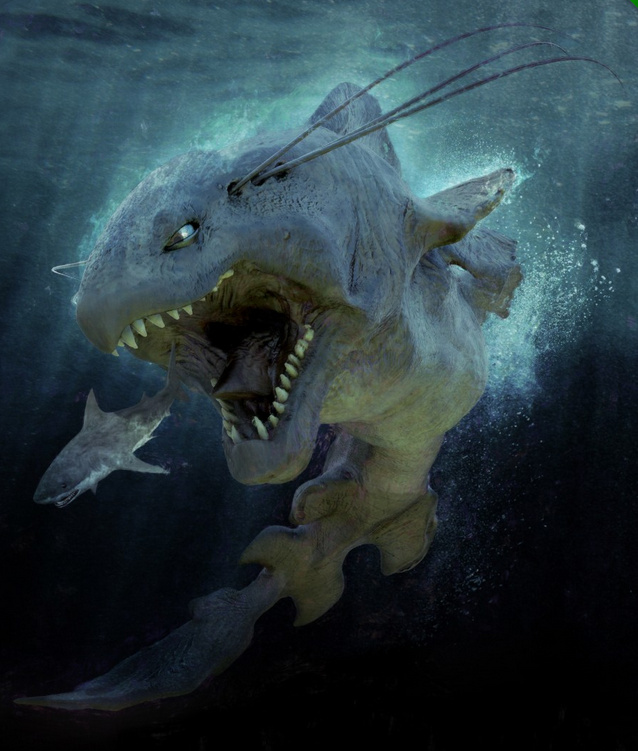
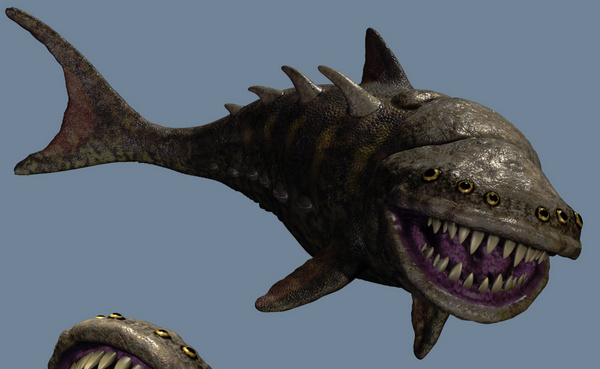
Need a fish for your fishing boat to catch? Dinosaur expert Dinoraul has a new Fantasy Fish.
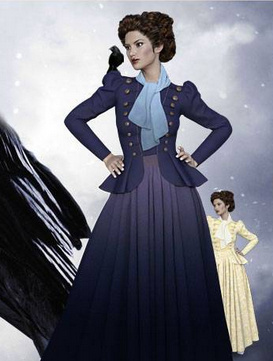
Vanessa Marquise Outfit for Genesis 3 Female looks like a good steampunk outfit base.

Sadly no President Trump -alikes for M4, this month. I would have thought that someone would have spotted that opportunity by now.