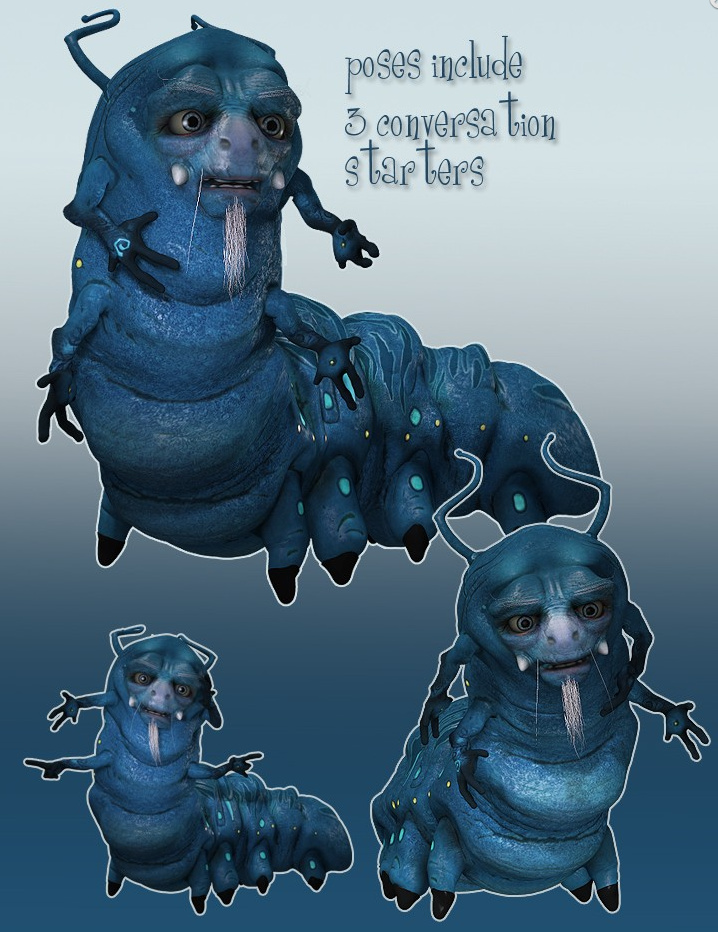
I’ve had some time to test my newly purchased Mr Happy for Michael 3 and Mutant Add-On Pack for Mr. Happy, both bagged for $15 on the recent Renderosity all-store sale. They would normally have been $32 together and never seemed to ever go on sale, so I was very pleased to find them finally doing so.

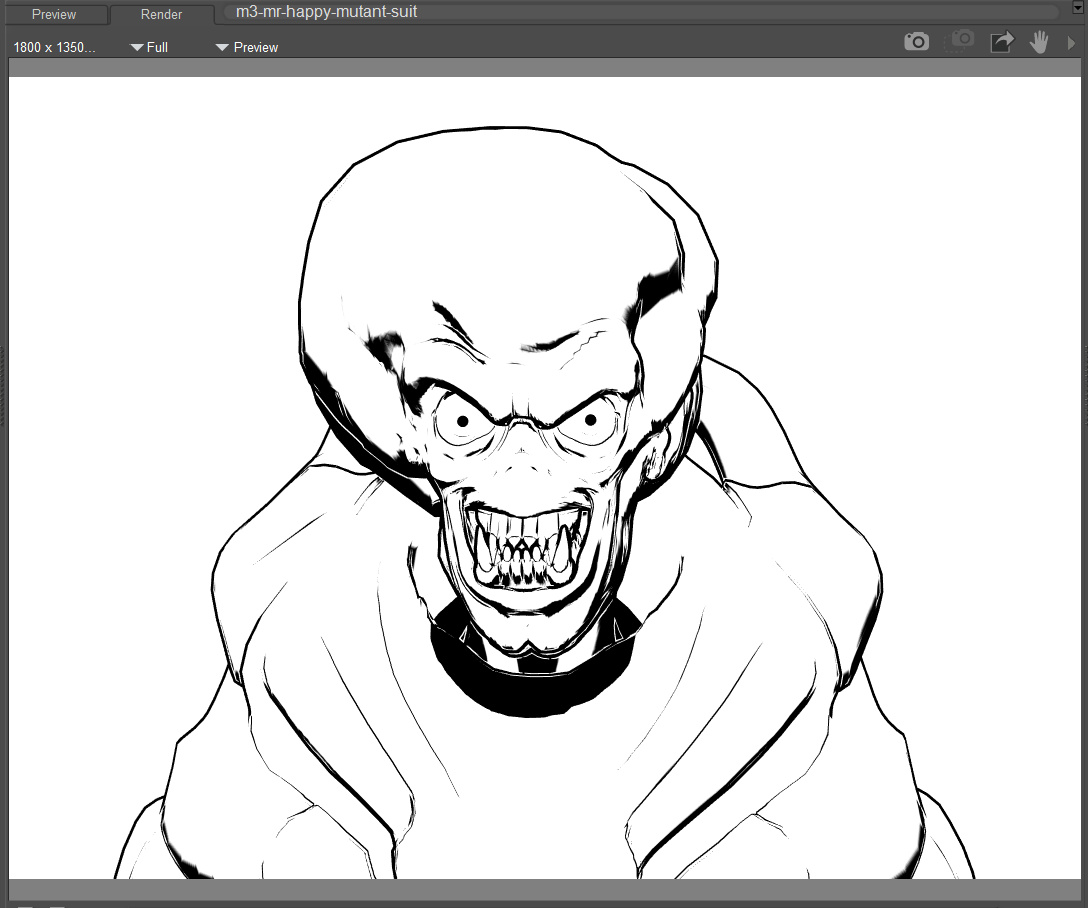
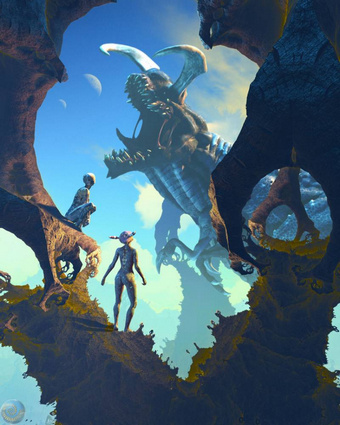
Although still pricey (by my standards) even at the sale price of $15, as you can see it’s been worth it. I’ve got a great retro M3 toon alien character and he toons nicely in Poser 11’s real-time Comic Book mode. Plus I also have the base Mr Happy skeleton character as well. The LARVA for M3 spacesuit works fine with the Mutant, with a little adjustment of a neck morph dial. I see the suit is currently on sale from the maker for just $4. You do of course need M3 to run all this.