Ah, the smell of a new freebie cover-disk, physically taped to the cover of your latest inky print magazine. The careful finger-wrestling needed to get it away without damaging the cover, the sensual slide into the whirring CD-bay in your PC.
But that’s an experience that’s gone down the memory-hole, in these days of broadband abundance and digital magazine delivery. Yet the giant garage-sale that is Archive.org can recreate the old-time feeling somewhat, with its software archive of CD ISOs (for which you need Daemon Tools Lite to mount as a browsable disc on your PC).
One good thing about the arrival of the first wave of broadband and DVDs was that the magazine cover-discs became very chunky and high-value, as the magazines strove to compete with the Internet from about 2006-2011. While nearly all the software they carried has been superseded, there are still free 3D models to be found on such platters…
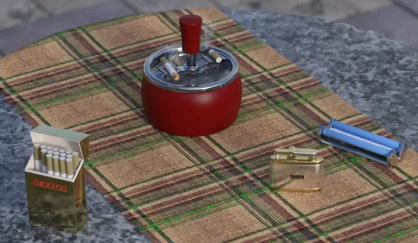
Stuff for Poser Sampler (Zygote Media Group) (1998)
At 260Mb this was a CD, and small enough to get and test. Not worth having, although I did spot the old Zygote doe (deer), which when remapped and furred should look acceptable even today. Plus, light enough to have an animated herd.
Enter 3 CD-ROM (2005)
Apparently has the “DAZ Studio Base Content” install for DAZ Studio 3.
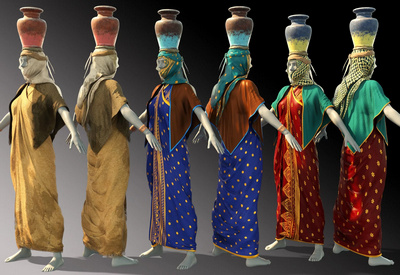
3D World Issue 110 CD (2008)
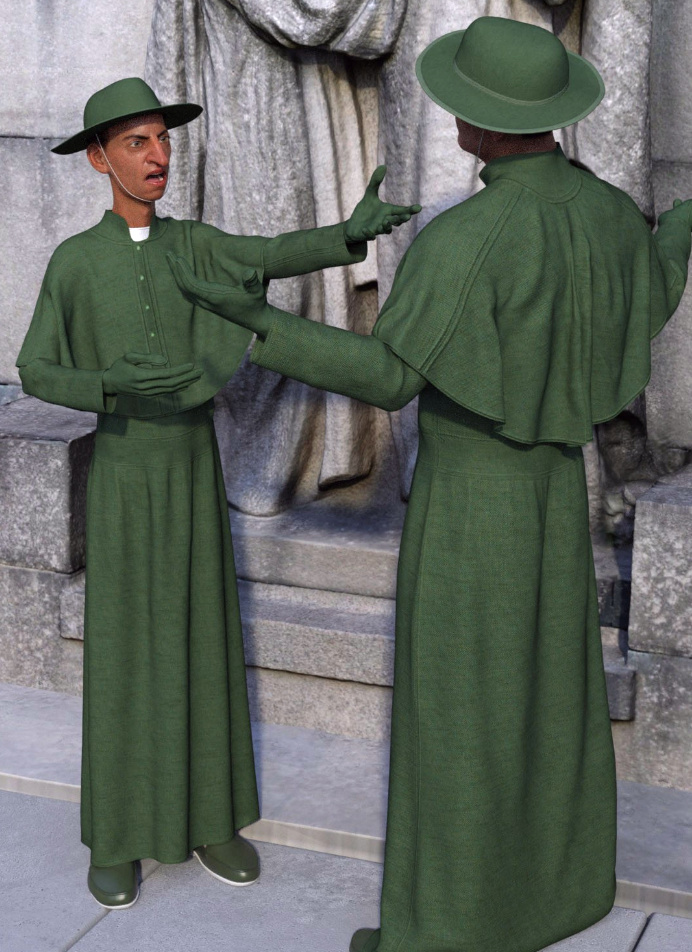
“Turbo Squid contributes a broad selection of clothing-based models, while linefour supplies fabric textures and models. DAZ Productions is providing its popular Morphing Fantasy Dress for free, along with supporting expansion packs and other clothing assets. Poser World also offers a quartet of real-world attire.”
3D World Issue 111 CD (2008)
“the complete scene files for this issue’s Vue and After Effects double-header [tutorial], including a deer model provided courtesy of DAZ Productions.” [possibly the same as the one on the Zygote sampler linked above]
3D World Issue 112 CD (2009)
“a rigged hummingbird figure for Poser from Runtime DNA, and two substantial model selections from ModelUP and Flat Pyramid”.
3D World Issue 113 (2009)
“Trial version of the aniMate plug-in for DAZ Studio, along with an exclusive sampler of animation clips for use with the software”.
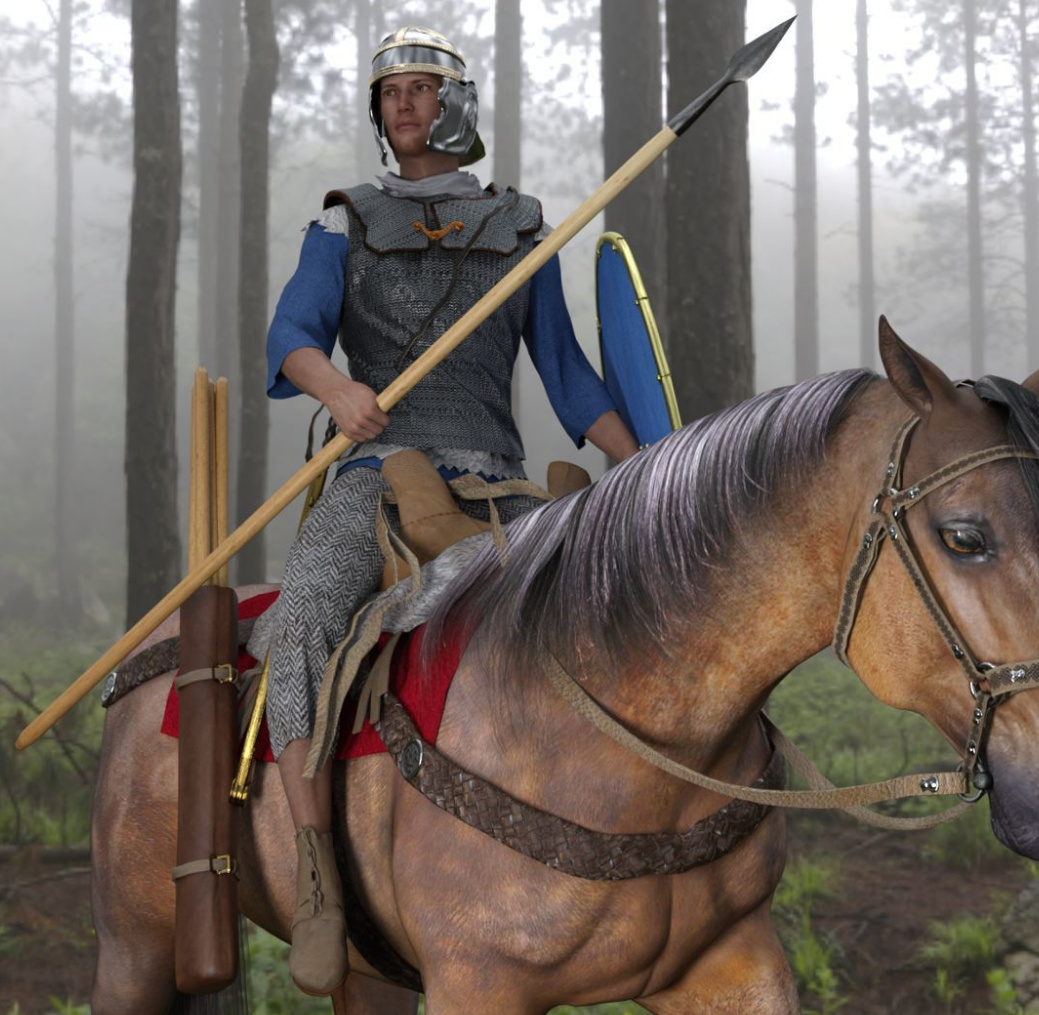
3D World Issue 114 CD (2009)
“DAZ Productions contributes Michael 3.0 Base, a complete rigged figure with bonus textures, morphs and clothing and hair props”
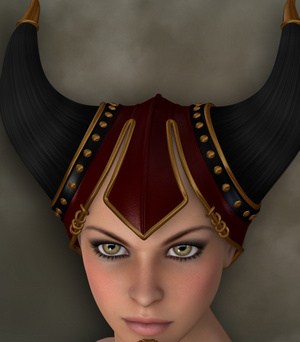
3D World Issue 116 CD (2009)
“DAZ Productions is in heroic mood, offering a selection of bodysuits and textures for Michael 4 and Hiro 4, as well as The Freak”.
3D World Issue 119 CD (2009)
“figure models worth $233 from aXYZ design, buildings worth $232 from Flat Pyramid, a Poser figure pack”.
3D World Issue 120 CD (2009)
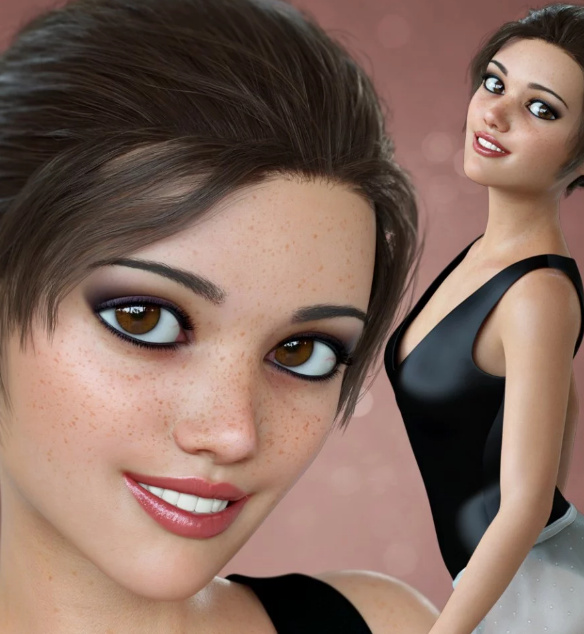
“a set of five high-quality models from Amazing 3D Graphics, an ultra-detailed human figure from ShineFX, and a collection of assets for DAZ Productions’ new The Girl 4 figure.”
3D World Issue 121 CD (2009)
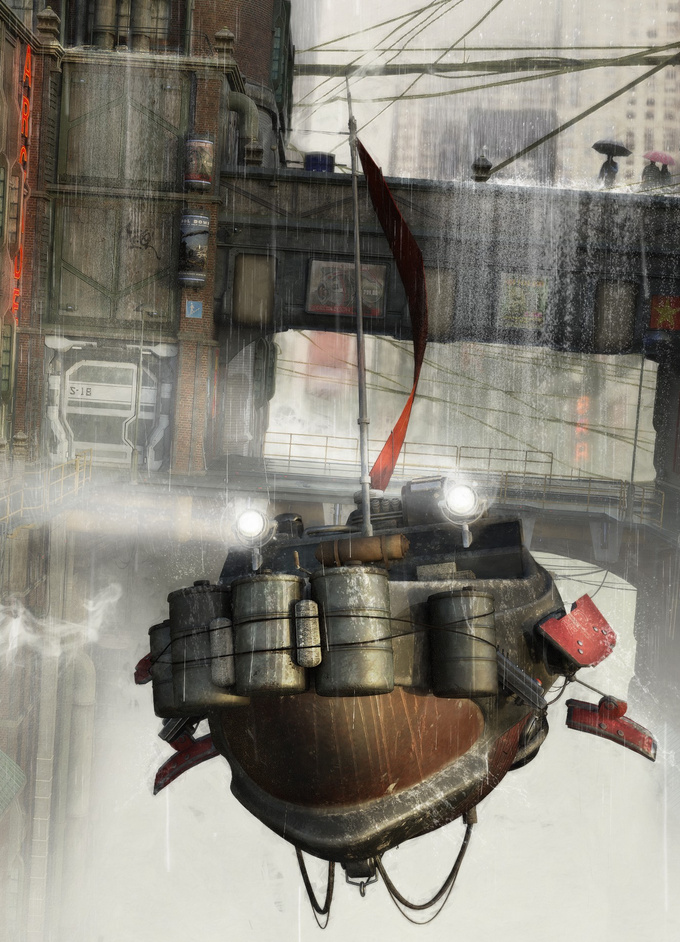
“3d02.com offers five models in 3DS, MAX, OBJ and other formats, while Flat Pyramid provides a brain model for our 10-Minute Tutorial. DAZ Productions contributes a range of future vehicles for science-fiction renders in DAZ Studio or Poser. DAZ Studio 3 is also complete on the disc.”
3D World Issue 123 CD (2009)
“models from TurboSquid, DAZ Productions and Vanishing Point” [and] “the full version of Shade 8.5 Professional, as sold for $899. Mac and Windows versions are provided with tutorials” [e-frontier’s 8.5 release of its old-school 3D modelling software was 64-bit, and apparently there was PoserFusion connectivity with Poser. Superseded now by better options].
3D World Issue 124 CD (2009)
“models from Bluebrain 3D and The3DStudio.com, along with Poser assets from RuntimeDNA and Vue assets from Cornucopia3D”
3D World Issue 125 CD (2010)
“models from TurboSquid and ShineFX, along with DAZ Studio and Poser assets from DAZ Productions”
3D World Issue 127 CD (2010)
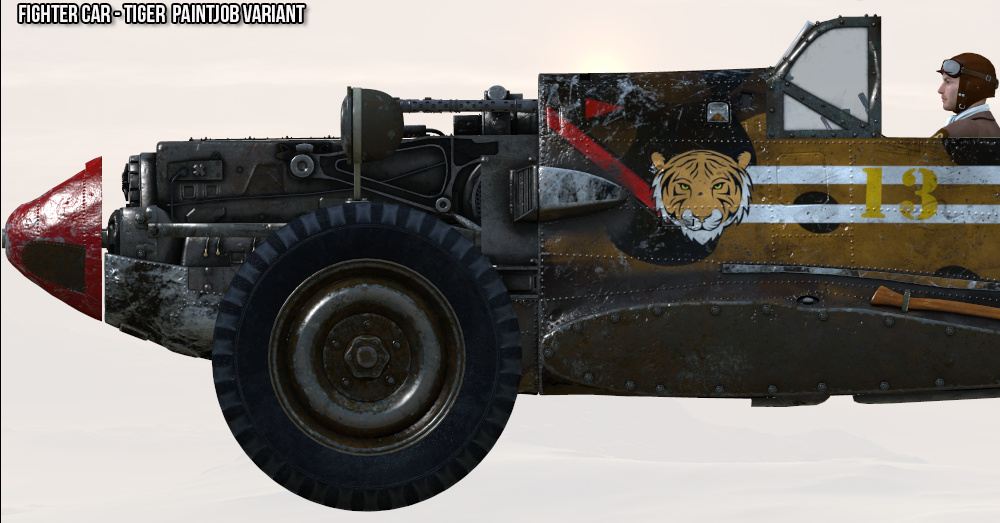
“a mammoth line-up of vehicle models and other assets. There’s a whole traffic jam’s worth of car models from Falling Pixel, The3dStudio.com, Arte-3D and Cornucopia3D, plus more modes of transport from DAZ Productions and modelLab.”
3D World Issue 132 CD (2010)
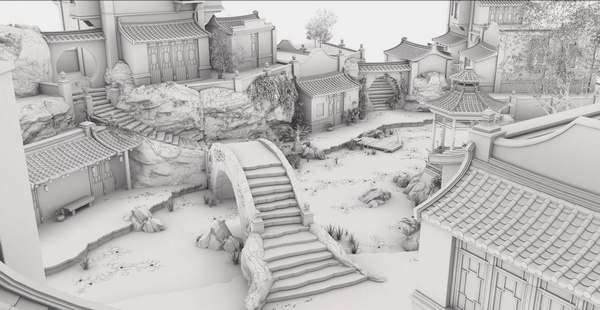
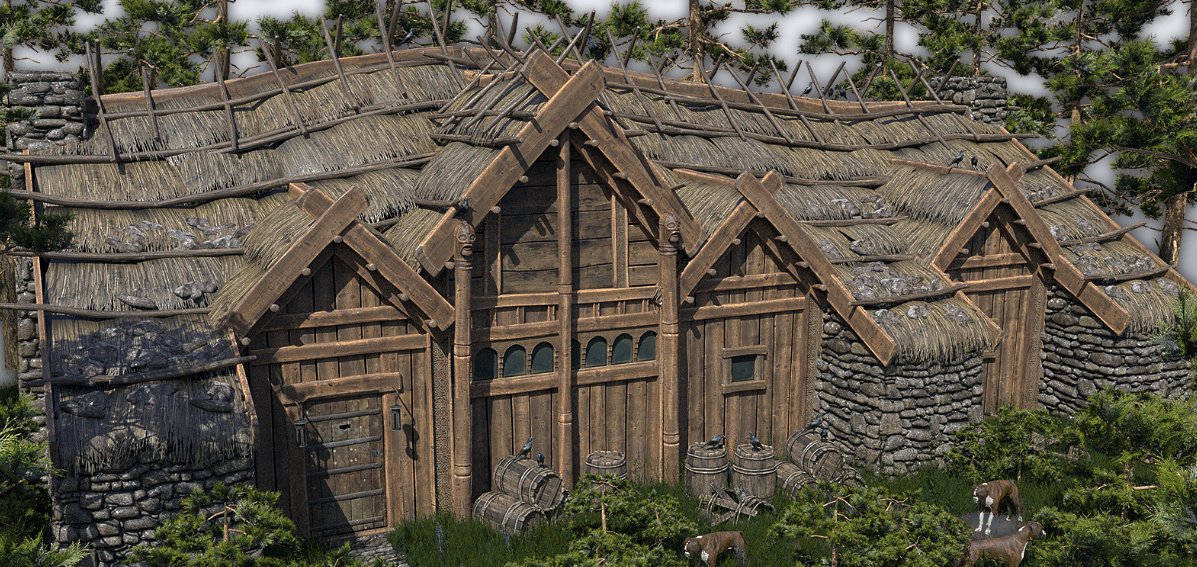
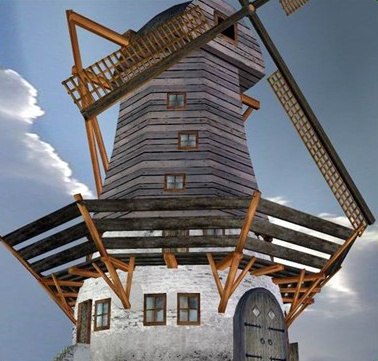
“an impressive collection of architectural models from Intero Visuals”
3D World Issue 134 CD (2010)
“models from The Game Creators, PROVIZ3D, Xfrog and Poser World”
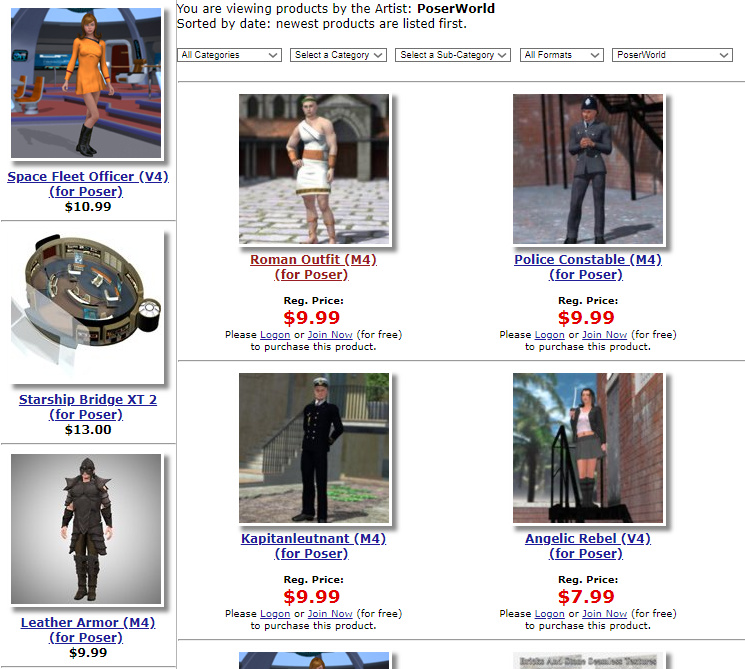
3D World Issue 136 CD (2010)
“Assets include high-quality models from Joseph Harford, Dark Edge Design and Poser World.”
3D World Issue 137 CD (2010)
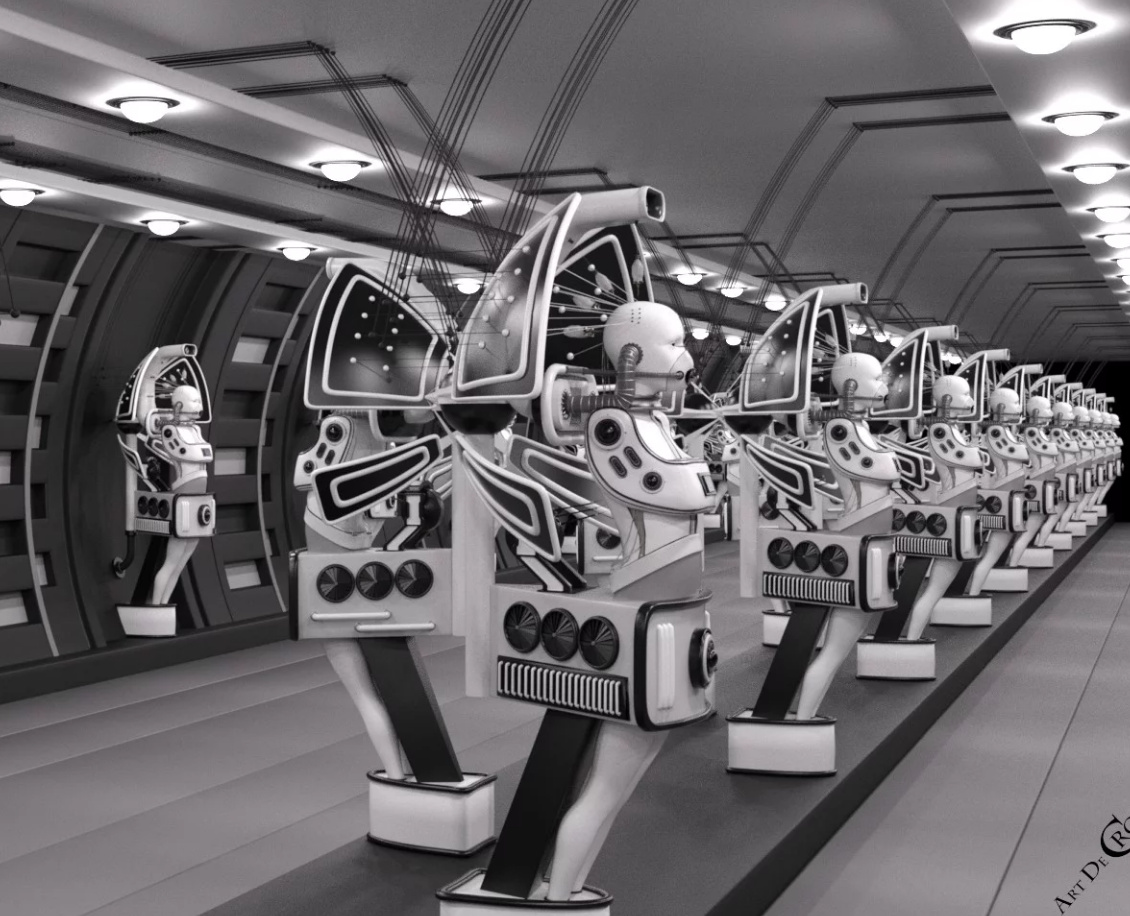
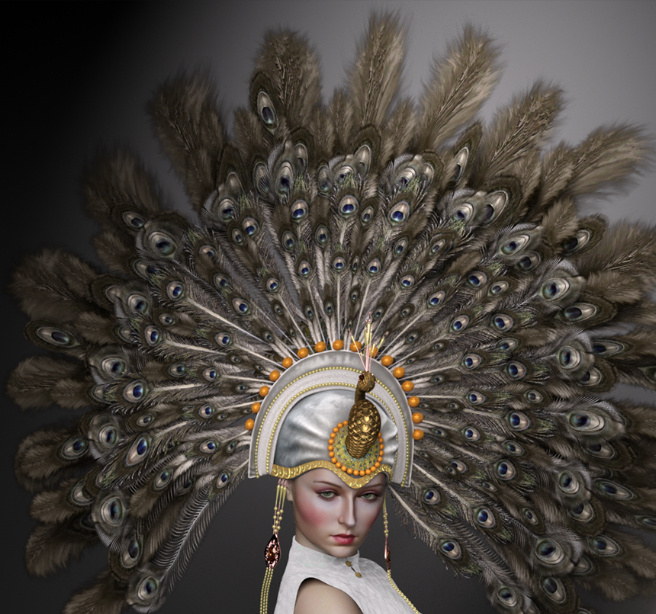
“high-quality models from Runtime DNA”. Being Gynoids 2 and 3 for V4, retro robot babes. Vol. 1 is still on the DAZ Store.
3D World Issue 139 CD (2011)
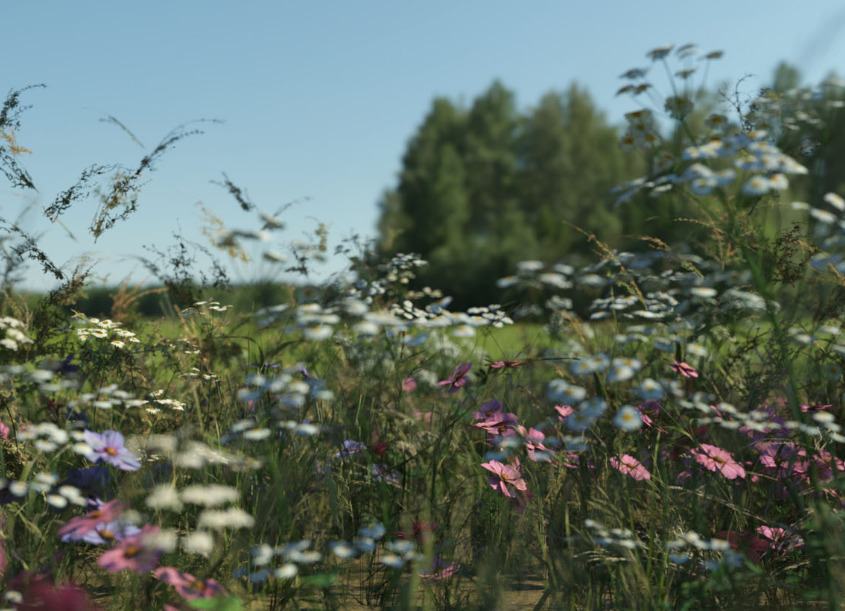
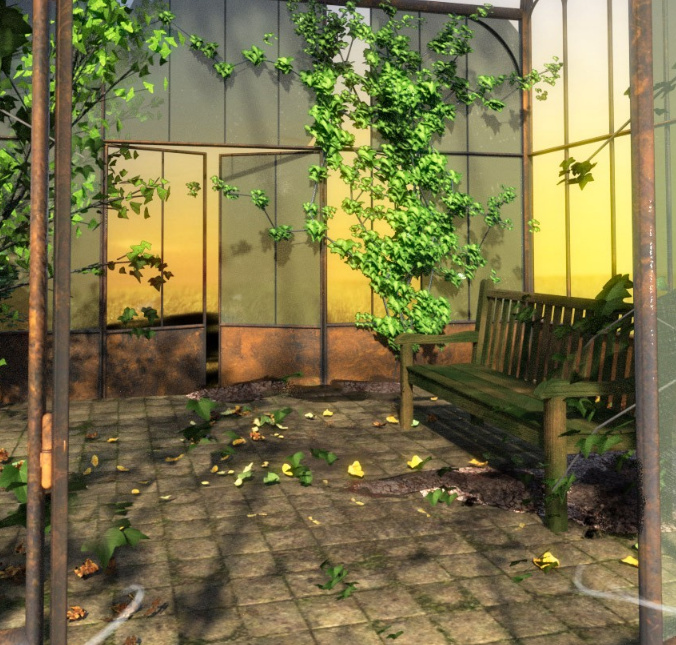
“the full version of Vue 8 Frontier from e-on software [and] all of this issue’s scene files” [the $99 entry-level version, Poser 8 import, only 2-core rendering, may have needed online activation]
3D World Issue 143 CD (2011)
“models from DAZ 3D”
3D World Issue 149 CD (2011)
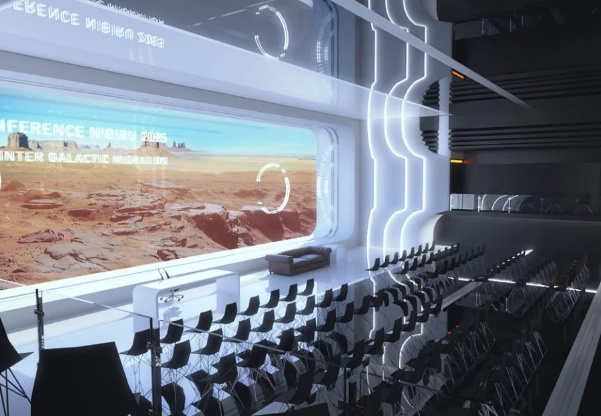
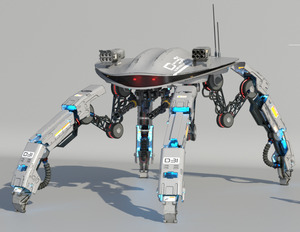
“a full version of DAZ Studio 3 Advanced [DAZStudio_3.1.2.32_Win64.exe] with serial. There are also two sci-fi DAZ models: an environment [corridor] and a battle suit [Epsilon for M4].”
AOL File Library – 9500 to 9599 series (December 2014).
An archive that includes “[9557] Poser Library”. Which doesn’t seem to be a typo for “poster”.
There you go, that’s the lot! It’s a ‘lucky-dip’, if you have superfast broadband and want to try downloading and mounting the discs. To mount ISOs on a Windows 7 workstation you want WinCDEmu.