
The sculpting tool ZBrush has a new lite version ZBrushCore, stripped down to the core to make it easier for beginners. Currently set to launch October 14th, and on a special pre-order offer of $119.


The sculpting tool ZBrush has a new lite version ZBrushCore, stripped down to the core to make it easier for beginners. Currently set to launch October 14th, and on a special pre-order offer of $119.
Spurred by a misleading magazine blurb, I’ve been trying to figure out Corel Painter 2017’s new supposed 3D paintover capability. I thought perhaps you could import .OBJs and paint on them. Nope, despite what the blurb says…

OK, so can you somehow import a 2D render of a 3D object, with the material-zones intact as masked layers and ‘paintable into’? Nope. Two of the reviews say “no”.
You actually just import a flat 2D outline-masked PNG render and… erm, paint on it. Yup.

Not so impressive as it sounds then, and you can do much the same with Photoshop. Maybe I’m misunderstanding it, but… how is this even being touted as a new feature?
Poser 11 users have another of the scheduled upgrade patches waiting in their Smith Micro Download Manager. The SR5 patch (11.0.5) for Poser 11 is ready for download…

My selected highlights of this update are…
* SuperFly renderer: “Enabled rendering in background (Pro Only)”. Wonderful.
* SuperFly renderer: “Reduced memory consumption during GPU rendering (Pro only)”.
* SuperFly renderer: “Enabled volumetric effects for GPU rendering (Pro only). Quality is limited compared to CPU rendering.”
* General performance and stability updates, “Improved application stability by addressing some memory leaks.”
* Content Library improvements, including “Further improved browsing performance” and better filtering.
* Character creators will also enjoy many improvements and fixes. The .OBJ export is also improved.
* Apple Mac users get “High Resolution support, improving experience on Retina displays” (MAC OS X only).
* 3DS Max 2017 users have had support added to PoserFusion (Pro only), enabling you to send your scene to the latest version of Max for rendering.
If you’ve been away over the summer, and are only just settling back into university or work, don’t forget to catch up with the summer issues of the free Digital Art Live magazine. This free monthly magazine is Poser and DAZ -friendly and is devoted to science-fiction art and artists…
Issue 9 of Digital Art Live : the Blender special issue. A special issue for Blender artists.
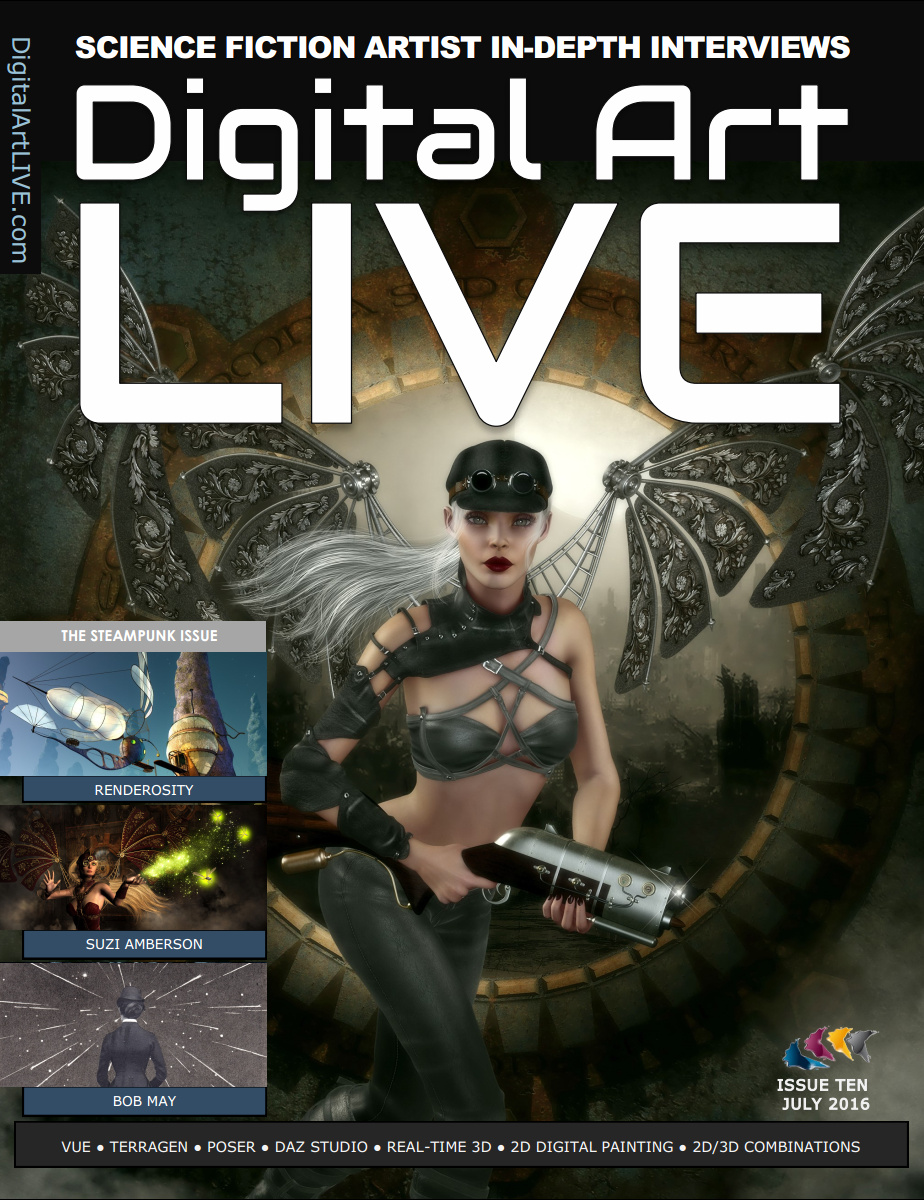
Issue 10 of Digital Art Live : the Steampunk special issue.
Read Issue 11 of Digital Art Live : Future Landscapes and Seascapes special issue.

Next up is the September issue, set for release any day now. Contact Paul to be put on the mailing-list. September’s theme will be Second Skin: tattoos, future-skin and cyber-skin.
September cover: “Reality Sisters” by Rian Bergwerff. DAZ Studio and Reality.
Ever wondered why Photoshop doesn’t have real-time line-smoothing for its brushes? It’s probably a market-driven thing, rather than about the technology. My guess is it’s something to do with not wanting to cross into Adobe Illustrator territory.
Anyway, there is a way to get excellent line-smoothing in Photoshop. You just install the Lazy Nezumi Pro plugin. The software’s landing page makes it look rather complicated, but that’s mostly just the settings options. It’s actually quite simple, and you’ll get good results with default presets. It’s very light on your PC system resources, too. It’s only for Windows.
Also works with Corel Painter, Sketchbook Pro, Manga Studio and others, though they all have line-smoothing in one form or another.
I felt like reading The Lord of the Rings again and so was very pleased to hear about Phil Dragash‘s recently completed project. He’s a Tolkien fan who has completed an excellent 48-hour unabridged reading and voicing of the complete text of The Lord of the Rings, and even the “Durin’s Folk” part of the Appendices. So listeners get the useful and beautiful ‘slow build-up’ chapters that are usually skipped in the rush-rush-rush to get out of the Shire, such as: the Crossing of the Shire; the Elven meeting; the Old Forest; the Barrow-downs; Bombadil and Goldberry. Nor is there any omission of Bill the Pony; Elrond’s Council speech; the Scouring of The Shire, etc etc. But it seems we don’t get most of the Appendices, such as “The Tale of Years” or “Of Hobbits”.
Phil has absorbed all the ‘pro guidance’ provided by the sound-design for the films and the excellent BBC adaptation, in terms of how to do the audio characterizations, sound effects and voice-work. On top of the result Phil has woven in Shore’s superb music for the film trilogy, to try to make an ‘ultimate’ The Lord of the Rings experience — all the ‘pro approaches’ to the work assimilated, plus the unabridged text of the book, plus the ultimate Cinemascope of Your Own Imagination.
Phil’s final-final version is “2013-2014 (192kbps)” for which he went back and touched up his early few hours of reading up to “A Shortcut to Mushrooms”, to get the characterizations more in line with what they became in the later readings. This version rocks in at around 4Gb in size. I’m told there’s also a much more highly compressed version knocking around, which somehow squeezes the same files into about 400Mb, and is probably a good option for playing from an older Kindle eReader or similar.
I’ve only heard the early parts so far but it’s obviously an amazing work and tribute to J.R.R. Tolkien. It should widen and deepen the fan-base, by bringing the more intelligent of the film’s fans into a reading of the full book in an accessible manner. Of course it’s an unofficial and non-commercial and free fan-project, but it is highly professional and very well-regarded by true fans. Phil is also an artist and he has made matte paintings to accompany the audio experience…

The official alternative is the excellent commercial unabridged reading by Rob Inglis. This is a straight reading, and includes the Appendices. The Appendices often drop some additional “what happened next” plot development snippets, taking the story beyond the end of the book. Inglis has also read The Hobbit in the same manner. His reading is very professional, but he’s too English. I keep catching all sorts of intonations in Inglis that, to a native English-speaker of long-standing, convey all sorts of unwanted and very subtle subtexts and social-class shadings. Dragash, being Croatian but an absolutely superb mimic, is much much better in that respect.
There are also several well-made BBC Audiobooks dramatized versions. These are abridged, I seem to remember, with no Bombadil or Barrow-downs, but they do have many of the songs put to to music and sung with the sort of rough zest with which most of them need to be sung (steer well clear of professional middle-class folk musicians in studios ‘doing Tolkien’ with twinkly harps, is my advice — they set my teeth on edge).
Lastly, beware of Amazon’s thoroughly confusing jumbling together of different The Lord of the Rings audio readings as if they were the same item. Judging by the reviews there some unsuspecting people have ordered a dire ‘American voices’ unabridged reading (NPR/The Mind’s Eye), hoping to get the BBC or Inglis audiobooks.
Update: I am finding the superb Dragash reading just very slightly sibilant, when using Windows Media Player and wide-response headphones (Phillips SHD9000/10, with 17-23,000Hz response. They’re now called the SHD9200/10 and boast 17-24,000Hz). I switched to the free open source Impulse Media Player, which has graphic equalizer controls. I felt that using the following slight tweak was good for increasing the in-a-cinema feeling of the reading, and taking the edge off the very slight sibilance…
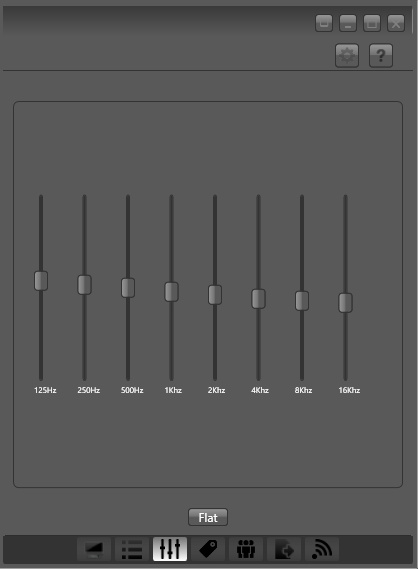
The above slightly boosts bass while reducing treble. You could also try a tiny pitch shift of -1 in Impulse Media Player, in combination with the above.
Here’s a quickstart / aid-to-memory on how to load a Poser Furries Melody/Micah character with one of the creature face morphs. These are older characters, but look great and work well with the new Poser 11 comic-book effect…
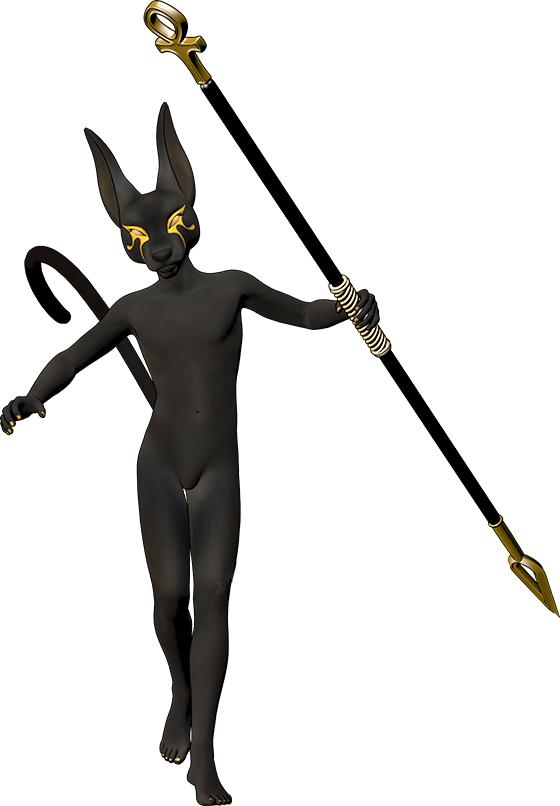
Note that these figures have dependencies. Melody and Micah need Melody for A3 which requires the base character Aiko 3, and Micah for Hiro 3 which requires the base character Hiro 3. Phew!
Melody for A3 and Micah for Hiro 3 are available together in a bundle.
Quickstart:
1) Make sure you have Library | Figures | DAZ Aiko 3 and DAZ Hiro 3. Having these required base figures will enable you to successfully load the Melody or Micah base figure. Then load Melody or Micah: e.g. Library | Figures | MelodyFBM
2) Go: Library | Poses | CDI folder | Furries. Apply !INJ Furries Micah. If this !INJ injection is not applied, the head shapes have nothing to fix onto. Yes, it’s counter-intuitive. Surely MelodyFBM has the morphs already? But no, not for the head.
3) Now you can load the huge range of awesome Hollywood-level Head presets from Content | CDI folder | Furries | Faces
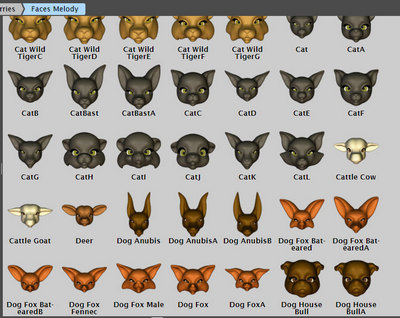
The Base Figures are in:
Runtime\Libraries\Character\Melody\
Runtime\Libraries\Character\Micah\
The Faces are in:
\Runtime\Libraries\Pose\CDI\Furries\
Skins and furs are in:
Runtime\Libraries\Pose\Melody\
Sassafras also made some excellent poses, found in ..\Pose\CDI\Furries\
Save your scene file, to serve as a future quickstart.
You may also want to save a preset pose so that the lower legs and feet are a bit more animal-like and not flat-footed.

Clothing:
CrossDresser 4.0 has Aiko 3 and Hiro 3 licenses for CrossDresser, which I’d imagine would enable clothing conversion since Melody and Micah are built on these figures. All the old Aiko 3 and Hiro 3 clothing should theoretically also work, but you may need to add these at the start rather than the end of the build-and-pose process, when the characters are still in a t-pose.
I had cause to go looking for a good simple “Ken Burns-style” slideshow software, to make a really simple ‘voiceover documentary with zooming and sliding pictures’. It had to…
* be Windows standalone software, running on Windows back to Win 7.
* be simple, cheap, but up-to-date.
* have ‘Ken Burns style’ transitions, and those should be fully adjustable.
* have fast clear YouTube output, with a small file size for upload over slow broadband.
Surprisingly there’s no such open source software out there, other than some old stuff for Linux. And only a few modern Windows applications that offer Ken Burns style transitions, or at least advertise the fact that they do and use that name.
After my searching and comparing, the German Ashampoo Slideshow Studio HD 4 came top of the small heap in 2016 for standalone Windows software. It’s $40, comes with a whole lot of cheesy transitions and some even cheesier online marketing. But I’ve tried it and it’s very capable and beautifully easy-to-use bit of software, with excellent simple/fast rendering output. It also has the needed Ken Burns style documentary transitions…

So it’s affordable and very useful for rapid production. Slap in your hi-res photos, record a basic voiceover, tweak the transitions, add titles and credits, then output the video. You’re done.
However, you can’t add any sort of video clips and neither can you adjust the audio balance between a music .mp3 and your recorded voiceover. A music .mp3 would thus easily overpower your recorded voiceover and FX, in the final video output. Nor can you boost the amplitude of your voiceover recording, if you have a soft voice. However, one can work around the audio problem, and without having to resort to some huge lumbering video editor.
The complete workflow for making a Ken Burns style slideshow documentary video in Slideshow Studio, without any ‘talking head’ video inserts, would thus be:—
1) Do the research, get the facts straight, and ideally work from the original sources (or as close as you can get). While doing the reading and research, create a list of your likely image-search keywords and phrases.
2) Rough out the voiceover, but only very loosely, just in terms of getting the subject’s basic sub-topics or talking-points in the right order.
3) Then do the intensive picture research, to find the best and most usable hi-res pictures for each of the points you want to address. (On the basis that it’s no use writing a full script and recording the voiceover first, only to find you then can’t get the public-domain or Creative Commons pictures or maps needed for certain sections).
4) Use Slideshow Studio to assemble a simple timed-sequence of your pictures. I’d do this without using the Slideshow Studio wizard, as a wizard-made sequence of slides doesn’t seem to re-flow nicely when you try to add cross-fades between pictures (while also keeping the Ken Burns effects on them).
5) Add titles and credits, and get the picture sequencing absolutely right, so you have the full length of the final video 98% done. (Don’t forget to credit the makers of your Creative Commons pictures, or pictures from museums that offer public domain works. The same goes for texts from the likes of Archive.org and Hathi, and especially short ‘fair use’ quotes found via Google Books).
6) Now preview the sequence in Slideshow Studio while adding a rough and mumbly ‘rehearsal voiceover’, and keep at it until you get the timings right and work out which of your asides and digressions will need to be left out. You’ll see that some pictures will need to be on screen for longer, other for a shorter time.
7) Then, while your finalised sequence of Slideshow Studio slides plays back in preview mode, in another software (such as Audacity) you’ll simultaneously record your final “give it all you’ve got” voiceover. You may want to do this from a script, but a more conversational and impromptu style may flow better and have more bounce. Because you’re recording into an audio editor, rather than Slideshow Studio, there will be less pressure to get the voiceover exactly right and to ‘hit all your marks’ as each slide comes up.
8) In the free Audacity audio editor you’ll then trim away any slight stumbles in your delivery, and boost the depth of your voice (a high squeaky voice, and a recording which opens with a lot of stumbles, may cause your YouTube audience to flee instantly). Then increase the amplitude of the recording, because a ’12 inches from the microphone, with a wind-sock on’ recording will inevitably be too quiet and soft. And a ‘cheap gaming headset, microphone on my top lip’ recording may be too loud and raspy.
You may also want to place a public domain, or SonicFire, music track underneath the trimmed voiceover. Then have it fade in and out, so that your voice can be heard clearly over the music.
The subtle addition of quality sound effects can also work wonders at bringing old photos alive, for instance the faint crackle of a campfire or the sound of a horse, so you may even want a third FX track alongside the voiceover and music.
You can add all these in Slideshow Studio, but the problem is that you can’t mix them or boost their amplitude. Nor can you do that in Ashampoo’s related Movie Studio Pro 2 software. And once you’re into video editors, well… you’re in the ‘video editor hell’ that many creatives will know so well.
9) Once the audio is finished then you can save your voiceover/music mix from Audacity, then output in the form of a single high-quality .mp3 file. Import that into Slideshow Studio as a music file. Now you can finesse the slide timings so everything matches up perfectly.
10) Now — and only now — you can sprinkle your final Ken Burns pan & zoom magic on the pictures. You have the voiceover done, so now you know exactly what the point-of-interest needs to be for each pan & zoom, and when in time that point needs to become dominant on the screen. Slideshow Studio has excellent and easy adjustment tools for the Ken Burns effect.
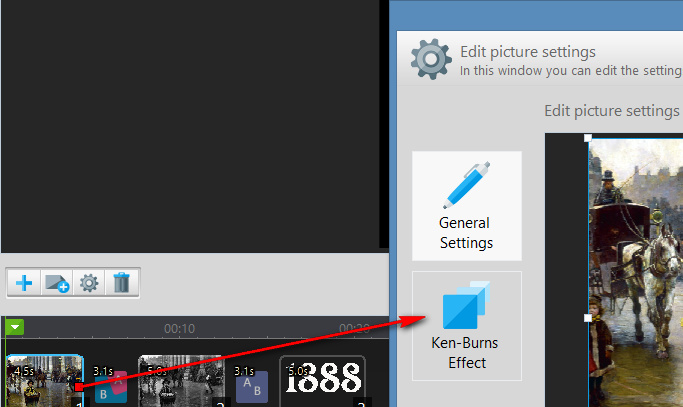
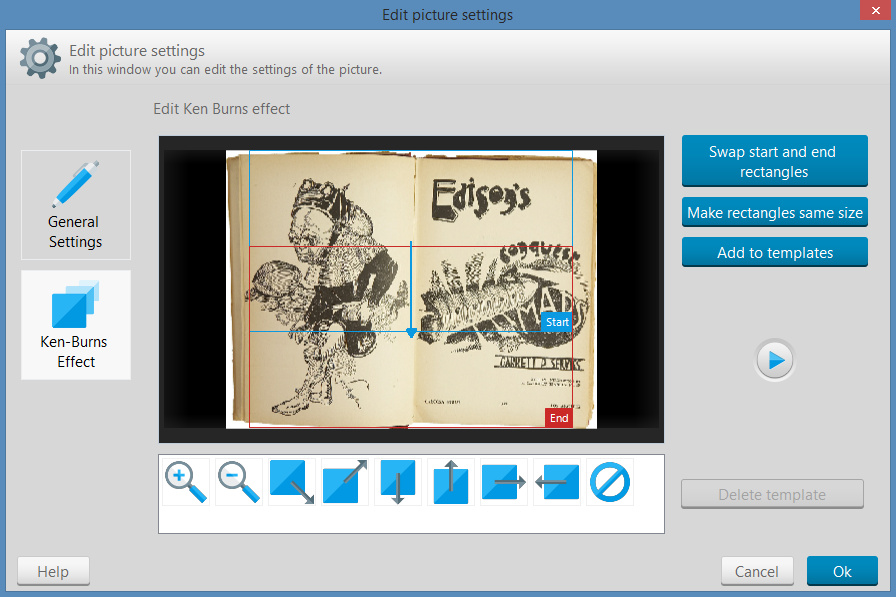
Output the final video. You now have something of quality to show to potential contributors of talking head video interviews, and if you get enough of those you can take their clips and the Slideshow Studio video to a full video editor, in order to make a longer documentary film.
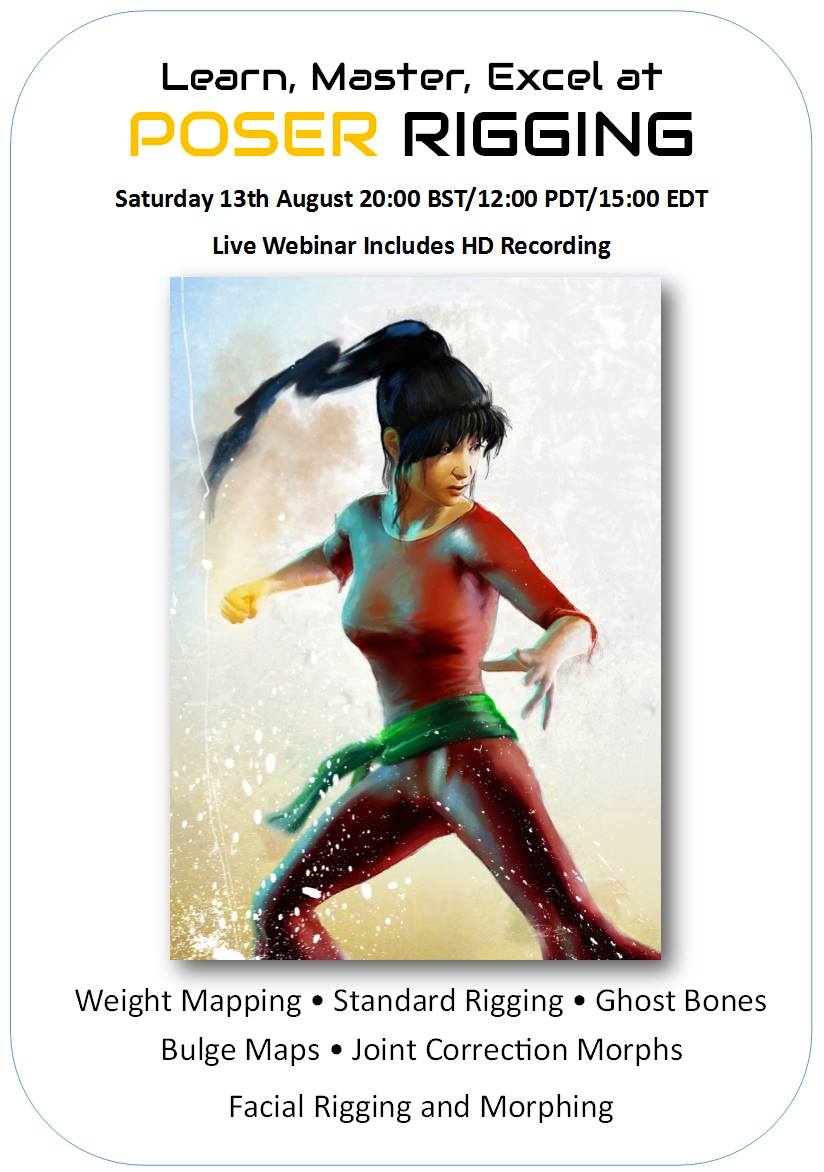
Want to learn how to rig a 3d character in Poser, learn it quickly and do it right? Digital Art Live has a new webinar coming up, Poser Rigging – Master the rigging process with Teyon Alexander.
Still using trusty old Photoshop CS6? Not been wow-ed by the new features in the various Photoshop CC versions? I haven’t been, I’ll admit. Even though a realtime healing brush preview and a font bookmarking system might have been somewhat nice to have.
But the latest Photoshop CC 2015.5 brings a couple of very nice new features, which may tempt users to make the move. One of the new features is very major and seems especially useful for DAZ/Poser artists.
* Face-Aware Liquify. If you’re rendering faces and characters in big renders, this may well help you to nudge the face out of the ‘uncanny valley’ and make it more appealingly human. You don’t have to laboriously place dots and virtual push-pins on the face, as everything is automatically pinpointed for you by Photoshop. Here’s the very impressive video demo…
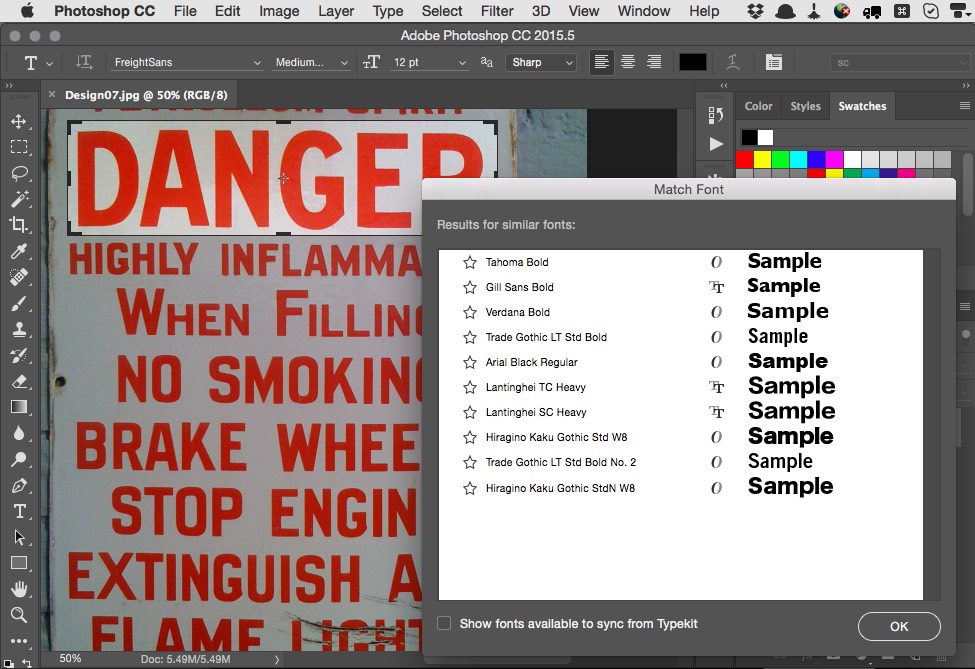
* Match Font. Need to replace some lettering in a bit-mapped image? Draw a box around it, and similar fonts from your system are shown. Nice, but not vital. Third-party services such as WhatTheFont! do the same thing, while searching across a far wider set of fonts than the few hundred installed on your PC. I guess maybe some of these services are even available as Photoshop plugins?
For Poser 11 users who haven’t loaded up the Smith Micro Download Manager for a while, the SR4 patch for Poser 11 is ready for download…
A few of the new things I noted in SR4…
* Lots of general, performance and stability updates and improvements.
* Content Library List View now up “up to 3x” faster at displaying huge runtime folders. (Yup!)
* Content Library’s “Autocomplete” can now be toggled off. (Wonderful!)
* SuperFly rendering now based on Cycles 1.7. (Good to see Poser keeping pace with new Cycles versions)
* OBJ export: Added options for using full texture paths in MTL file and copying textures to output folder. (Useful)
* The PoserFusion plugins now interface Poser 11 with the “most recent LightWave versions”.
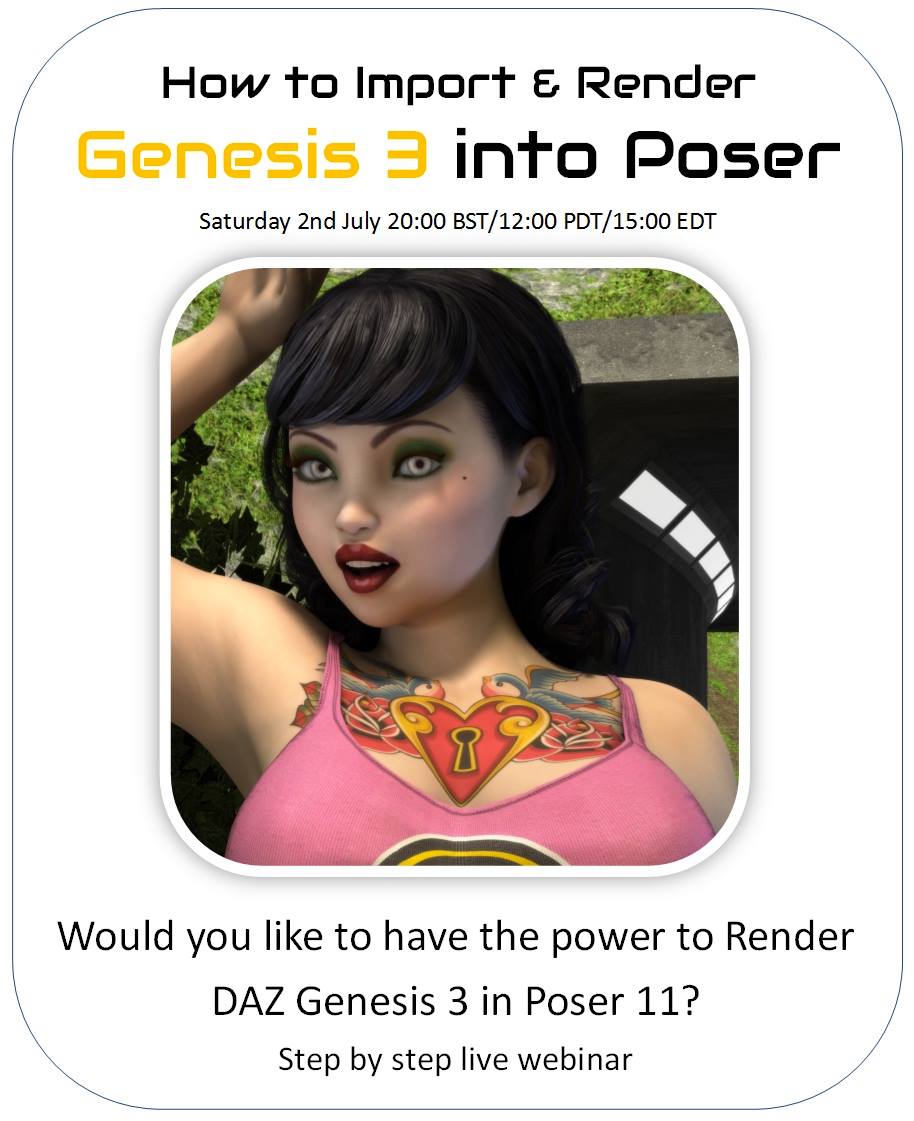
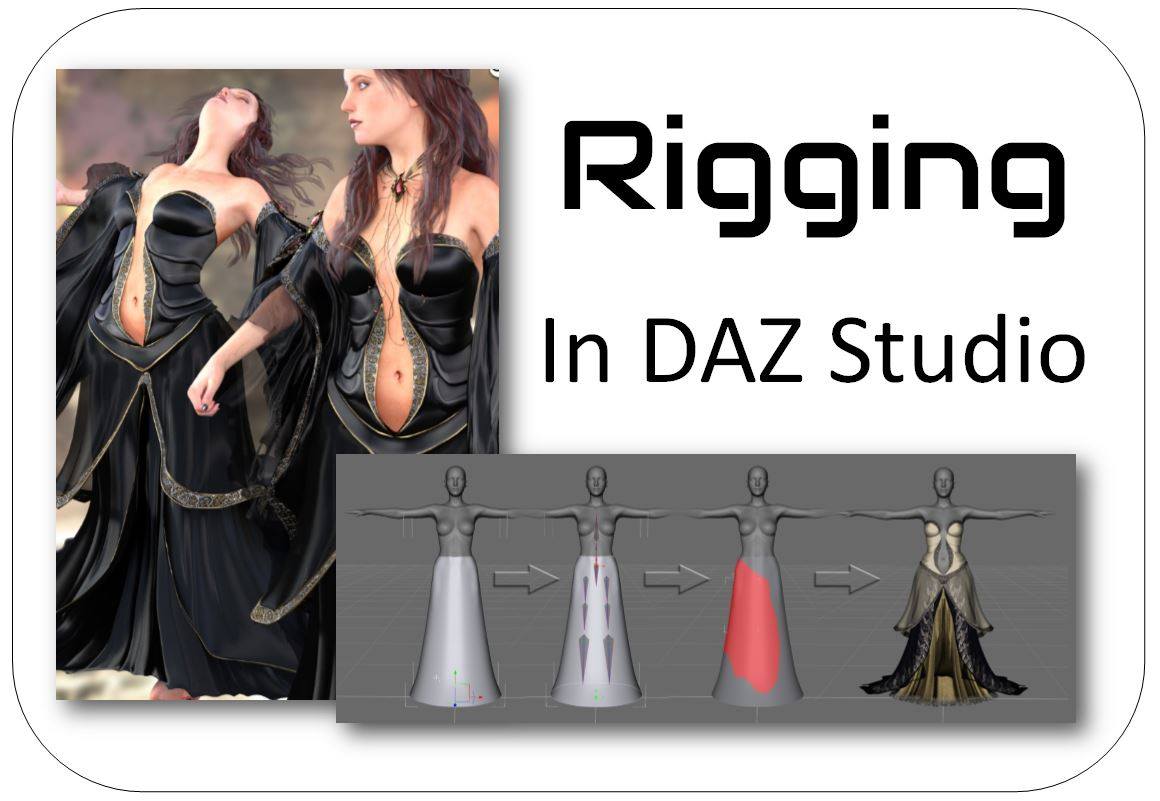
Two new Digital Art Live online webinars, DAZ Studio Rigging and How to Import and Render Genesis 3 into Poser 11.
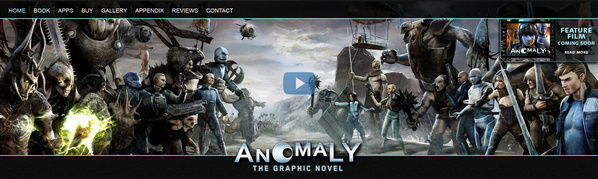
Many Poser users will remember Anomaly, Brian Haberlin’s best-selling sci-fi masterwork book, which was made with Poser. Now there’s a sequel set for February 2017, Anomaly 2: The Rubicon
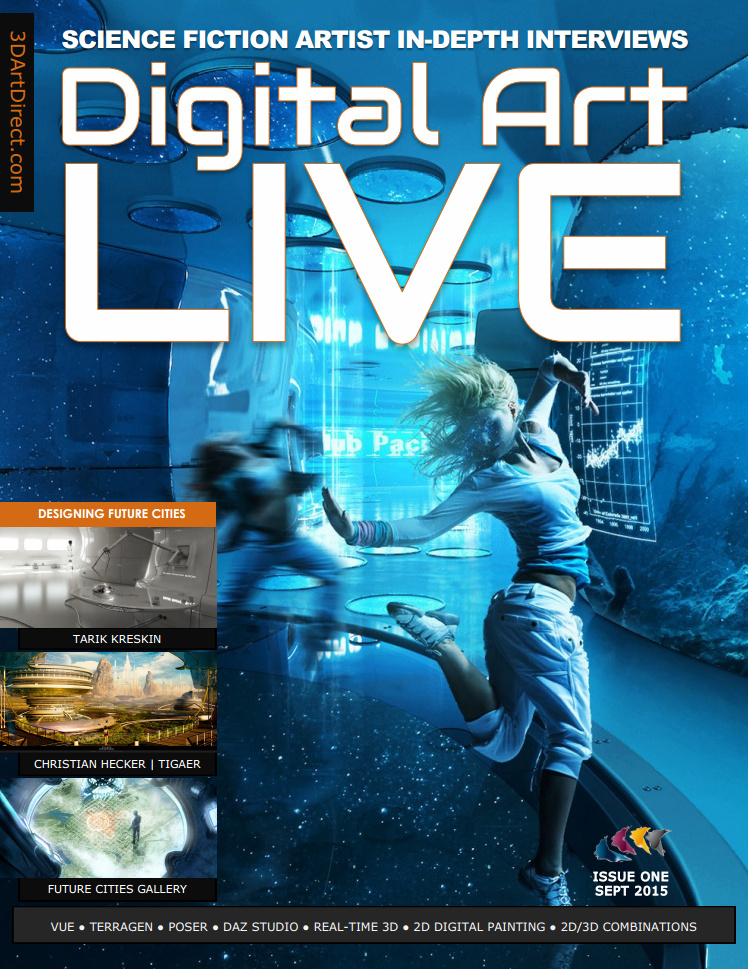
Issue 8 of the free monthly Digital Art Live magazine is now available, with a theme of “Our Future Frontier”. Mars colonisation, and more, in an 84-page issue.
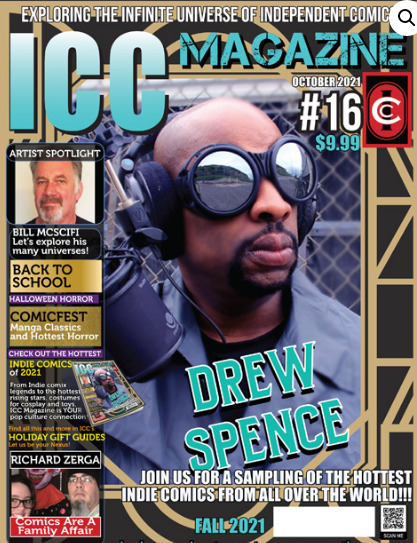
April’s issue 7 also had a theme, being a whopping 116 pages of strong “Female Future Heroes”…
I see that there are two new open-source Windows video editors, since I last went looking for a possible replacement for the lumbering heap of annoyances that is Adobe Premiere Elements 12.
Each is relatively simple, compared to the various behemoths that are meant for editing Hollywood movies. They may thus may be useful to you, if the old Windows Movie Maker is too limited or if Adobe Premiere Elements is just too awful an experience to keep on using. I installed both, and as a test I tried slapping together an 28Mb audio .MP3 and a 1Mb still .JPG, and outputing to a video small enough to upload to YouTube (less than 100mb).
* OpenShot 2.0 (beta) has a Windows version and a simple modern interface. Though it’s not 64-bit, which may be why it crashed for me again and again on final rendering, tried with three different export settings. Uninstalled.
* Shotcut. Windows 64-bit, but I never got it to the rendering stage. Because the simple task of fitting a static .JPG onto an .MP3 audio file is made into vastly more work than it should be, and in an interface that only a software developer could really love. Uninstalled.
So, no luck for me with these two. Why are free video-editors so flaky? But you may have a different experience. OpenShot 2.0 in particular is worth a try, to see if you get crash-free exports.