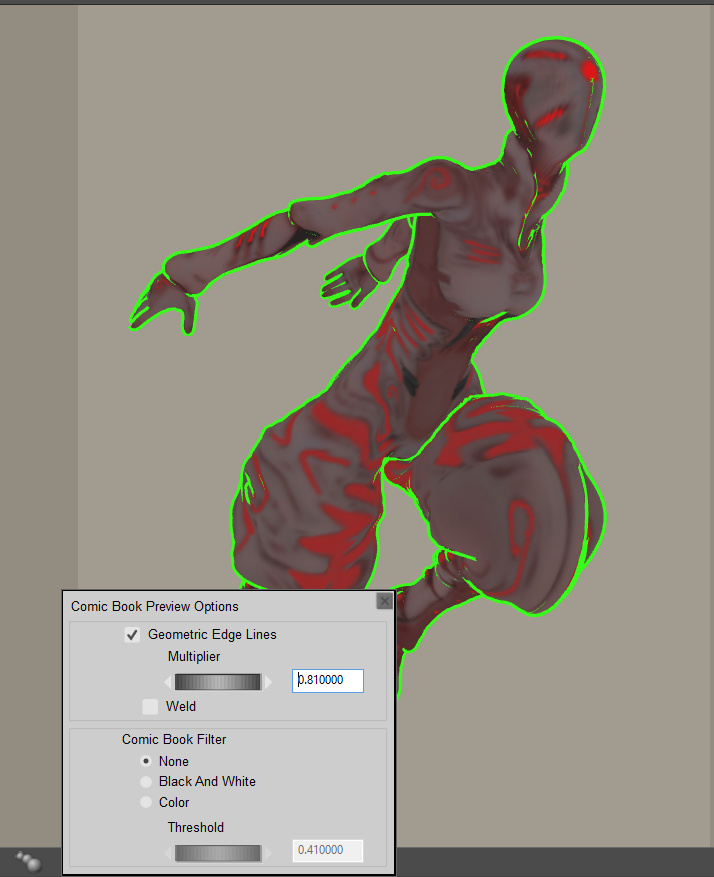
Following my recent Poser lineart colour tutorial, many thanks to Mike Mitchell for pointing out his “Noir Style Tutorial, Pt. 8 – Step 3: Edit Materials” blog post. Mike’s post usefully points out that Geometric Edge line colour can be easily edited, in Poser’s Materials Room.
This works, but on its own it is not all that useful for my suggested Photoshop-oriented workflow of “colour flats + shading + linework” as layers. Because it can’t be applied in the Comic Book Preview mode’s B&W setting, only in its Colour or None setting. Here it is with Colour on…
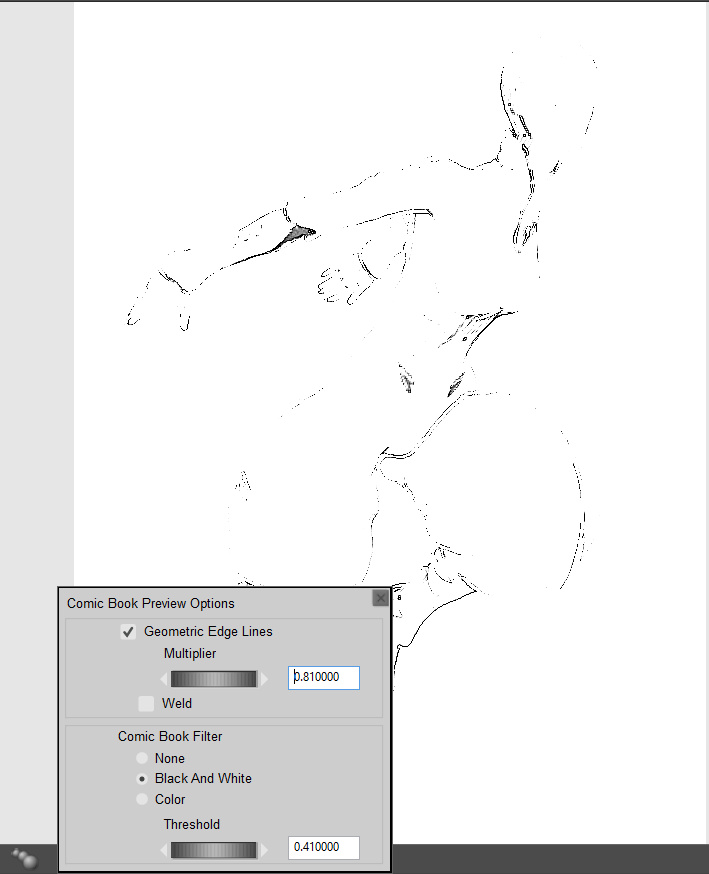
And with B&W on…
As you can see, the bright green line just isn’t being picked up when B&W is turned on. Nor does it help to switch Poser’s overall Display to one of the Cartoon Display modes, or to render in Firefly with Toon Lines on. Nor does it help to use a shade of grey for the green line.
Mike’s tip would be most handy if you’re tweaking textures directly on the character, in the hope of quickly pumping out a set of single finished/usable comics renders from Poser. I haven’t yet got as far as doing the whole ‘total character materials makeover for comics’ thing — which obviously has huge potential — and currently I’m still slowly exploring the best options for getting multipass renders stacked up in Photoshop. That’s mostly because I want to find a relatively quick-and-automatable way to create consistent comic frames that look like they’re hand-drawn (aka ‘the mythical Northwest Passage to the fabled Land of the “Make Art” Buttons’). “Consistent” is the key word here, so as to avoid two hours per page of colour adjusting and tweaking shadows to get them to look alike in each comic panel and from page-to-page.
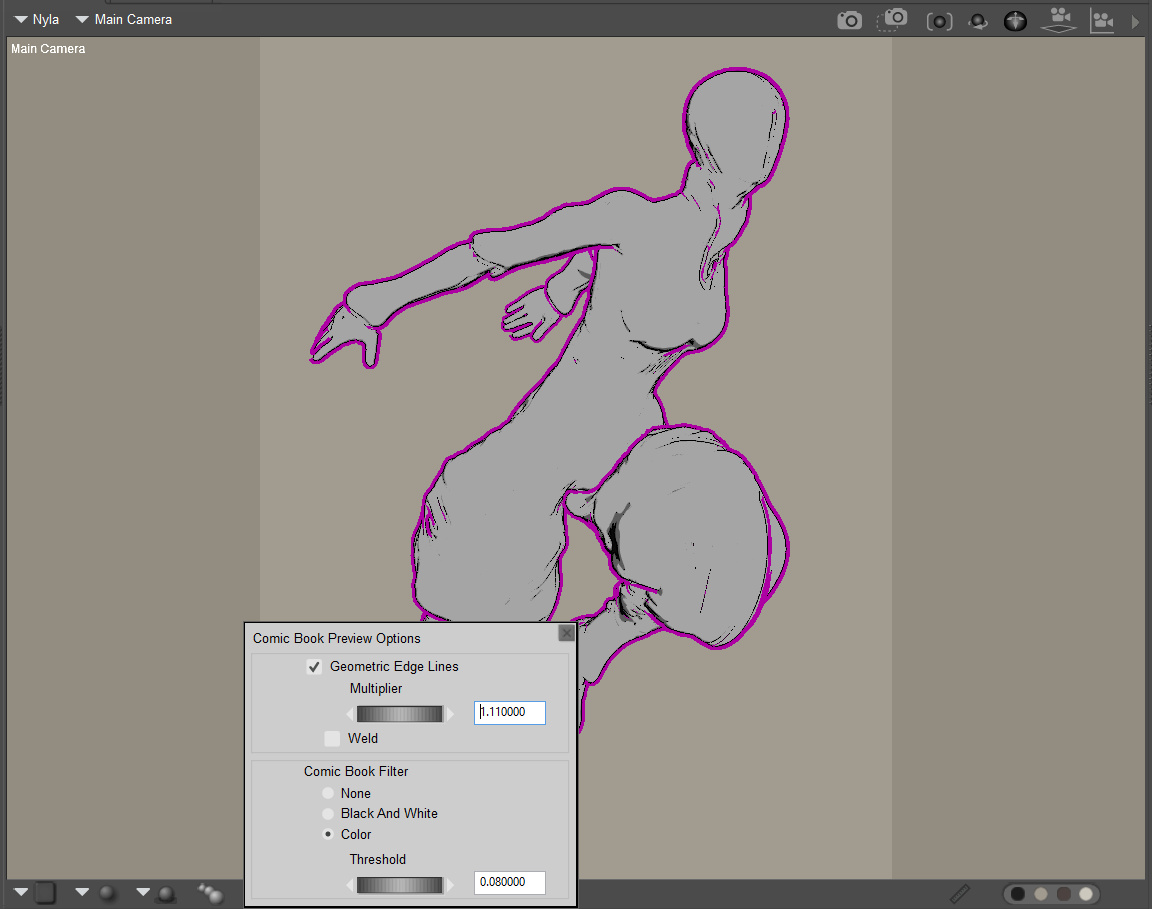
However, prompted by Mike’s note I’ve found that there’s an exception and a workaround. Simply switch Poser’s overall Display to “Cartoon w/lines” (three tones) and we get a grey-filled duplicate of the previous B&W mode. No extra ink lines are being added when compared to the B&W Comic Book Preview mode, but we do retain the green outline, albeit initially with a hair-thin black line either side of the green ink line. (I can’t see any way to colour-ramp the line with a gradient, as it has no ‘node connector hole’ in the Material Room. So it appears to me that the Geometric Edge line can only ever be a solid colour).
However, fiddle with the Comic Book Preview dials a bit and the unwanted hair-thin black lines vanish. This makes for a solid colour edge-line which is useful, for instance when used as a Colour blend layer in Photoshop. When we export this as a masked .PNG, then everything else in the render will be grey or black. Therefore it should be possible to either Colour blend or to select-extract just the coloured line. If you just want a solid colour fill on your linework, and don’t want to fiddle with fiddly adjustments layer or blending modes in Photoshop, then is seems this is a quick way to do that. Here’s Darkseal’s Nyla in a nice dark pink line…
There’s no need to make multiple renders for multiple line colours, because Photoshop can ‘Replace Colour’ with ease, or change colour of a layer using Layer Blending modes and Colour Overlay.


Thanks for the shout-out, and even more for doing expanding on the color lines I mentioned in my tutorial. I hadn’t experimented with the Cartoon w/Lines setting much, other than to swap lines from black to white and vice versa to get figures to show up on dark backgrounds, and things like that. The ability to display actual color isn’t something that fits into my predominantly b&w workflow. I just wanted to point out that it is possible (and thanks for the tip about getting rid of the black hairlines: great stuff). BTW: I do think that your Photoshop method is definitely going to give the artist more control over the final output than can be achieved in Poser. But, I can see how this could help serve as a jump start for color artwork.
Thanks again for the shout out!