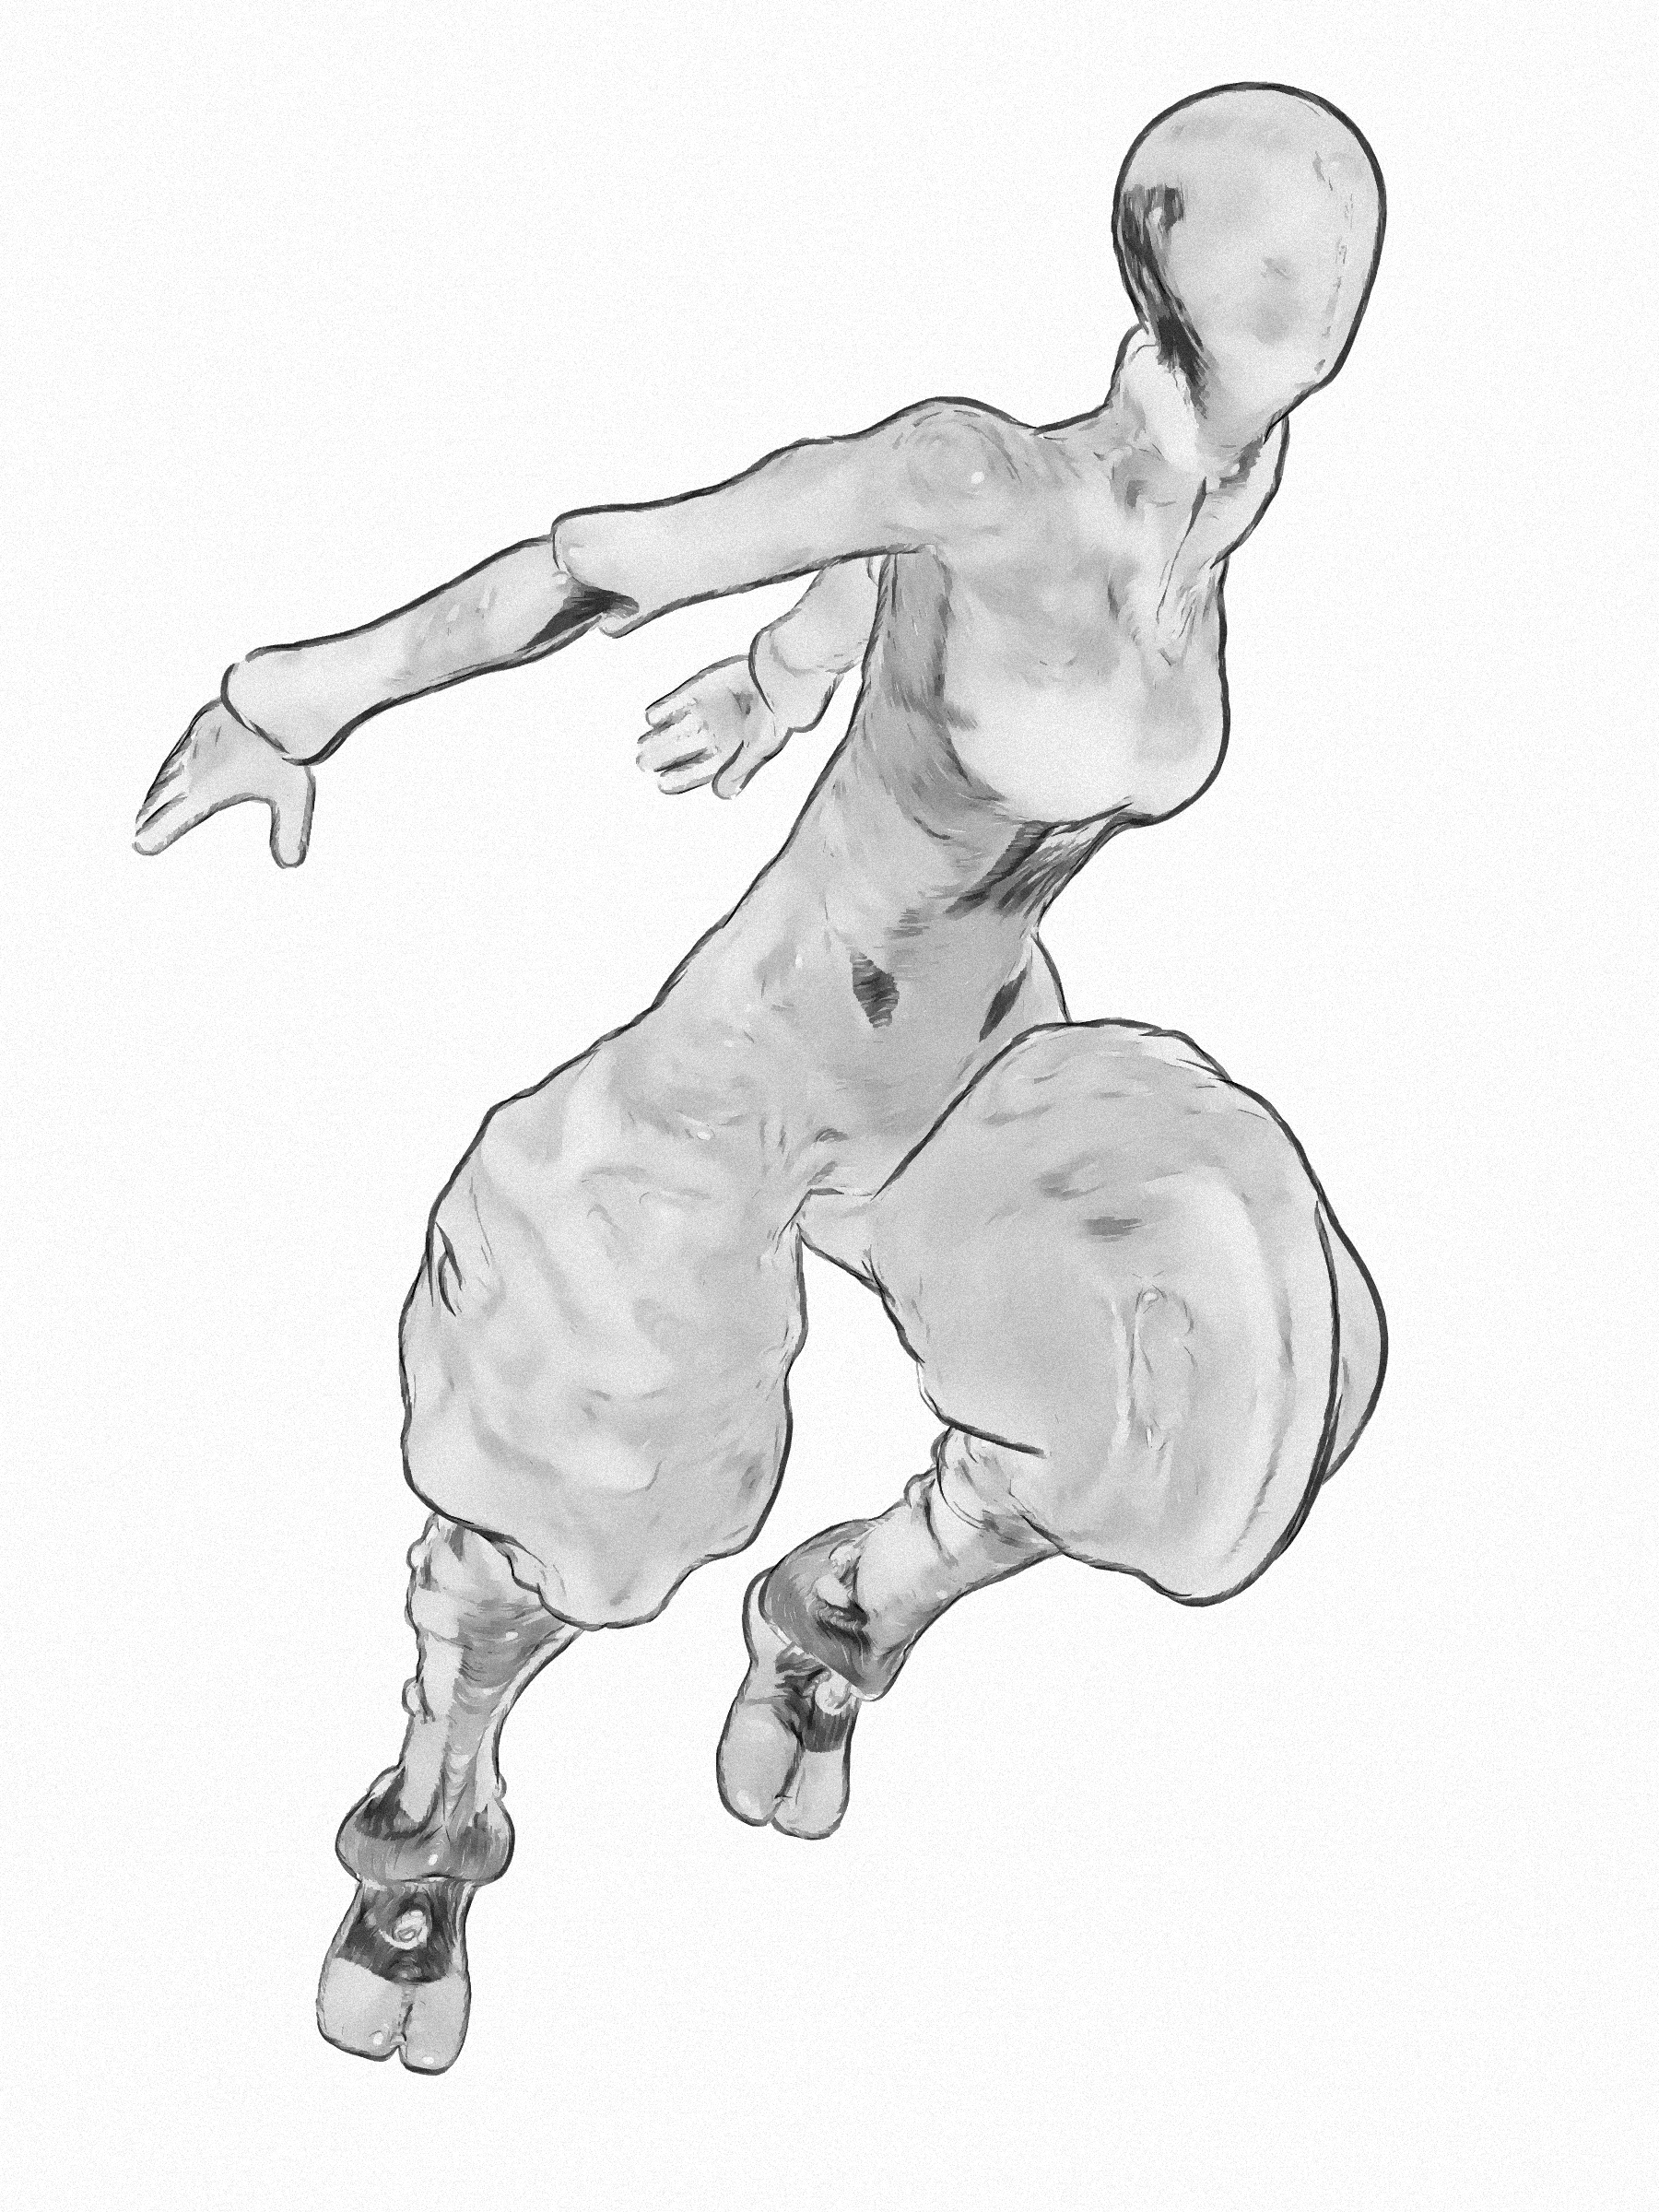
Poser’s Sketch Designer module probably doesn’t get as much love as it should do. It’s been around and unchanged forever, which means that most Poser users last took a serious look at it a long time ago, when running on underpowered PCs and a crash-prone Poser version. Sketching took forever, could easily crash your PC, and the render size was insufficient to do much with. Most people seem to have forgotten the Sketch Designer is even there. If they do try it, they try the official presets and find that most still take forever and still crash your PC.
But there’s a whole lot that can be done with it, and with super-quick rendering times, once you break free of the presets and work out what the sliders do. Learning how to turn off background sketching is the biggest time-saver. This done via: Background tab | Opacity 0% and just-in-case bring all the other sliders down to 0% too.
Ignore almost all of the official presets.
Turn off background and brew your own presets.
There’s also the fact that Sketch Designer results can now be quickly improved with some fairly recent additions to Photoshop’s features. For instance, here’s how to quickly fix the output from the plain vanilla “Sketch” preset, using Photoshop CS6 and higher. Here I’m using a flat IBL light, and I’m in Comic Book Preview mode in Colour with lines turned on. Basically, the scene is about as flat as it can get, though admittedly we’re still getting some indication of shading from the character’s materials.
Then we run Sketch Designer’s standard “Sketch” preset on it, after turning off the preset background and turning the sketch lines’ Opacity down to maybe 40%. If you were trying to sketch a creature with a dark material, such as a dinosaur, either re-texture or set opacity much much lower.
This is the result in a 2400 by 1800px render size in .PNG format…
You could also experiment here with turning Depth Cueing on, to see if you get fainter pencil lines further away from the camera.
Then load the PNG render in Photoshop, apply Smart Blur followed by Surface Blur, then finish with a little bit of Noise. Sketch Designer’s strange swirly-whorly Sketch patterns now look like graphite pencil shading and some artistic smudgery, but we’ve kept the linework un-blurred…
The addition of Noise is a quick and clunky emulation of paper texture, but you could omit that and blend onto a real paper texture. In that case, you might not want to lower the Sketch preset’s opacity quite as much as I have in this example.
You might also add the original Poser Sketch layer back on top as a 50% blending Photoshop layer, then go over it with a big soft Eraser to remove the knots in the whorls and just leave what looks like ‘a trace of pencil strokings, here and there’.
The only problem with Sketch renders is that when you save the render to .PNG it is not masked. But there are multiple other ways to get the mask from Poser.


I am REALLY impressed with what you did with these renders. Very nice output, and I could see this being the basis for some type of sci-fi or astral character in a comic. You’ve definitely given me fun stuff to think about.
Like you, I think the Sketch Designer doesn’t get the love it deserves. One thing I’ve done with it is to use Poser 11’s Comic Book Preview to generate a base render (usually with an IBL Light to create only strong outlines) and then I render a sketch version, but at half the resolution of the other image. I then scale the sketch up in Photoshop, where I also adjust its contrast to create strong lines.
For example, if the Comic Book Render image is 1,000 x 1,000 pixels, I will render the Sketch Designer render at either 500 x 500 pixels, or maybe even as low as 250 x 250 pixels. I will then adjust the sketch (usually with the Levels tool) to get sharp lines, then scale the sketch up to 1,000 x 1,000 pixels. This takes the thin, sketchy lines and makes them thick enough for print.
Pingback: Here’s what I’ve learned recently about Poser and comics production – MyClone Poser and Daz Studio blog
Pingback: Demo: Drawn to the Elder Things… – MyClone Poser and Daz Studio blog