
Here’s another way to quickly change the entire colour and/or line style of Poser’s Comic Book Preview or Toon Outlines lineart. It’s not the same as hand colouring with a soft brush, to partly match the colour flats layer beneath – but it’s a quick way to get the ink line colour away from black. It uses Photoshop’s Layer blending mode.
1. Open Poser’s render of your ink lines, in this case a simple toon outlines render.
2. Run a Photoshop Action on the layer that knocks out the white, leaving only the black lines.
3. Add a new white layer under the lines, so you can keep on seeing your lineart properly.
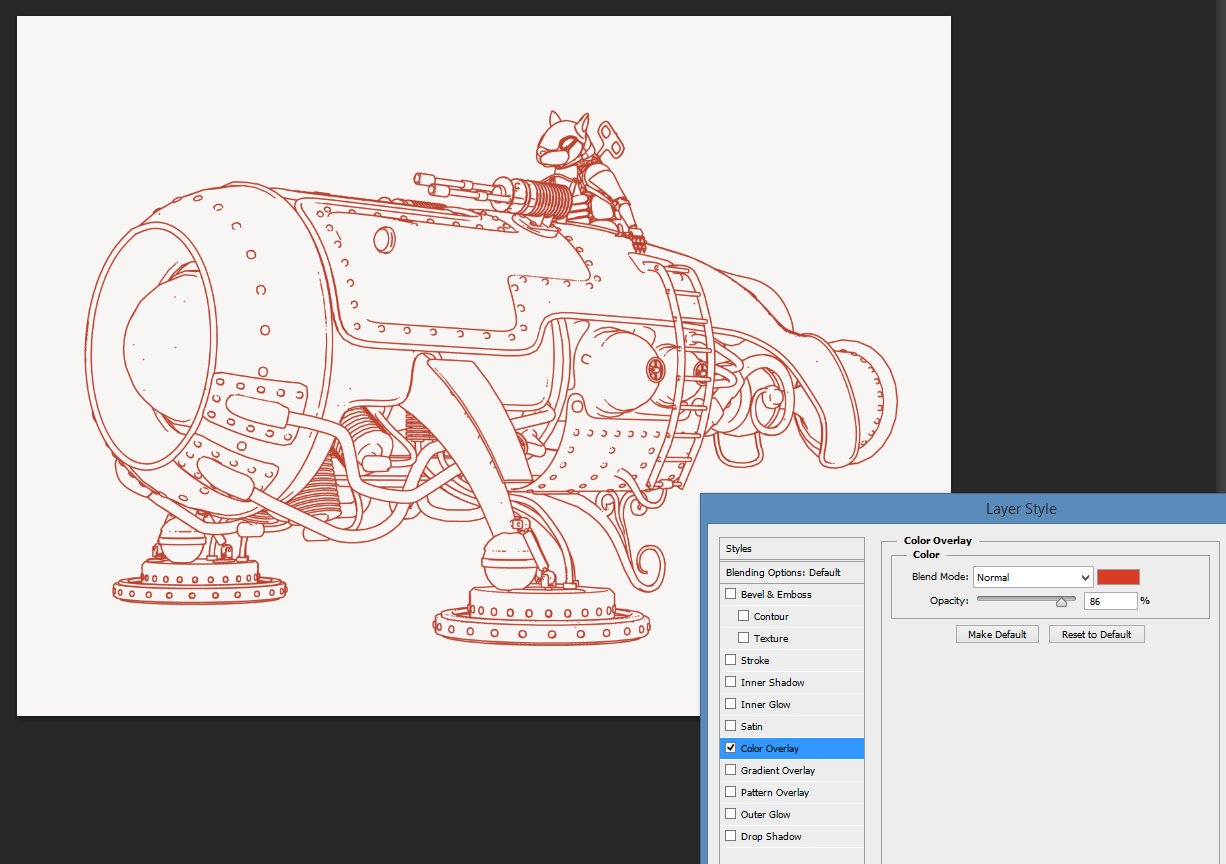
4. Top menu | Layer | Layer Style | Blending Options | tick Colour Overlay | click on Colour Overlay to open its controls.
5. Adjust the colour and settings of Colour Overlay, to taste. In this example I’ve had the ink lines become red…
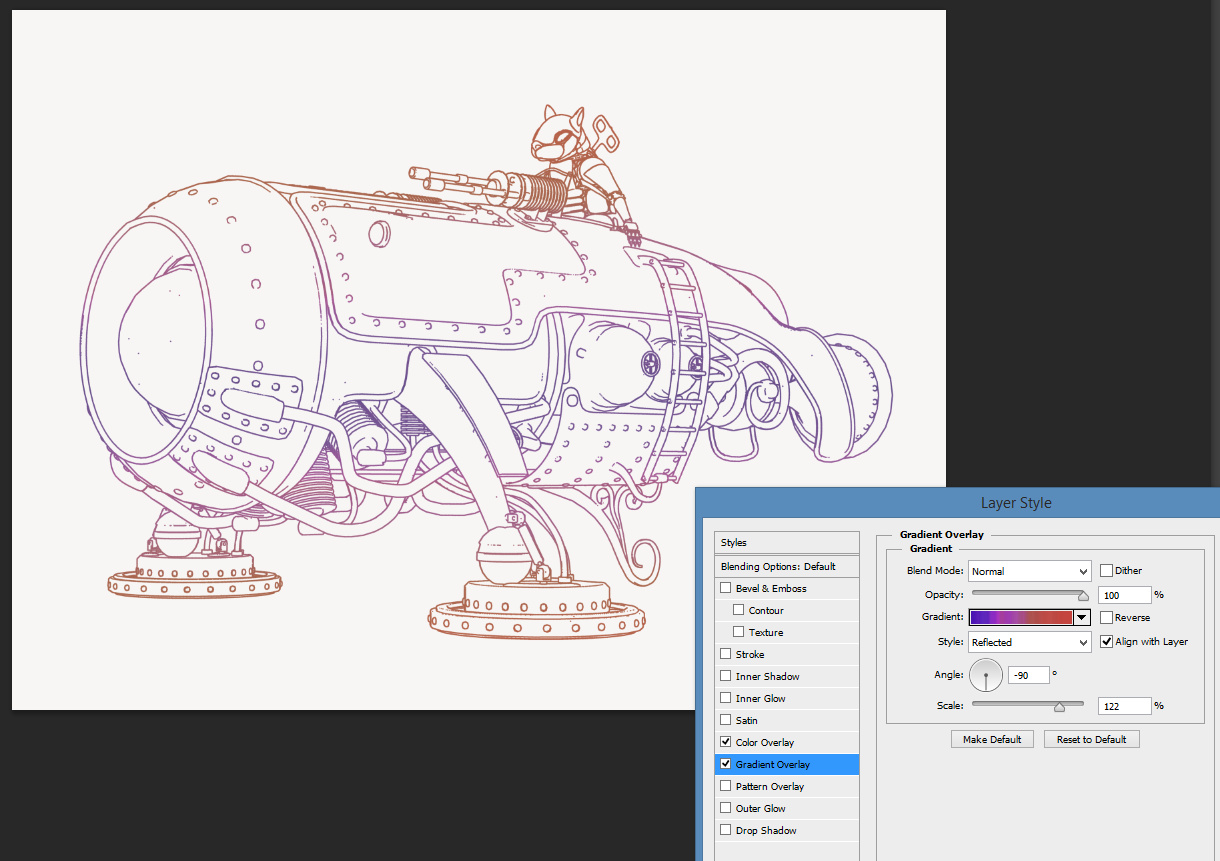
You can also simultaneously apply the next Layer blending mode, Gradient Overlay…
The stacked blending mode can be saved as a preset to the Styles palette, from where it can be easily applied to other lineart.