Spurred by today’s release of the free PBR Material Maker, I made a bit more progress in solving the seemingly inscrutable mystery of how to set up PBR materials in Poser. I found a useful official tip from an old La Femme webinar…
“In the Library there’s a thing called Tileables, Superfly Tileables. The image maps that you get out of Substance Painter, you can plug them right into that node and you’re done. You don’t have to do anything else. Just plug those image maps in and you’re done.”
Great. They’re found here in the Poser Library, and I must say the preview thumbnails look distinctly uninviting and un-sexy. Which is probably why I’ve never paid any attention to them…
The examples load and look useful. But I cannot find a way to add the image maps. The nodes are correctly labelled, but utterly without the ability to input or swap-out any new image maps.
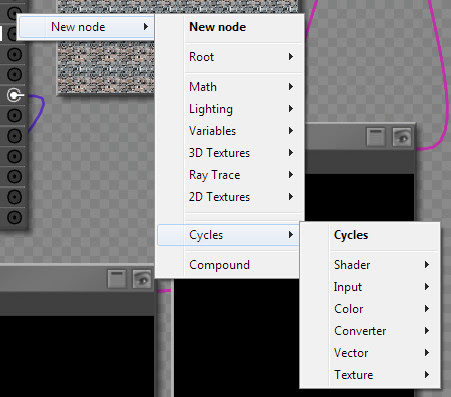
I guess that what you do is not replace image maps on the existing setup nodes. Rather you disconnect and delete what’s there at present. So for instance, disconnect and delete “Metallic” and then replace it with a completely new node on “Metallic” which uses (somehow) the Metallic material output from the PBR maker software. Then name the node “Metallic”.
But that assumes you know what specific type of node needs to be added, from the gazillion possibilities, for PBR to work. And then there’s the problem that the nodes in the example above don’t appear to be image-loading nodes at all. Except that they do seem to show tiled images within them.
Like I said, a bit more progress… but still stumped.


Pingback: Things to do with Poser 12 – MyClone Poser and Daz Studio blog