A quick-start on the absolute basics of how to add a new blended materials layer, using Poser 11.
Layers work somewhat like they do in Photoshop, in terms of the basic ability to blend them into one another.
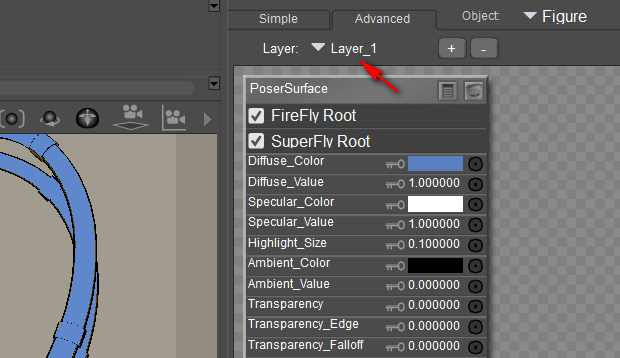
1. Go to the Materials Room. Click on a scene material you want to overlay. Click on the Plus icon…
2. You’ve now made a new Materials Surface. The old one is still there underneath, it’s just that you now have two layers and the new one is on top.
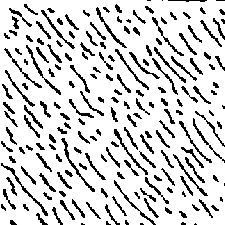
3. Make the new layer semi-transparent, by dialing its Transparency down to 0.6, so we can see the old layer coming through the new. Then, for fun, load a ‘Spots’ preset into the Alternate Diffuse.
4. There’s now a ‘spotted cow-hide’ like effect, because the new spots material layer is blending in top of the original layer. There are lots of presets like Spots. They’re explained in the PDF Manual in Chapter 15, 16 and 17.
2D textures can also be loaded into the blending layer. There’s obviously a lot more to this layer blending feature, which I haven’t yet investigated, but that’s a basic four-step starter to get someone started.

Update: multi-layers appear to be for SuperFly rendering only.


Thank you for encouraging me to learn more about this. Seems like something that will be very useful.