This is a tutorial in how to quickly combine the best of two inks-only renders, from Poser’s Comic Book Preview render, by using Photoshop. For future speed-of-working this tutorial can, of course, be encapsulated and semi-automated as a recorded Photoshop Action.
We’re going to manually select just a few nice lines from one render, and combine them with lines from the other render.
Why do this? To subtly boost the quality of your ink lines output from Poser’s Comic Book Preview mode, at only a small cost in time spent per comics frame. Depending on your intended style, possibly also to selectively combine sketch edge-shading, from a Poser Sketch render, with your Comic Book line-art inks.
Tools: Poser 11 (Pro or Standard) with a suitable Poser 3D character to render. Adobe Photoshop (CS6 is being used here).
What’s it called in Photoshop?: “Q” mode or “Quick Mask”.
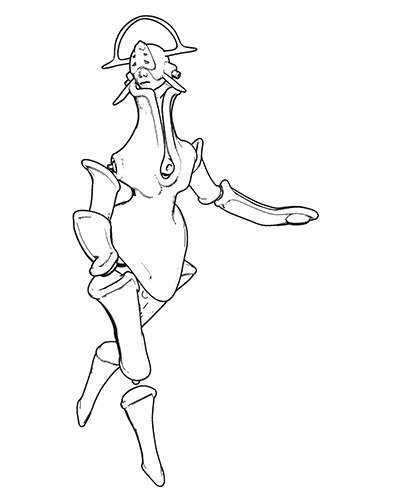
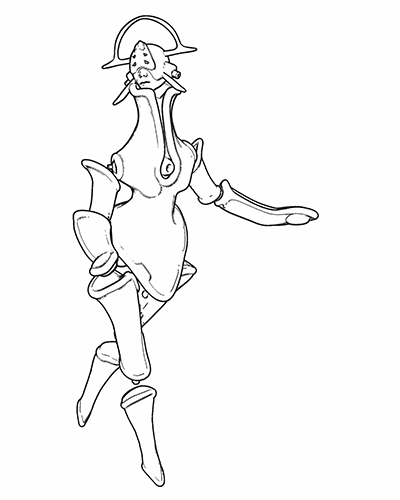
1. First render your two nearly-identical ink lines renders from Poser 11’s Comic Book Preview mode. The differences between them will perhaps arise from your selecting different Display Styles for Preview renders, or choosing Poser lights that cause new ink lines/shadows to appear in the line-art. Here I have kept the lighting fairly flat, and run a Sketch render into the Preview ink lines to make them a bit less slick and more grainy.
Animated GIF comparison between the layers:
2. Bring the two renders into Photoshop, with each render placed on its own layer. The renders should be exactly aligned one above the other, and Photoshop’s “Paste in place” command may help you with that.
3. ‘Knock out all white’ from both renders (there are many free line-art Photoshop actions that do that). Then place a new white background layer behind them.
Toggle the ink layers on and off, to let you decide which needs to be renamed as the ‘bottom render’.
The ‘bottom render’ should be the one that has some nice lines you wish to add to the top main render, while junking the rest of its lines.
You choose the other render to be the ‘top’ because it’s mostly OK and barely needs changing.
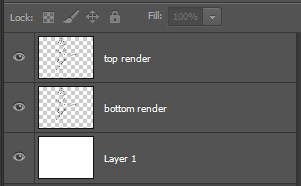
Ok, you’ve now decided which layer is to be which. It’s time to rename the layers sensibly, so that an Action can be run on them. Your saved .PSD production file will have three layers — named as: top render | bottom render | White. It should look like this…
I’ve capitalised “White” to remind you that layers are case-sensitive for Photoshop Actions. If an Action expects to find a layer called “White”, it will not run if the layer has been re-named to “white”.
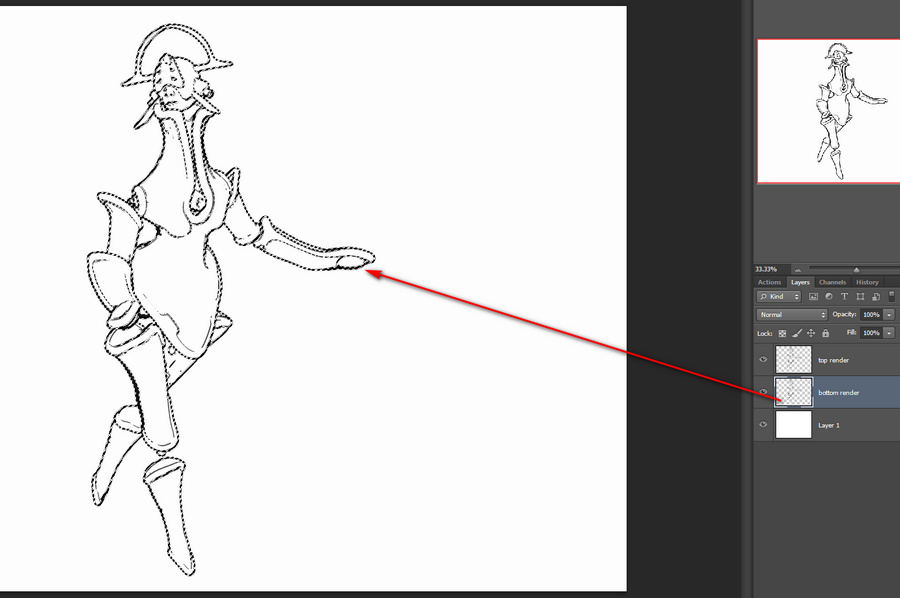
4. To make it easier to identify the ink lines of the bottom layer, we now turn the lines a uniform dark mid-green. To do this you first press ‘Crtl’ on the keyboard while clicking with the mouse cursor to select the layer thumbnail in the Layers palette. This gives you a clean automatic selection of your inks, indicated by the dotted lines…
Then you make a wholly new blank layer, and fill this blank layer with green by using the Paintbucket. Then you select the ‘bottom render’ layer and hide it.
You are now going to be working on the green lines in the copy of the ‘bottom render’. It doesn’t matter that it’s a copy, as we’ll switch back to the original soon (once we’ve selected the lines we want to keep) and then junk it entirely.
5. Ok, so how do we select those nice ink lines? With the new temporary green layer selected, you now press “Q” on your keyboard. Then you select a hard round Brush from the Toolbar and size it for picking out fine details in line-art. The brush size will depend on your render size. I tend to render in Preview to 3600px.
6. While you are in this “Q” (Quick Mask) mode, any Brush will automatically paint in semi-transparent red. That will be the only visual indication that you have entered this special mode. With this red brush you then simply paint on the active layer, and where you lay paint indicates the details you want to keep.
You can see here why we needed to add the temporary green inks layer. Without it, there would be no way to tell the difference between the black inks of the two layers.
7. Once all these details are selected, you switch back to your copy layer and make it visible. Your selection is now acting on the original inks, not the green inks. Press “Q” again. Your red painted areas now become selections with dotted lines around them. Once this happens, you hit the Delete key. Everything except the selected areas is then deleted. Now you can also delete the green inks surrogate layer, as it’s no longer needed.
Ok, you’re basically done. The above process may sound fiendishly complex, but once it’s in a recorded Action with stops and user prompts then it becomes something that can be completed with ease in 30 seconds, and you don’t need to remember anything other than where the Action is located in the Palette.
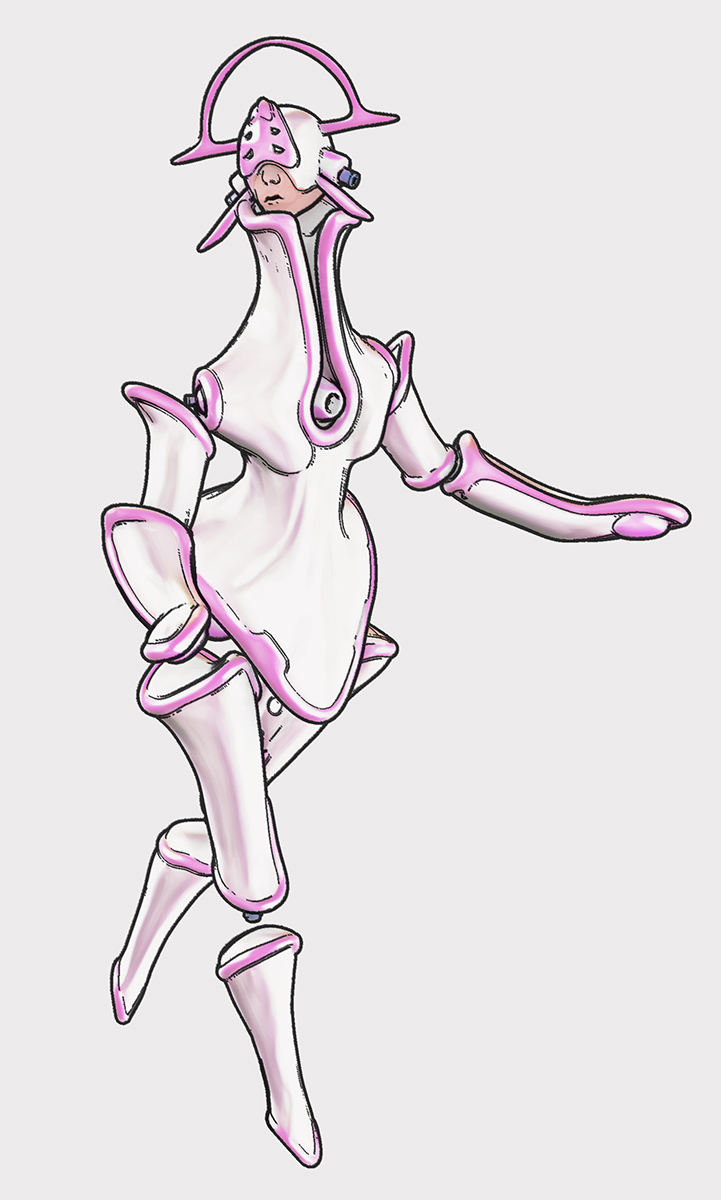
Finally, you might then select a good small inking brush, to manually add just a few completely new hand-painted lines. You can also erase any bits of the inking you still don’t like. Here that’s been done, especially fixing the mouth. The sketchy dotting on the ink lines is not that pleasing here, in combination with the smooth colour layer, and I could have produced cleaner inks from a straight Comic Book Preview render. But this is just a quick demo. Here I’ve added a filtered colour Preview render layer and a subtle Ambient Occlusion shadows layer from Firefly (which was almost as fast as Preview, since it was only doing light shadows)…
If your graphic novel has 600 frames and the above process takes a minute per frame (even with the recorded Action), plus a few more manual inking stokes just to finish off, then that’s 10 hours of additional work. But that seems a small price to pay for creating nicer ink lines.




Pingback: Tutorial: How to remove “the speckles” on a Poser Firefly close-up render – MyClone Poser and Daz Studio blog