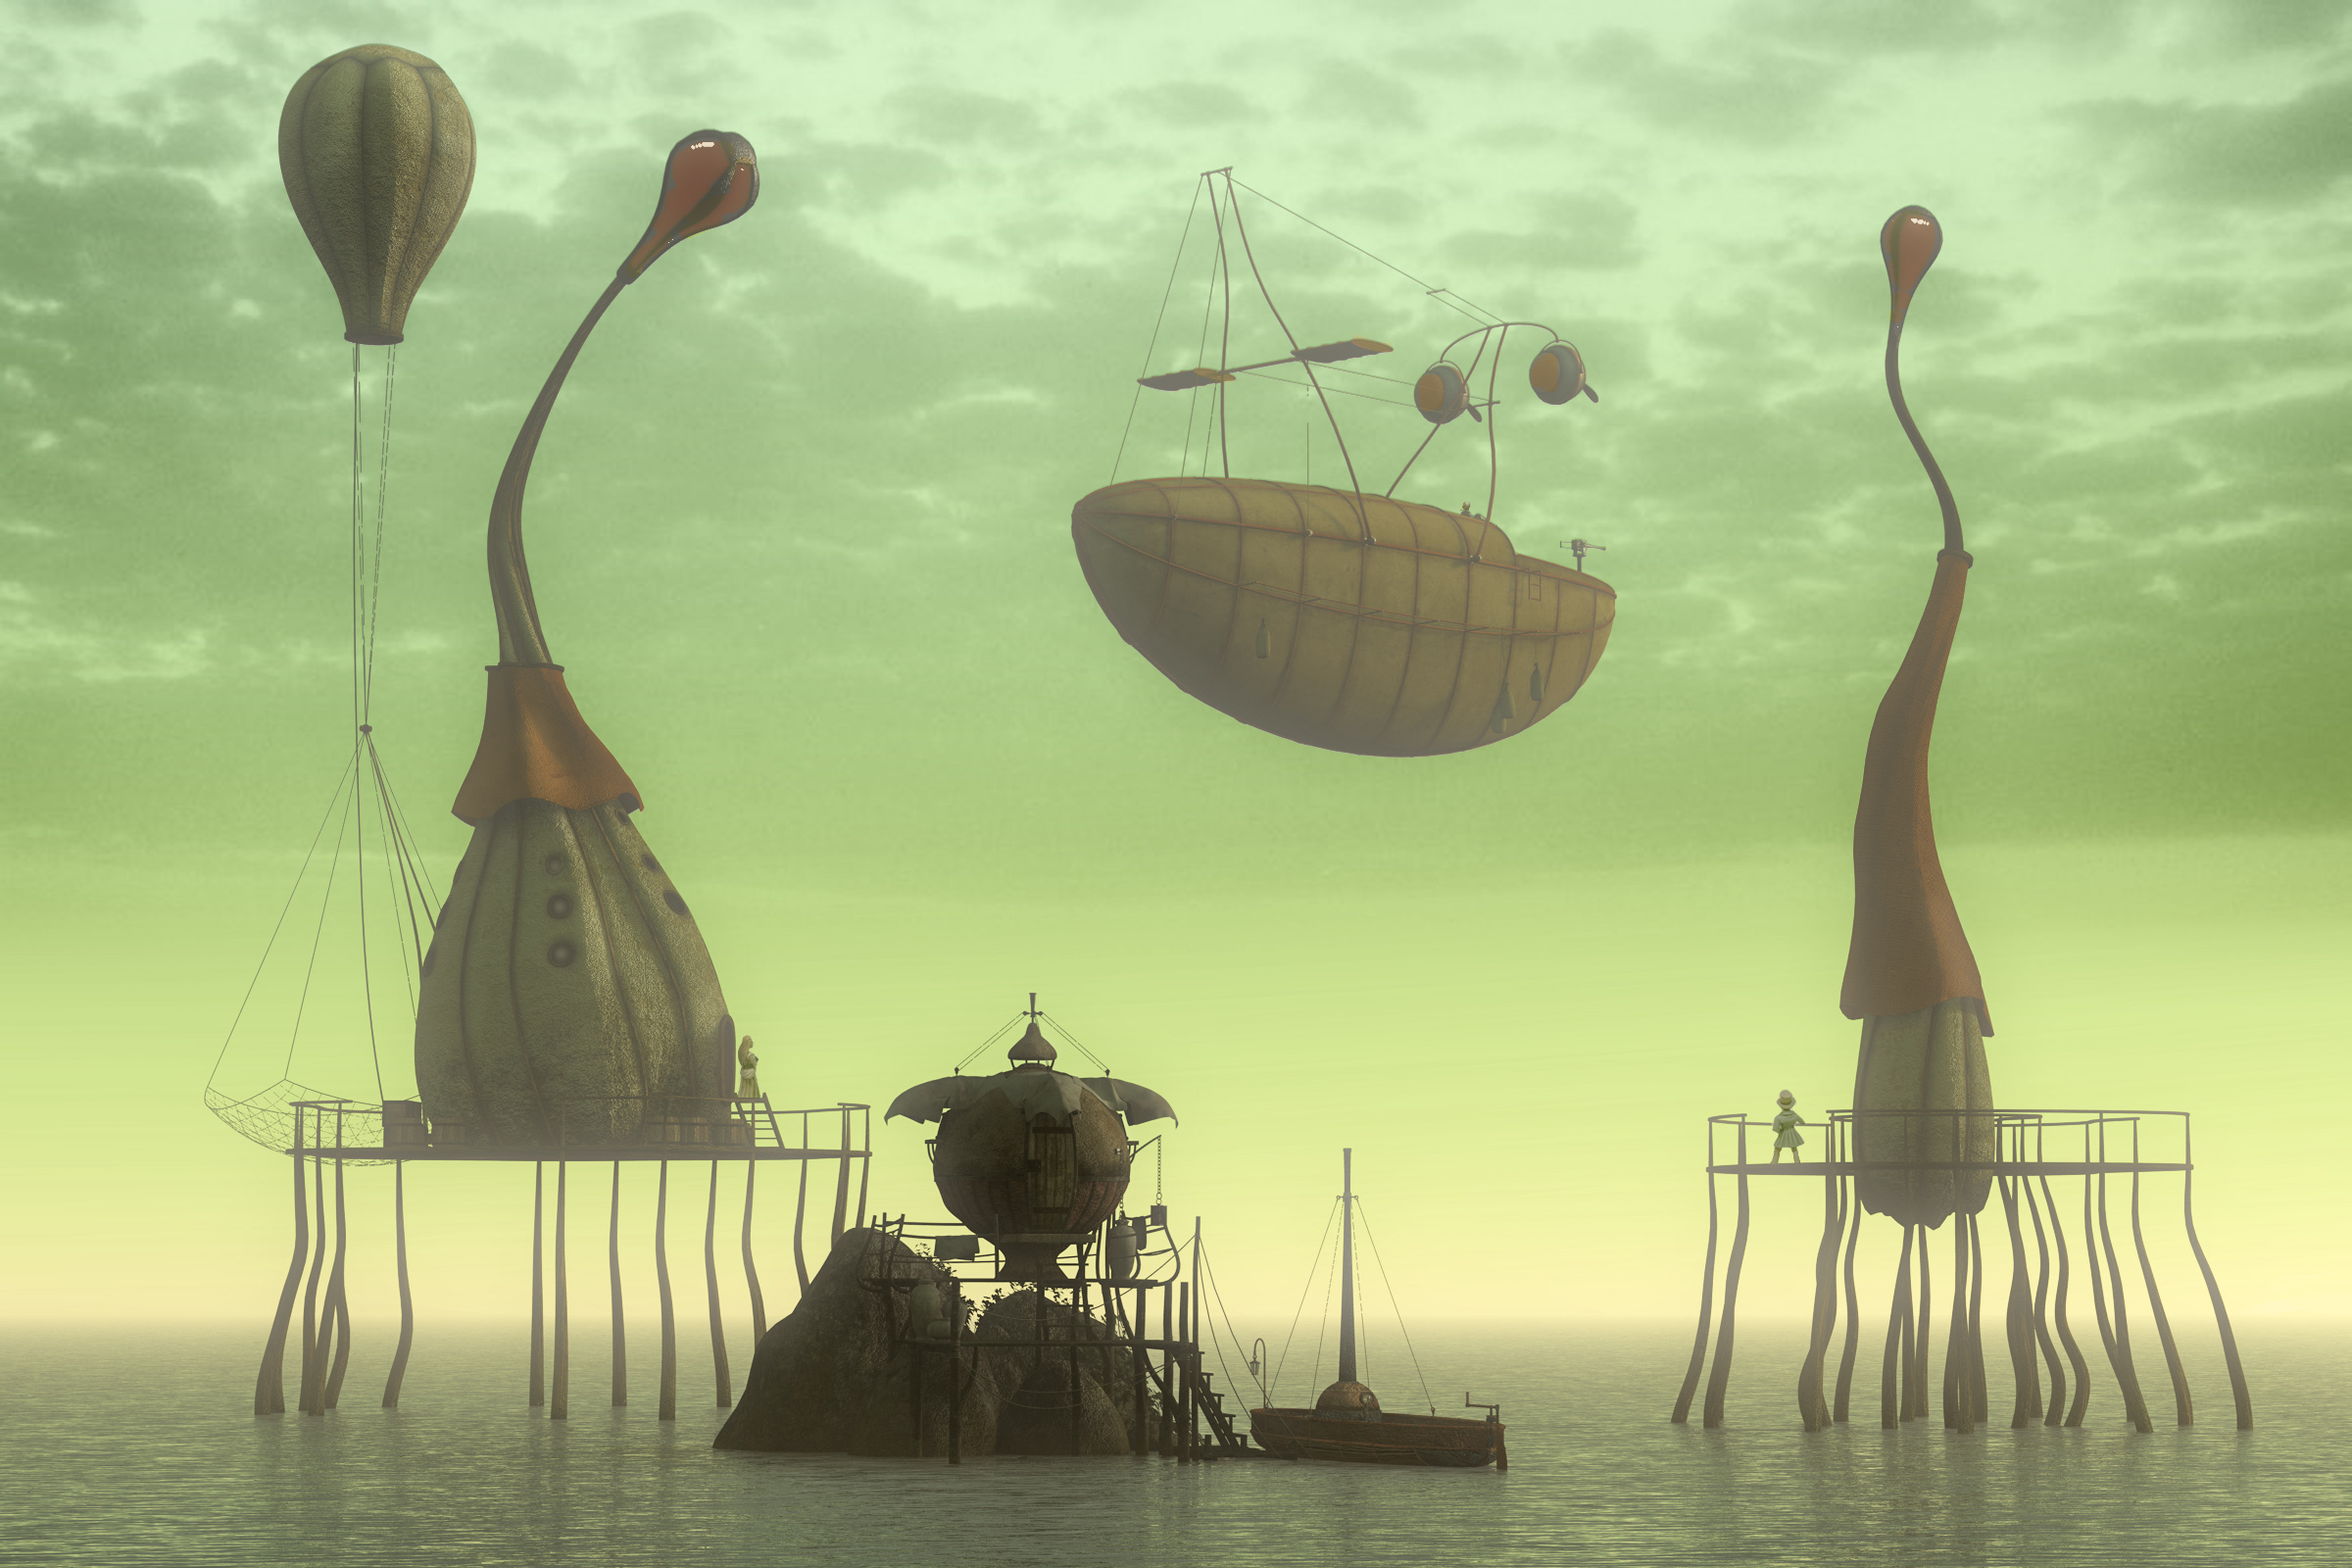
In last night’s tutorial-experiment with Vue I showed you how speed up Vue. Here’s how to add sea to Vue in Photoshop, and thus save even more render time.
How much time will this save? Out of interest, I re-rendered my same Vue tutorial scene (see above) again. But this time the sea was replaced by the “Simple Pottery Clay” material, and this was coloured green to match.
Render-time at 2800px was cut to just 14 minutes. No clouds, no sea, and… they both get added in Photoshop. It’s a heck of lot faster, and clouds and sky can even look better.
1. Ok, so how to add a realistic sea on this demo scene? First get the Photoshop plugin Flood 2 from Flaming Pear. There’s a free trial. Install.
2. Render your Vue scene as normal, but after adding a simple quick-rendering material to the sea, such as “Simple Pottery Clay”. Give it a scene-matching colour.
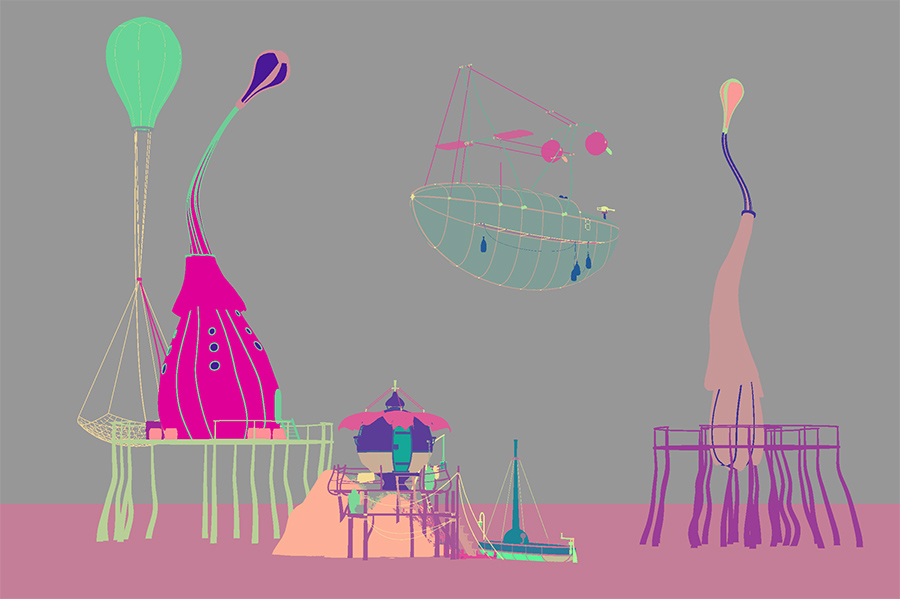
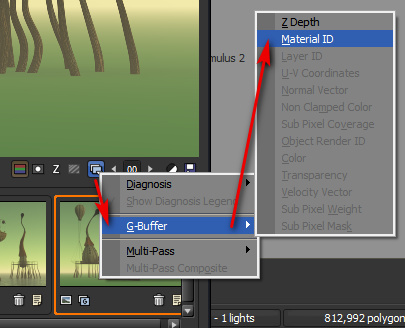
Make sure you are rendering the scene with auxiliary render passes (aka ‘multipass’) turned on, and that you give yourself what Vue calls a ‘materials ID’ pass (aka a ‘clown pass’). The usual simple ‘alpha pass’ won’t get you the bits you need for this tutorial. The extra render has to be a ‘materials ID’ pass. This is what one looks like in Vue, using the demo scene…
As you can see, a random flat ‘clown’ colour has been automatically applied to all materials, with no colour being quite the same as any other. This makes doing selections in Photoshop really easy.
And this is where to find and save it after the render completes. Best to save it out as a .PNG file, in case you find that Vue didn’t bundle it in the Photoshop file for the main render…
(I’m still trying to figure out how to force Vue to bundle all render passes into a single .PSD. Ticking “Save to disk” in render settings is supposed to do it, but doesn’t. One of the problems with Vue is that, to force it to do simple stuff like that or just turn off the automatic lens-glare, you have to hunt down multiple tick-box settings on different panels).
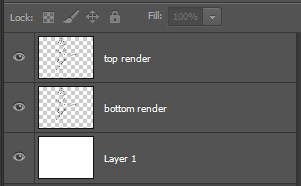
3. Now you’ve opened the render in Photoshop. Let’s bring on the flood. You have your main render open, and a clown pass layer sitting above it in the layer stack. Make a working copy of the main render as a new layer. Run the Flood 2 plugin on this working copy. Find the horizon, then go slightly above it into the sky and render a sea using Flood 2. (We need the extra headroom so we can feather a bit off later, without creating a razor-sharp horizon line).
Flood 2 rendering took about two minutes on this 2800px render, and may vary depending on complexity of the sea. The effect is very realistic, with sea-swell and reflections. Doing the same thing in Vue could take hours if not days.
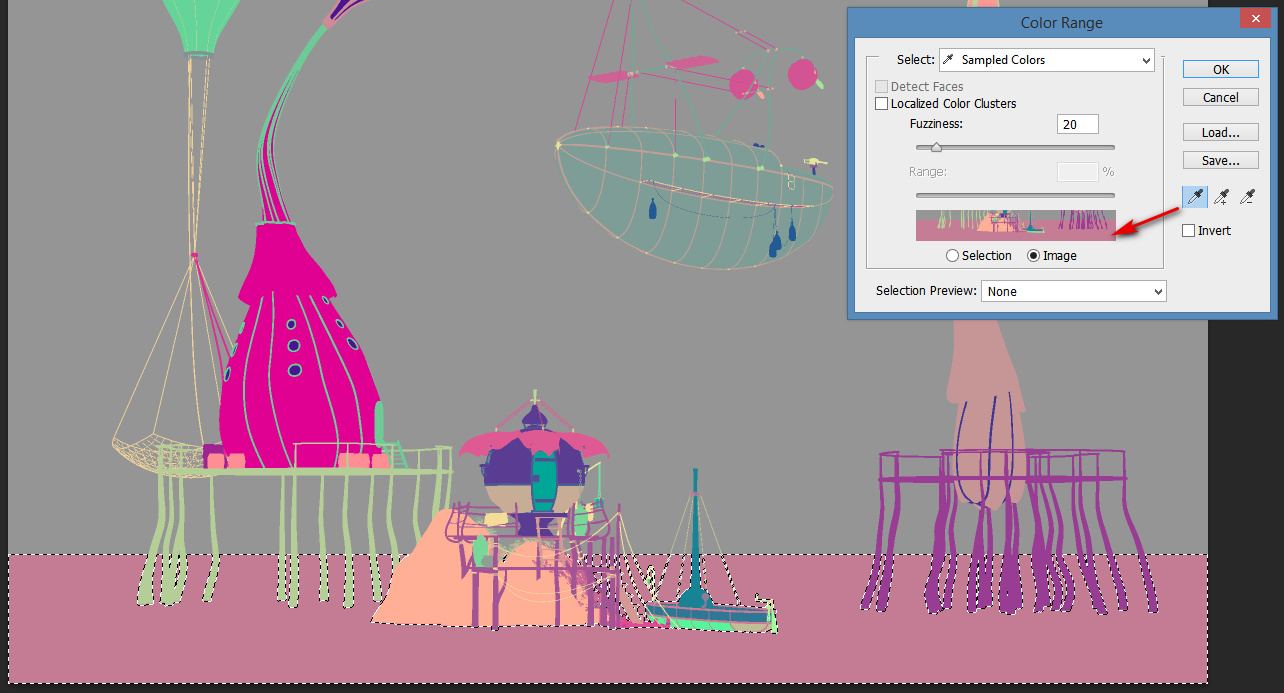
4. Go to your Clown Pass render. On the top menu in Photoshop, find: Select | Colour Range | + set a fuzziness of about 20. Use the eyedropper to select just the sea colour…
You’ll see that automatically takes account of the legs of the structures, something a standard alpha-pass layer could not do.
Keep the selection active.
5. Now switch layers, back to your working copy of the render with its Flood 2 sea. Turn off the clown pass layer. We now have a perfect selection for the water, and the water only.
6. Copy this selection over from the temporary layer to your original render layer, and paste it in with: Top Menu | Edit | Paste in Place. Blend the layer to taste. You’re done.
Multiple objects at different distances:
“Ah, but Flood 2 has no masking options”, you say. True. “So what to do where there are multiple objects at different distances in the sea, as there are in this demo picture?” In that case you create not one placeholder render-copy to work on, but three. On each one you render a different horizon on your Flood 2 sea…
Then you select each temporary layer by using the clown pass as before (see instructions, above). Then you copy out and blend the three Flood 2 sea renders together in Photoshop. With a bit of work combining and blending them, you can get far more interesting and artistic reflections that you could get after many hours of finding, choosing and then rendering a sea in Vue. As you can see in this comparison…
Original demo, Vue sea:
Flood 2 multi-distance Photoshop-combo sea:
So, there you have it, two tutorials on how to get better clouds and better sea in a Poser-to-Vue seascape scene, while cutting render time to 15 minutes at 2800px.
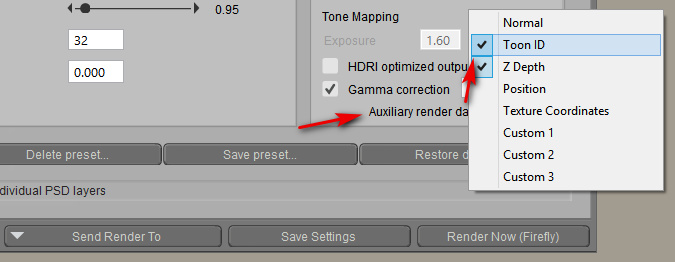
These methods will also work on any advanced 3D software that can give you a ‘materials ID’ / ‘clown pass’ / ‘Toon ID’ render, and will thus let you precisely mask the sky and sea. Which, since we’re now all using Poser Pro, includes all Poser users. In Poser Pro 11.2, you enable this render pass by ticking the Firefly render settings thus…
Poser calls it ‘Toon ID’ instead, but it’s the same thing as Vue’s ‘Materials ID’ render pass. You’ll just need to Auto Colour / Auto Contrast it in Photoshop to make its areas visible.
There’s even a free Poser script that lets you pick which Toon ID colours you want to assign to sea and sky, potentially making them even easier to select in Photoshop.

