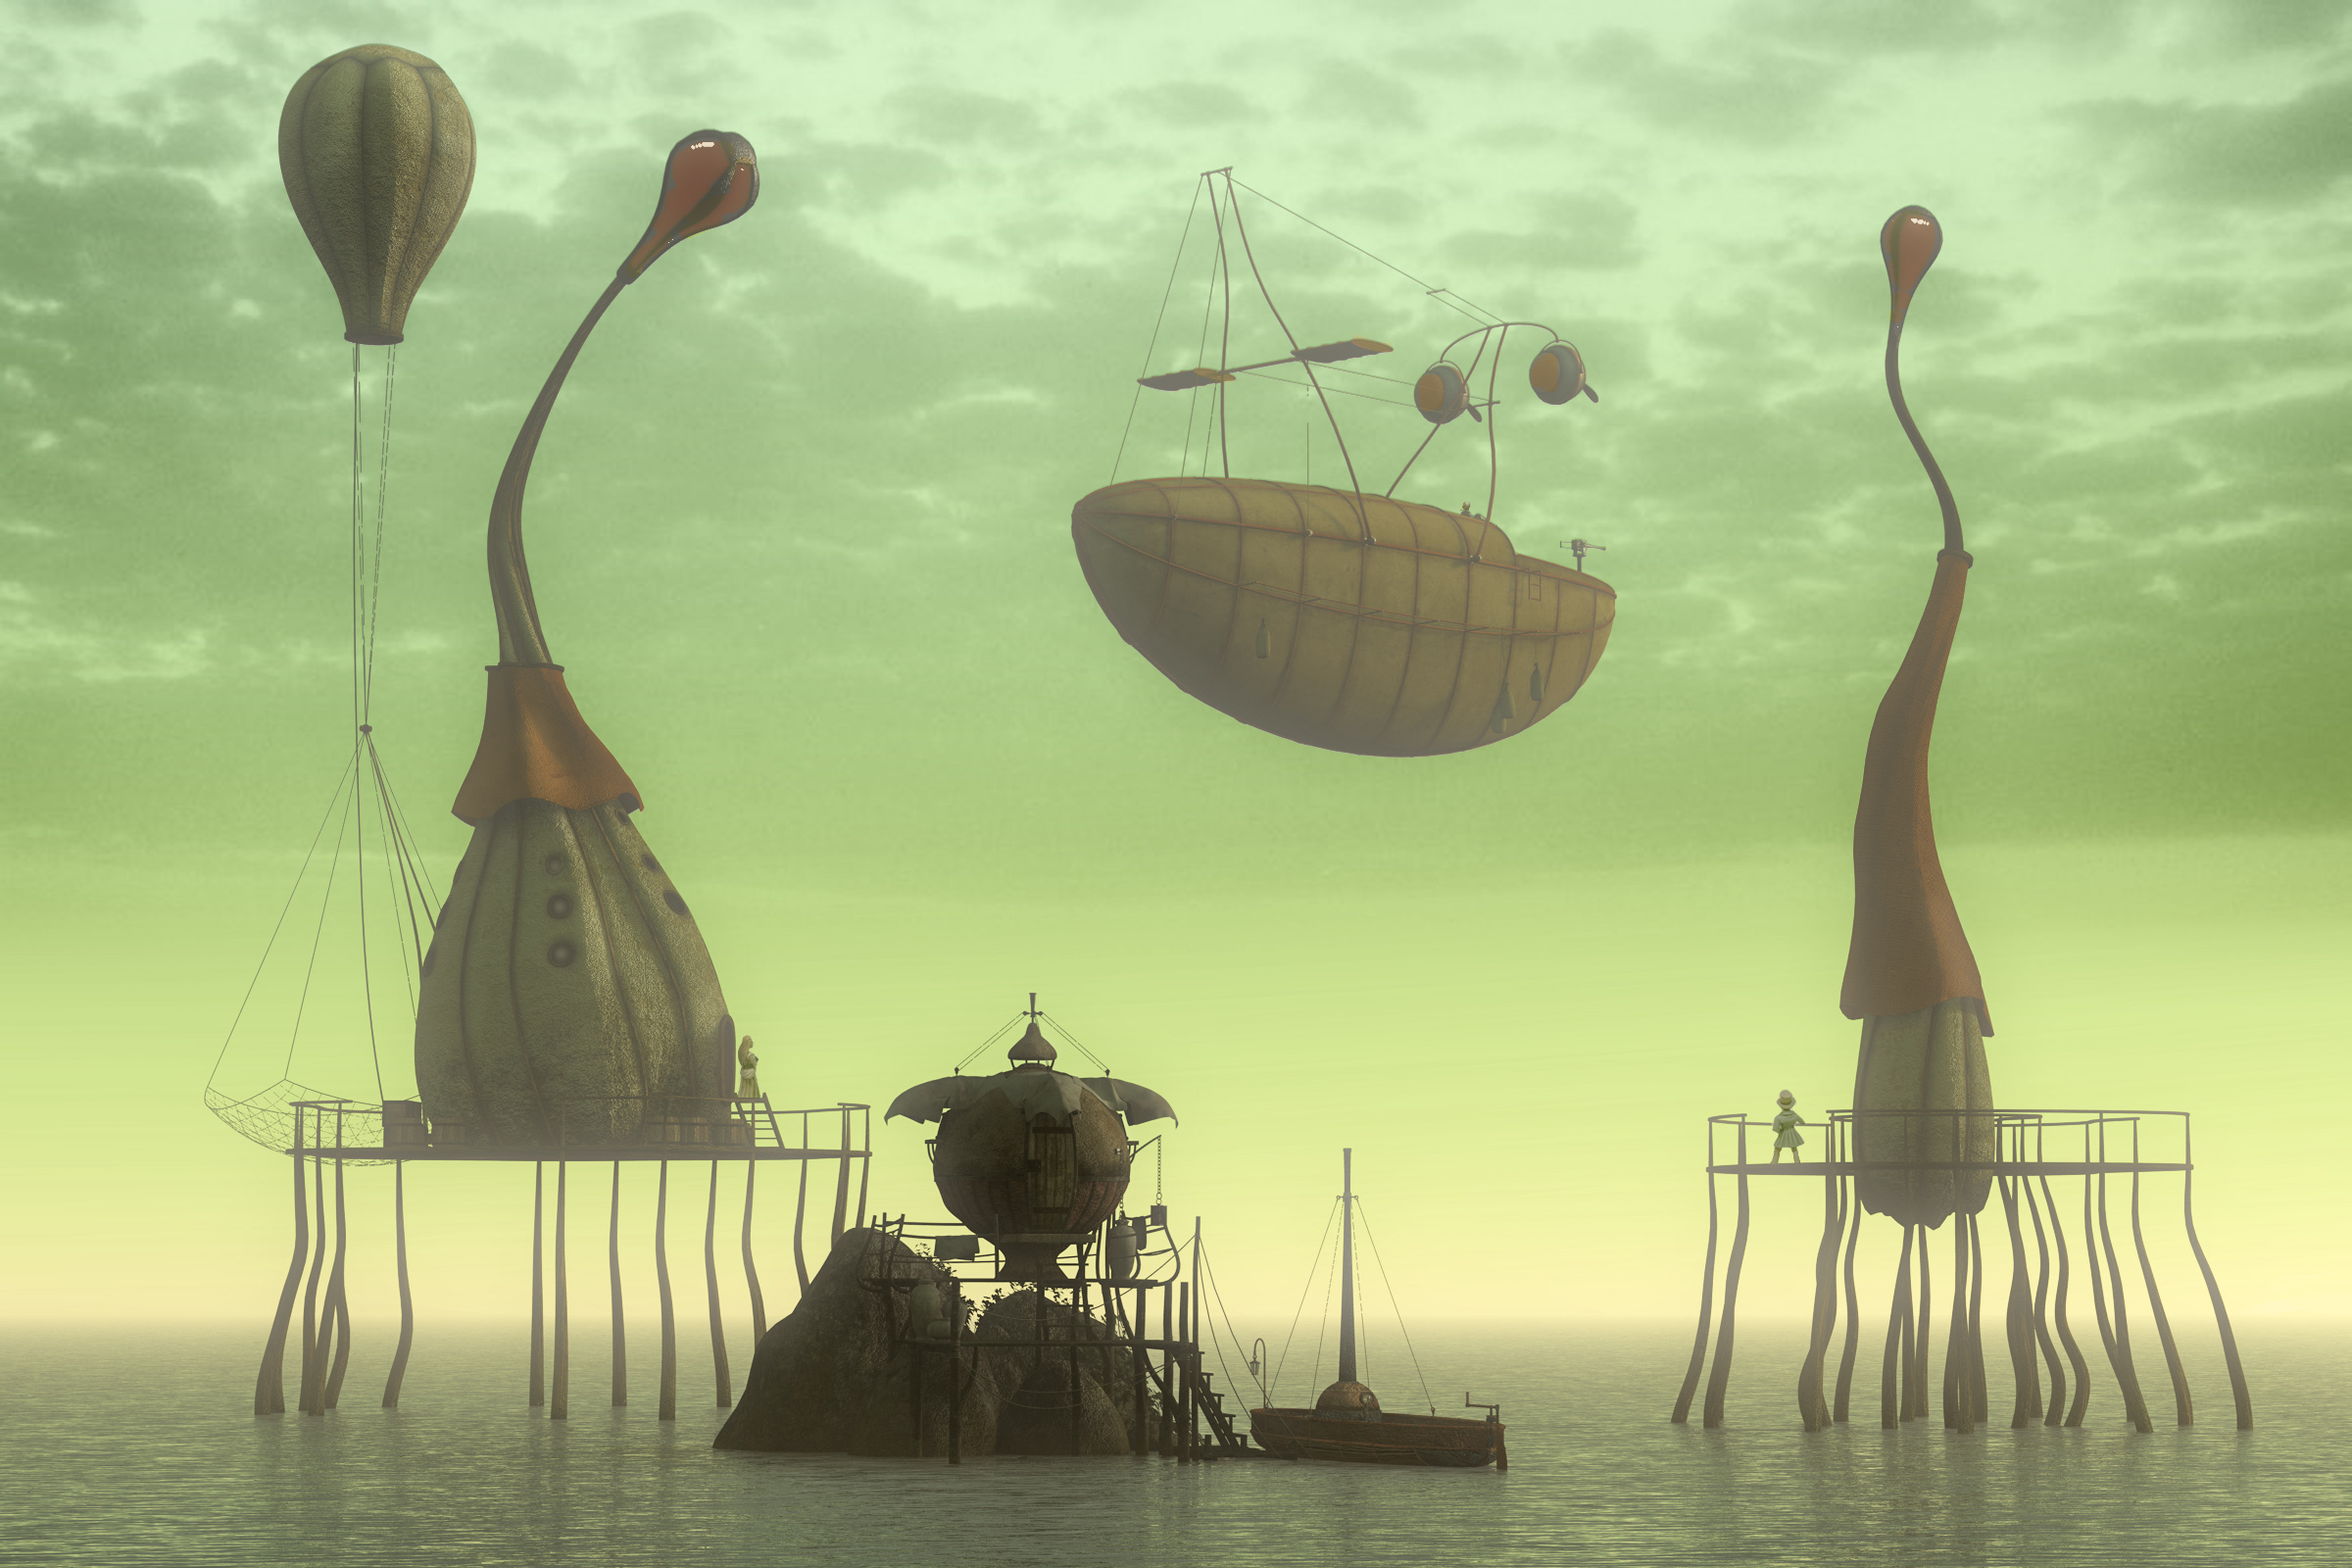
1971s is one of my favourite model-makers at Renderosity. Here’s a little help along the way to making ‘green fog’ scenes with his models, similar to many of his Store renders.
This tutorial sends a Poser scene to Vue. Poser 11.2 still works fine in Vue Xtream 2016, in terms of import of a saved Poser scene with materials. Here’s how to do ‘fast and green’ via the old Vue 2016, and get a render rather like many of the 1971 store preview renders.
1. First, make your basic scene in Poser. Use the top camera to get a good distance between the props.
2. Then save and load the Poser file into Vue as normal. You don’t need re-pose-ability or animation. Once the scene is loaded, keep your models grouped and raise them all up off the floor, as we’ve going to have sea under them in a minute. Then un-group the models so you can fine-tune their position. Load a sea and surface for it. Find your camera view and lock it.
3. Load the atmosphere preset, and my ‘Fast AA’ render settings preset, both in .ZIP file (this is on SendSpace, so may time-out if no-one downloads it for a month). User presets can be copied to C:\ProgramData\e-onsoftware\Vue xStream 2016\Atmospheres
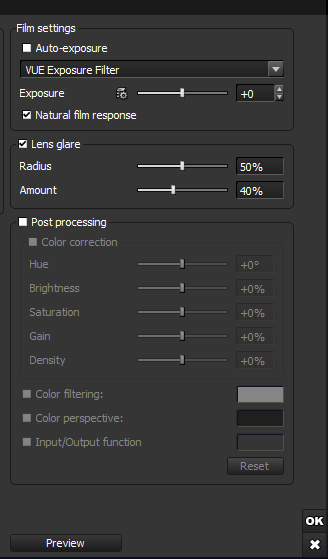
4. My presets, when used together, should remove the utterly pointless and auto-run lens flare / lens glare (whose clever idea was it to have that timewaster on by default?) If you find you still need to turn off default lens-flare in Vue, along with other post-processing time-hogs, this is how you do it…
i. In your Scene Browser selected the Sun, right-click on it and Edit Object. Find the Lens Flare tab and turn it off.
ii. Think that’s it? Nope. This is Vue, so think again! Now go up to the top menu, them ‘Render’ | ‘Post-processing Render Options’. From here you can also turn off Lens Flare. ‘Copy settings to scene’. Press OK.
iii. Go to Render, and… you should not be warned that “lens-flare is enabled”. If you are still prompted about it on starting the render, it’s possible you forgot to ‘Copy settings to scene’ before you pressed OK to exit the Post-processing Render Options.
5. Render. You should be able to do 2800px in a reasonable amount of time, with my Atmosphere / Render Settings Preset combo. With the sort of sea I have in my demo picture, perhaps 50 minutes. The water is the big time-hog here, as we have no clouds to speak of.
6. All done. Save the render as a .PSD Photoshop file. The render preset should have given you useful extra render data such as Z-depth and various material zone masks and alpha masks. Save these out too if you need to. Save the scene file and exit Vue.
(Note that using “Save to Disk” bundles the extra render data in the .PSD, but otherwise you need to manually save them out one by one).
7. Now you can use the z-depth render on Photoshop (invert, layer-bend using Lighten) to add extra depth fog, and the materials zones pass (aka clown pass) to select particular materials with the Magic Wand. You don’t actually get the pretty clouds in the Atmosphere, as seen in my demo. They’re added later. Using one of the Vue masks output with the .PSD file, one can quickly create a masked selection for the sky. Paste that onto any suitable sky picture, copy what it selects, and paste it in, blend to suit. That way you get nice real clouds, but without the massive render time.
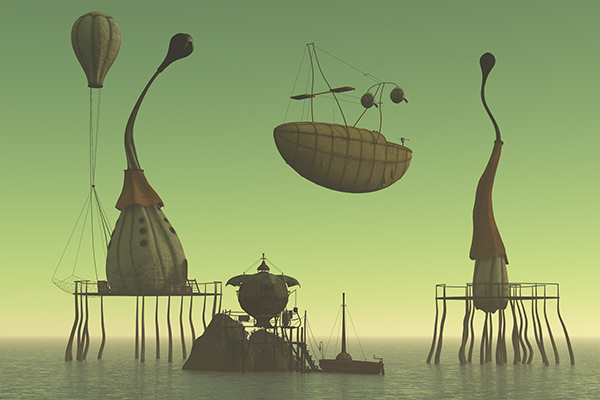
Demo as raw Vue render:
Demo after some work with Vue’s additional z-depth and multipass render types:


