This tutorial shows you how to get a ‘pseudo Toon ID’ render from Poser, using a quick Preview render. As such this method works in both Standard and Pro versions of Poser, and gives you what is effectively a ToonID render layer (usually a Pro feature). Rather usefully, it also uses the real-time Preview render mode, rather than a slow Firefly render.
1. Set up your scene as usual and get to your final artistic framing and lighting. Save to MyScene-final.pz3. Render your final renders as usual. Without making any changes, then make a working duplicate of your final scene, MyScene-toonID.pz3. You need to work on a duplicate from now on, as you’re going to mess with the scene a bit.
2. Go up to the top menu: Display | Cartoon Settings | One Tone.
3. Go down to the Document Display Style icon palette, and set Cartoon Display mode. Everything goes flat. Each flat colour you see is being driven by the Diffuse colour in the relevant scene material.
4. Now, you may be happy with what you see. Lots of clearly defined flat colours, just begging to be precisely and easily selected with the Magic Wand or Colour Select in Photoshop. In which case make a Preview render and save your ‘pseudo Toon ID’ image. Take it into Photoshop and ‘Paste in place’ to align it precisely on top of the other layer(s). You’re done. Bring on the Magic Wand and Paintbucket!
5. Are things not looking right? Lights should not make a difference, given the combination of Display modes your scene is in. But try scrapping your scene’s existing light rig and replacing it with one single ‘flat’ IBL light. ‘Flat’ meaning it is pointed straight at the scene and is causing as little shadowing as possible.
6. It could also be that some or all of the colours in your scene are too similar. You may have dark greys on top of dark greys for instance, as was the case with these sludgy dinosaurs before they were jazzed up a bit.
You could jazz up your too-similar colours by going into the Material Room, select each and every Material and change the Diffuse colours manually. But you may have too many materials in a big scene for that to be viable. What to do?
i) If you have MATWriter Panel 2014 installed in Poser 11, you’re in luck. These make it really easy to change Diffuse colours in bulk across each character and prop, and XS even uses the Windows Colour-picker for the colour selection.
ii) The free EZMat has a Randomise script that does the same per character/prop with auto randomisation of the Diffuse colour.
Be warned that you need to work on backup copies of your scene with these!
Once you’re done, don’t forget to go back up to the top menu: Display | Cartoon Settings | and set Poser back to ‘Three Tones’ or whatever you usually have set there.
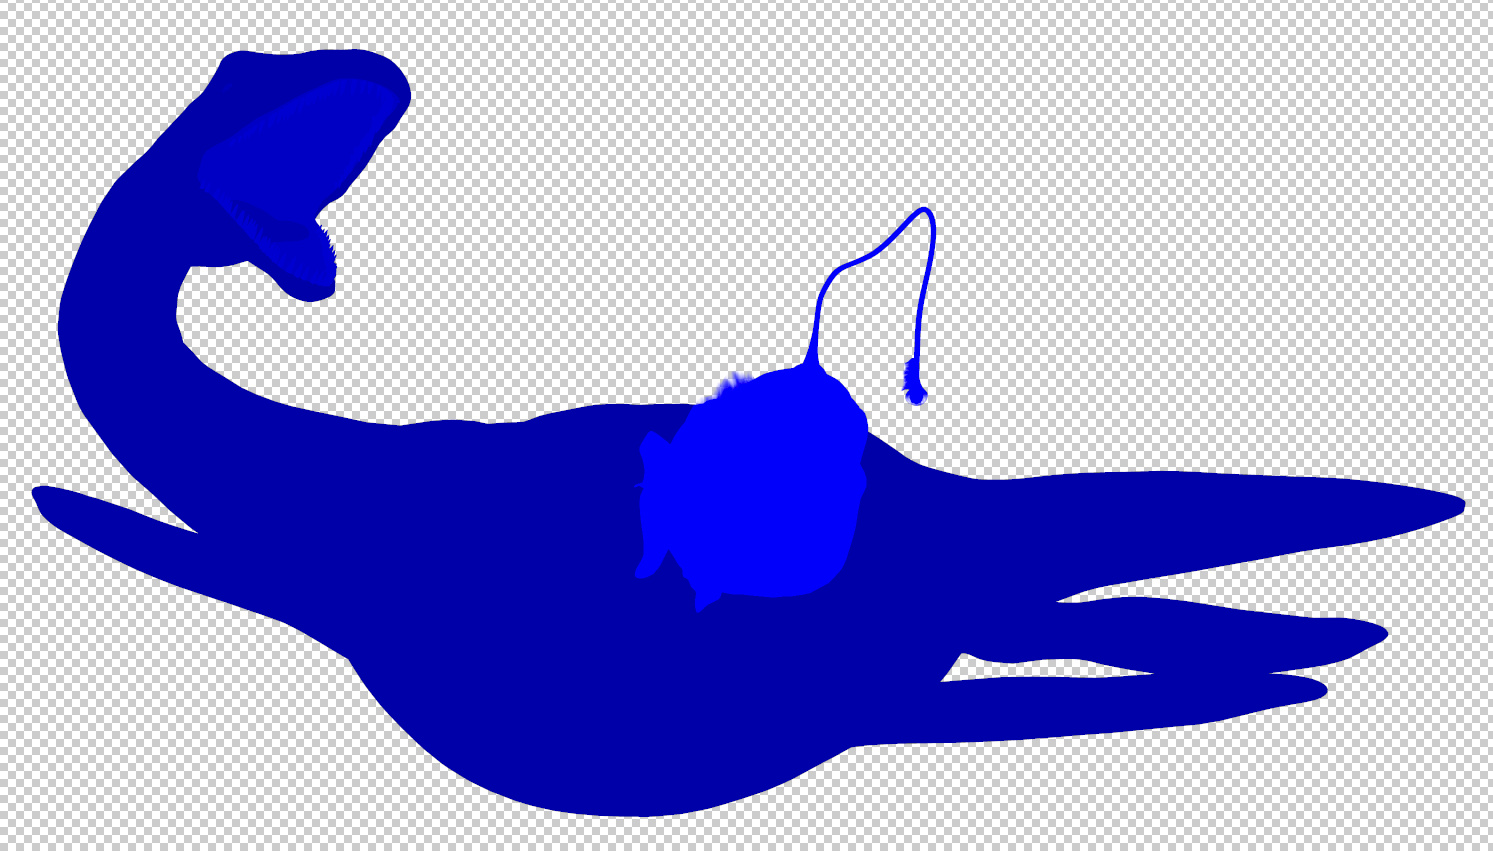
For comparison, here is a default ToonID render layer from Poser Pro. Without any colour adjustment done in Poser, in Photoshop the default ToonID layer usually requires a quick Auto Contrast and then a Brightness/Contrast tweak to make it visible and its parts selectable. That’s been done here. Note that the opacity mapping has been handled by Poser much more nicely than the above Preview method, albeit at the cost of render time. On the downside, we don’t have a selection area for the eyes, which we do have on the ‘pseudo ToonID’ render, but those could be manually input in the Material Room (change the toonID number to something very high, i.e. six figures).
There is a free script that will quickly and vividly block-colour the ToonID channel for each character and prop in your scene.


