So what is a “curvature pass” in Keyshot? Non-existent, that’s what it is. There is no such render type, as I found after I wasted half an hour trying to discover it. So I’m just dropping this blog post here to save others a similar waste-of-time. This is now the second time in recent weeks that a spurious mention in 3D Artist magazine has led me on a ‘wild goose chase’…
There is no such render pass in Keyshot…
I think that what is meant is rather a manual setup of a specialist render…
1. Save a version of your final render-ready Keyshot file that you can afford to destroy.
2. On the model, find all the textures that you want to distress in Photoshop. Double-click on them and turn them to Texture map: Texture: ‘Curvature’. Make sure you have a suitable bump map in place for each texture.
3. Set up bright colours on the Negative | Zero | Positive colour-pick boxes for ‘Curvature’.
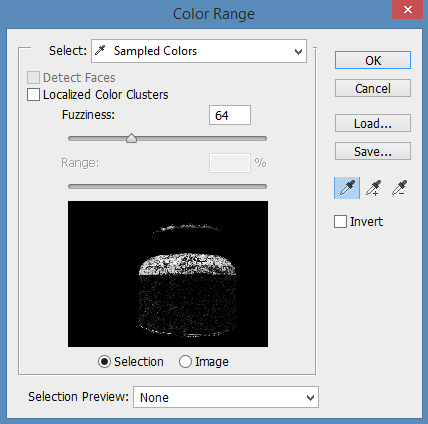
Now render, and you get a custom render pass that is of some use in Photoshop, using Color Range selection…
Here’s a quick test, without using any extra ‘rust render’:
From left to right: 1. A test inkpot with a sort-of rough-texture gold surface. 2. Test inkpot with a distressed texture applied, then switched to ‘Curvature’ with strongly alternating colours and rendered. Colour selected with the eye-dropper in Photoshop, and used to select only a section of the scratched art-texture. 4. Selection “paste in place” and blended with the main render, for a very nice distressed patina look. It also serves to mute the shinyness of the main render.
Neither the gold texture or the super-crackle surface would have been suitable on their own, but this method allows one to get a more subtle blend, with local rim-distress such as around the rim and base of the inkwell.
I could be wrong, but that seems to be what is meant by the mythical “curvature pass”.


