I’ve spent some time working through Krita 4.x’s G’MIC-QT filters. They’re the equivalent of Photoshop’s native filters + some nice plugins, all rolled into one plugin. Krita is the leading ‘open source’ graphics software, and both Krita and G’MIC-QT are free. G’MIC-QT ships integrated into Krita.
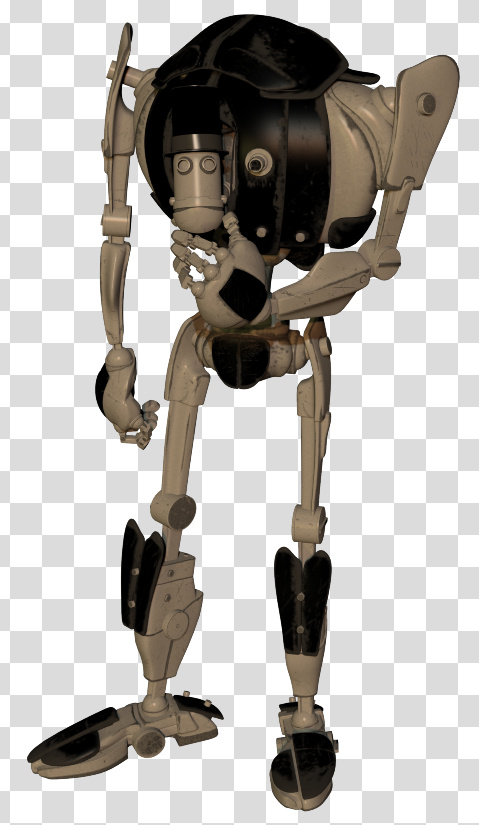
Below you see my trusty test-bot for the G’MIC-QT filters. Quite a dark raw Poser Preview render, and not at all optimized for tooning. That top-hat is going to be a particular challenge.
I was looking for things that can’t be done more easily in Photoshop.
Here are the G’MIC-QT filters I noticed and worked with, for good or bad:
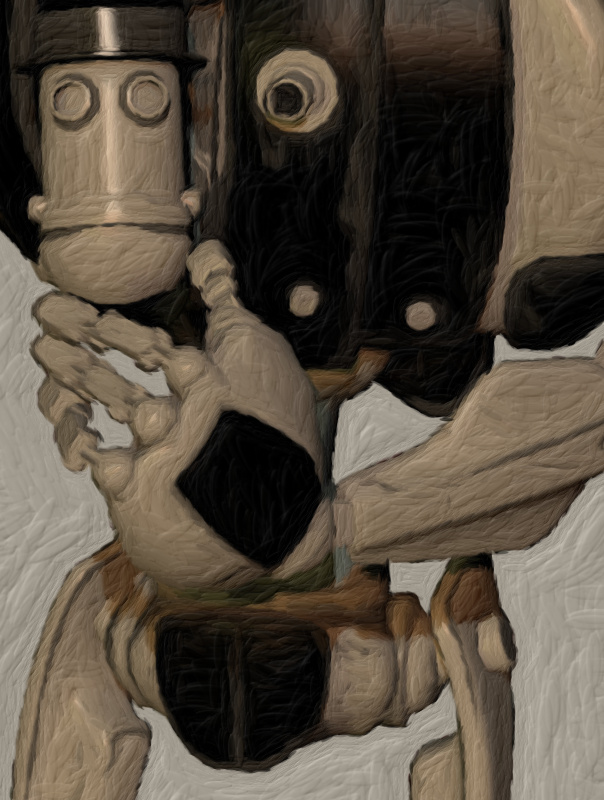
1. Artistic. Brushify. A nice but mundane paint effect with the default settings. The drawbacks, even on default, are that: i) it takes a ridiculous amount of time to process; and ii) it paints into a background that should remain transparent. Still, the ‘real thick paint’ effect is nice, and it takes far less time that it would take you manually overpaint a render.
2. Artistic. Cartoon. This just gave the usual “Ugh, 3D run through a Photoshop filter!” look, of the type that only pleases those who have never actually seen the inside of a decent comic-book. Horrid. Rip it out and burn it, now!
3. Artistic. Cutout. This had something to recommend it at a setting of 6 0 6. You might want to take a quick look at this before your pay good cash for one of the TOPAZ Clean / Simplify Photoshop plugins. That said, even on a workstation this filter takes a very long time to run, like 90-120 seconds! Also you get some posterization artefacts that you would not get with Topaz Clean.
4. Artistic. Felt Pen. I was able to work it up to a custom effect I saved as ‘Felt Pen Burnoff’, which burned off most of the 3D grunge. It ran very fast, but the applied effect was not great when seen at 100%. It worked much better when seen reduced, at 33%. Still, to get this from such an unpromising 3D render is quite impressive.
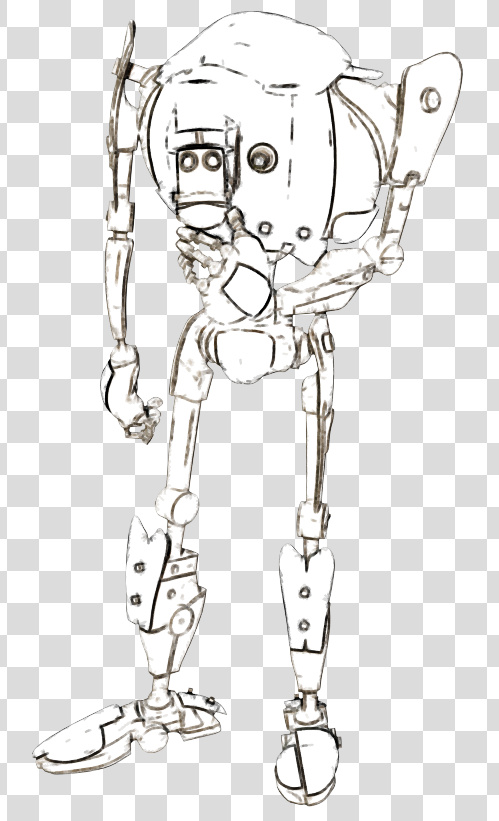
As you can see, it doesn’t add a holding line around the edge. Though that may be because I was using a .PNG cutout with transparency.
5. Artistic. Pen Drawing. It doesn’t quite give the effect you might expect from the name. It’s more like a basic toon filter, and is too close to a recognisable ‘standard Photoshop filter’ look for my tastes. Can be sort-of acceptable, though only if ramped up to maximum settings. There are only two sliders, so I assume there’s not much more that can be done with it.
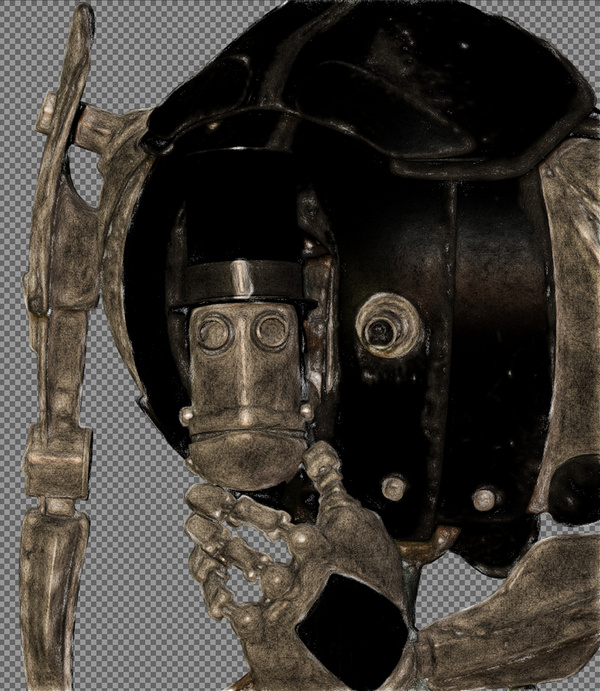
6. Artist. Sketch. Capable of some awful crap, as most such filters are. But I also crafted the unusual custom preset seen in action below, which is like an oil glaze on thick smeared pencil. The setting took three minutes to process a 3600px picture, but the results were rather nice when viewed at 100%. Zooming out just makes the figure look like they’ve been dipped in motor-oil and dried off a bit, which is not so pleasing. I could imagine that 100% crops from this, placed into panels, could form the basis of a graphic novel style for a macabre story.
7. Black and White. Charcoal. Quite tricky to control, and frankly not very impressive as charcoal. But… also capable of a reasonable basic stipple effect, which I saved as my ‘Stipple’ preset. Though, as you can see, it doesn’t like to run across black or near-black.
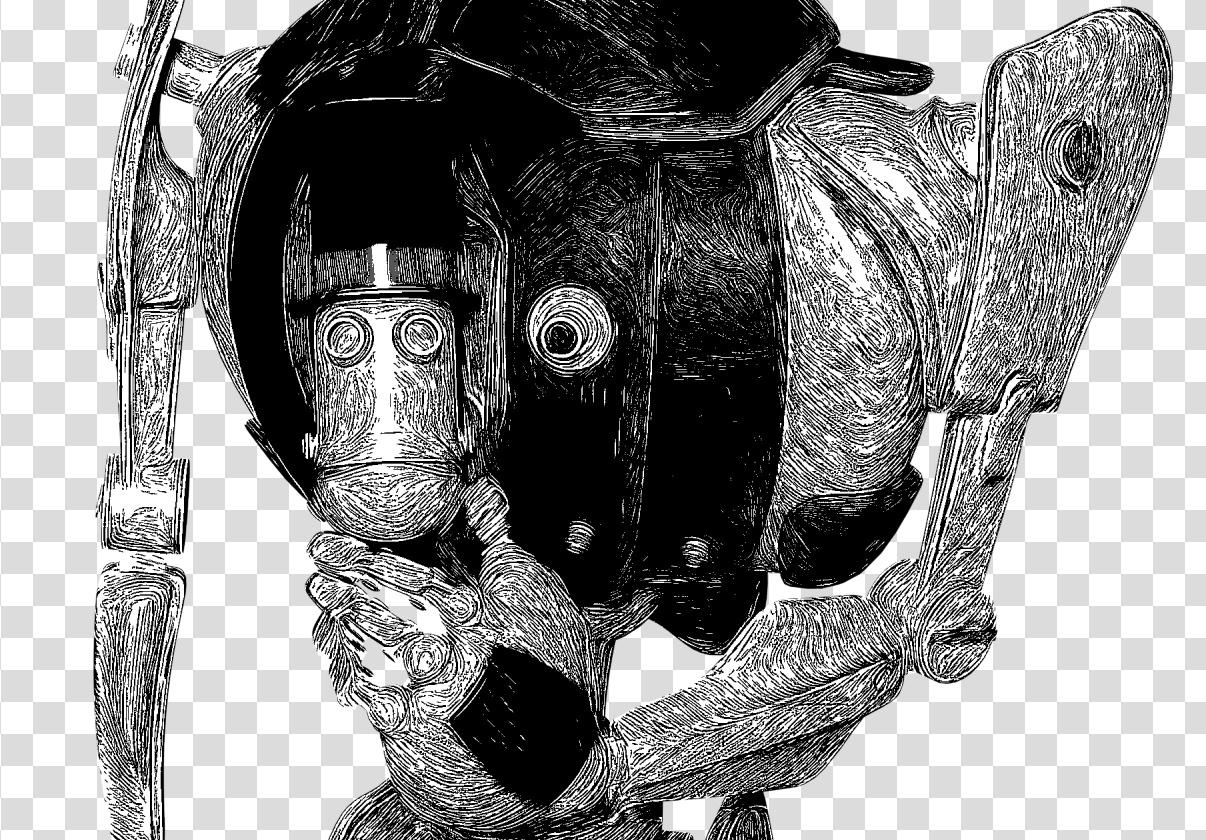
8. Black and White. Engrave. Despite the name, this is of interest for comics makers. I was able to work it up to several pleasing effects and save these as presets.
One I named ‘Skritchy Pen’, which took two minutes to run…
Another preset I called ‘Berni Wrightson’, which took about 90 seconds to run. I love how the engraving lines follow the contours fairly neatly, which is never the case with such filters. How it does that I don’t know, but it does. It doesn’t even have the 3D mesh to ‘follow’.
Another custom preset I made I called ‘Comic with Inks’, which was fairly fast with no anti-aliasing, but it took two minutes once its anti-aliasing was on. Very impressive, given the less-than-ideal source material. I’m not particularly keen on such dense blacks, but one might find ways of toning them down without too much work. Retexturing the Poser model would probably do it, at the risk of simply turning the blacks white.
These thin lines look like they might fat-ify quite nicely if run through DAP.
9. Black and White. Pencil. Nothing like a pencil, it’s more like maybe Posterize in Photoshop. Meh…
10. Colors. Detect Skin. Unusual. This may interest someone who does a lot of skin renders in Poser and DAZ Studio.
Thus I got about eight good useful custom presets with it, which I’m pleased with.
It’s possible to save user presets in G’MIC-QT, though with typical Krita awkwardness in naming they are called something very different. Your “Faves” are thus not just bookmarked favorite filters. They also capture the settings of the filter at the moment the ‘Fave’ is saved.
I don’t see any way to extract and share individual ‘Faves’, though you can back them up as they’re in the C:\Users\YOUR_PC_NAME\AppData\Roaming\gmic\gmic_qt_faves.json file. This is just a text file and can be opened with the Notepad++ freeware. Looking at the structure of the file it looks like someone used to code could, with great care, copy-paste a preset from someone else’s ‘Fave’ .json file and thus import it.
And, lastly, I don’t see anything in G’MIC that can do what DAP’s ‘GrNovel’ filter can do. Though G’MIC looks powerful enough to replicate it, if someone cares to try.






Some nice effects. I’ll have to play with that. What’s DAP? Dynamic Auto-Painter?
Yes, indeed. If you spend a hour reading back into my other posts of the last month, then you’ll pick up the mentions and uses of DAP (and specific filter and settings) for making Poser’s inked line-art seem a touch more hand-inked.