Poser 11 makes excellent line-art from 3D content, using its Comic Book Preview mode. This effect can easily be switched into plain black-and-white, giving you just the ink outlines for a character, scene or prop. (See my video demo of this).
The free open source Krita 4.x can add to your options here, by providing you with another layer of colour for your art. It does this by cleverly auto-colorising the inked line-art it gets from Poser.
Here is the workflow for how to do this in Krita 4.x, with screenshots. Note that this is very different from how it was done in Krita 3.x.
Obviously what follows is a very simple two-colour example done for this tutorial, and I could have got more funky with auto-painting colours into the line-art.
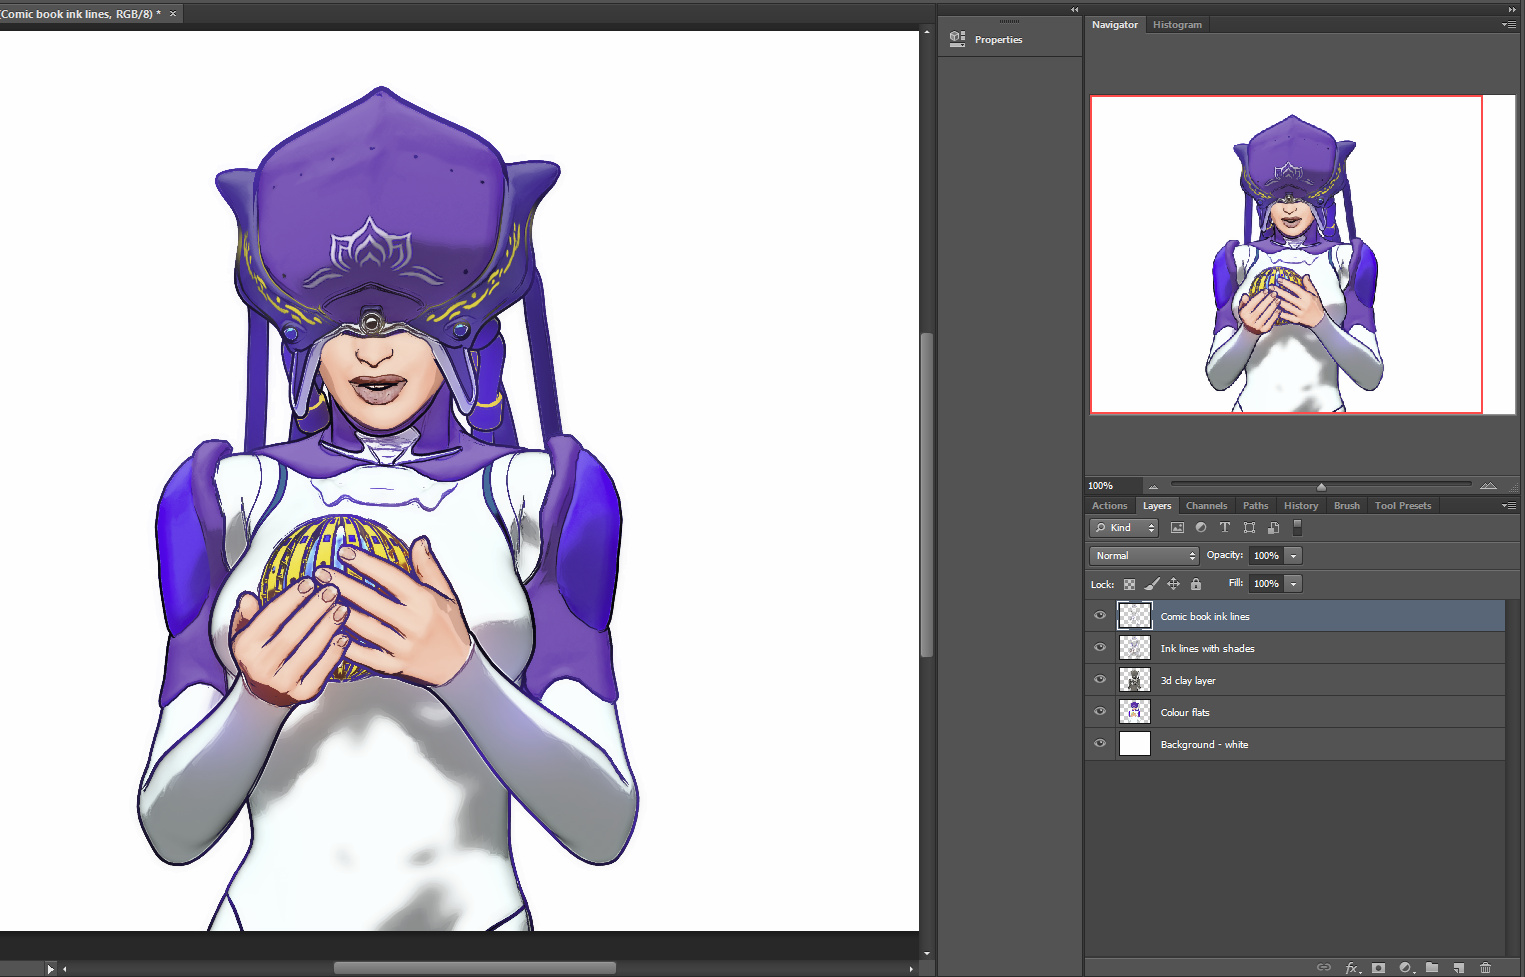
1. First set up your exported Poser render layers in Photoshop. The layers will usually be…
Shadows.
Inks.
Colour Flats.
Background.
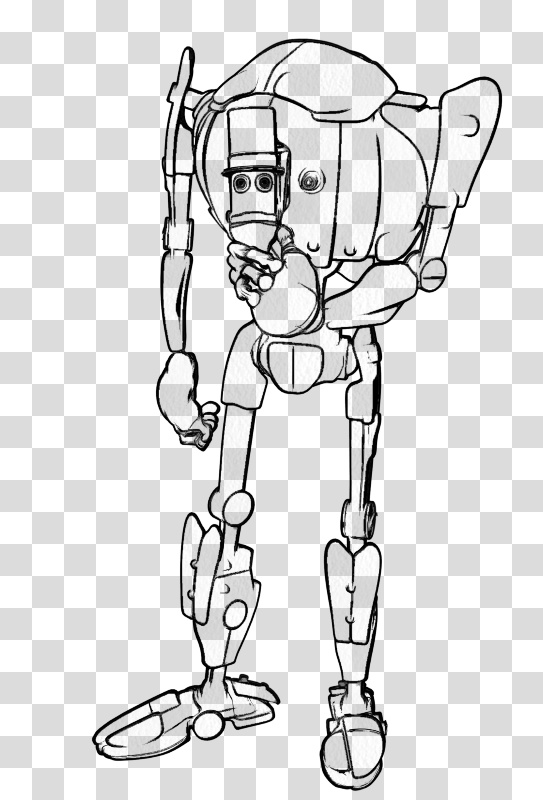
You then run the usual Photoshop Action to remove all the white on the Inks layer, to get this result…
Then you save to an unflattened .PSD Photoshop file.
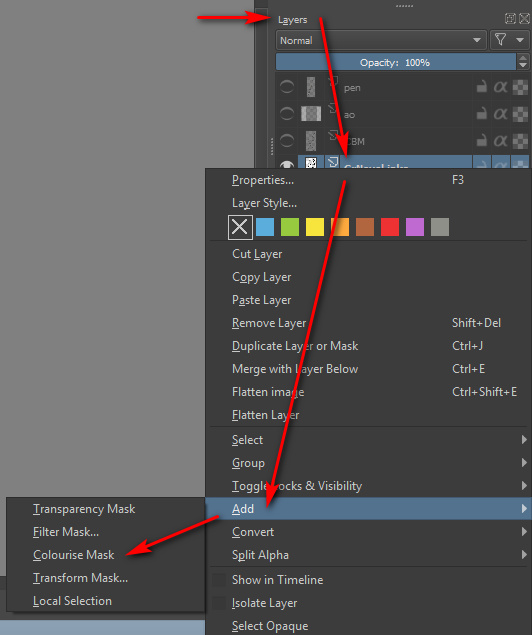
2. Now start Krita 4 and open your new layered .PSD file. In Krita’s Layers palette, right-click on your chosen Inks layer. A menu will pop up, and you then select: Add | Colourize Mask…
Krita will then add and auto-name a new sub-layer, which sits directly below the Inks layer…
3. Now you make an absolutely vital initial selection in the Krita user interface, which isn’t mentioned in the Manual. You go over to the Toolbar and select the “Colourise Mask Editing Tool” icon. The Tool you need to select is the paintbrush icon with a sort of ‘glowing tip’, which should be near the Eyedropper…
This Tool stays selected in the Toolbar even as you then select a suitable brush or pen from the Brush Library. DO NOT EVER select the normal Brush icon on the Toolbar, as this will mess things up over in the Tool Options.
You then roughly paint and dab colours where you want them to be auto-painted by Krita. It’s important to also indicate a background colour, even if you don’t want a background colour, as the auto-colour process can only fill the entire canvas. I’ll show you how to get rid of the painted background in step 6 of this tutorial.
Dabbing and squiggling the colours can be done with the mouse, but will be easier and more pleasant to do with a pen-monitor such as a Wacom or Ugee. Ideally with a good level of zoom-in. Here it’s very crude and just two colours…
4. Ok, you’ve completed your basic indication of where Krita is to lay in its auto-colours. Now go back to the Colour Mask layer and click its end-icon, the one that vaguely resembles a recycling icon…
Clicking this icon triggers Krita’s ‘autopaint’ process, and Krita works out how the colour dabs should spread out to meet each other and the ink lines. Doing the calculations for this may take a while on a large canvas with complex colouring. You should see a tiny ‘progress bar’ while this process happens. The default settings in Krita should be able to intelligently cope with gaps in the line-art.
5. With the auto-painting run completed, you then switch back to normal mode simply by clicking on the pencil icon on the layer…
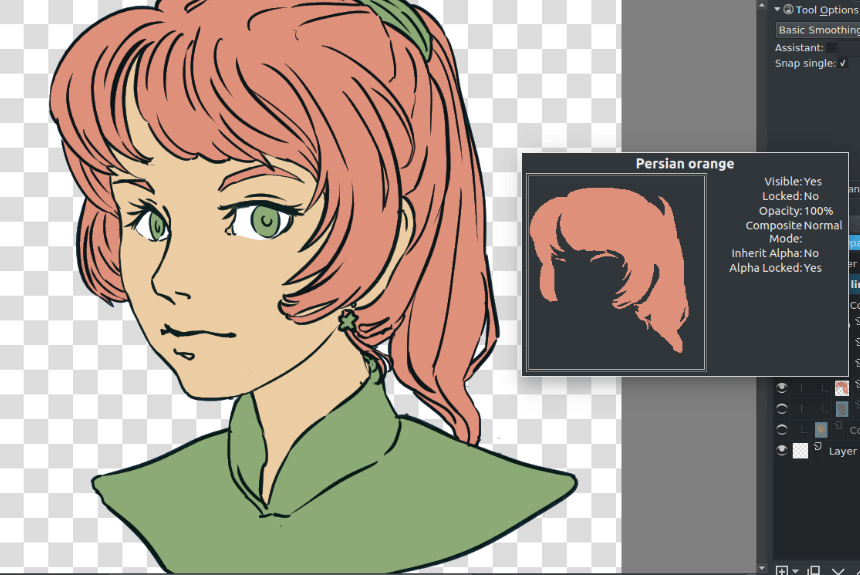
Clicking this pencil icon reveals your fully auto-coloured line art…
If the colouring is not quite correct, you can fix it. To do that you click what has now become a cross icon instead of a pencil…
… and this returns you back to ‘colour dab’ mode, and there you can edit, erase and add to your dabs and strokes. You can also tweak some settings over in the Tool Options. When you’ve made your corrections, click the ‘recycling’ icon again to run the auto-paint again. It should only take a couple of tries to get it right.
6. Now you tell Krita that you want a transparent background colour. For instance, in this example we can make the outer red be transparent when Krita ‘paints’ into the line art.
Regrettably Krita’s manual can be utterly baffling in its instructions on how to do this, if you naturally used a regular paint brush to dab your colours on the line-art. It merely says: “We want to have the [red colour] transparent. In the tool options of the colorize editing tool you will see a small palette.” But if you selected a normal paint brush then: i) you will have no clue that the “Colourise Mask Editing Tool” lives over on the Toolbar; and ii) because you never selected this “Colourise Mask Editing Tool”, there will be no mini-palette. The Tool Options docker will not reflect your active use of the ‘Colourise Mask’ layer, and it will be stuck in ‘normal brush mode’.
However, you followed my instructions above in Step 3 — to find and pick the “Colourise Mask Editing Tool” for painting colours, before selecting a brush from the Library. This means that your Tool Options docker is correctly showing this by default…
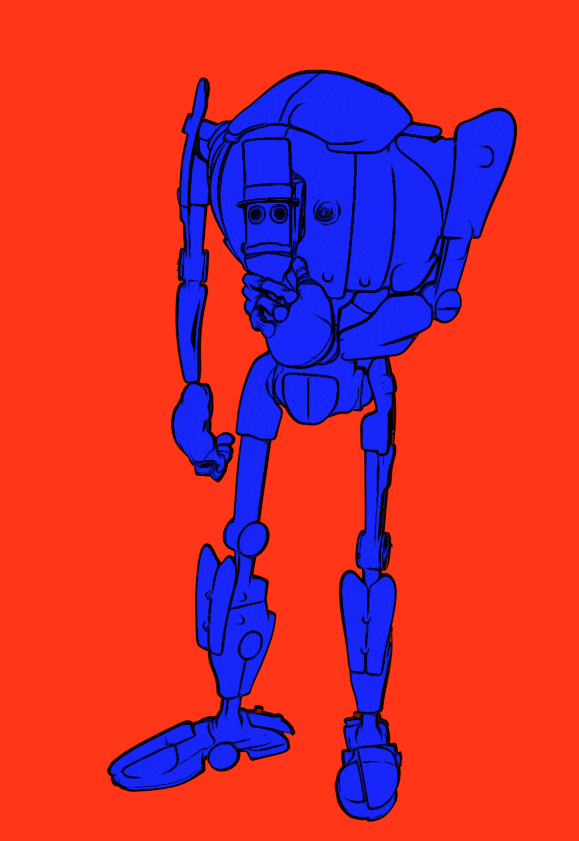
In this Tool Options docker we can now scroll down to find a line of colour chips at the bottom. Each of the colours found here represents a paint colour you used on your line-art a moment ago. We then select the red colour chip and click the ‘Transparent’ button. We then update the layer’s paint effect, and the red is gone…
We now just have the colour-filled line art and the original background layer underneath it. The red colour has simply vanished, cleanly and without leaving any ugly fringing.
7. Once you you are happy with Krita’s auto-paint, select the Colourise Mask layer and right-click on it, then choose…
Convert > to Paint Layer.
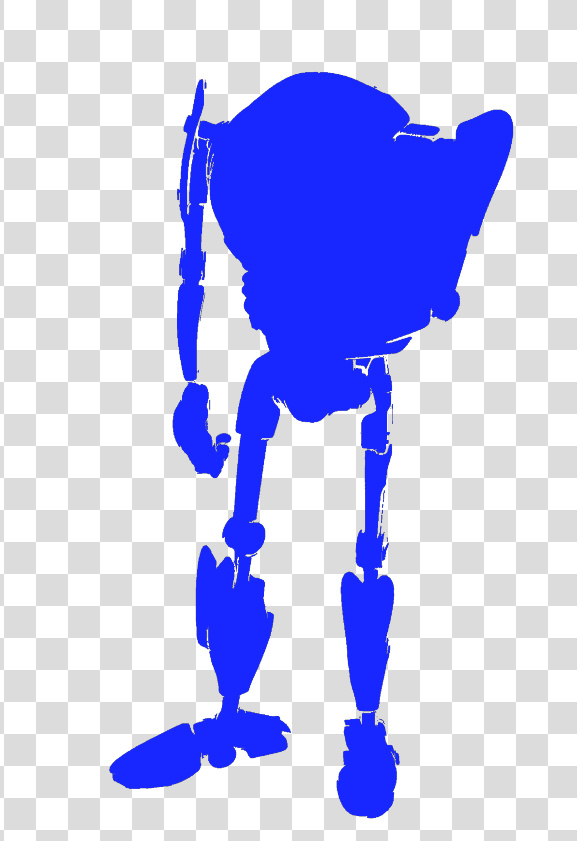
This is what the raw converted paint layer looks like on its own. If we had made more paint dabs on the line-art, obviously we could have got a far more complex colouring in of the line-art…
Here’s a very slightly more complex example of what can be done, and how it’s possible to save each paint layer as its own ‘island’ of colour…
Ok, then you’re done in Krita. Save the .PSD and load it up again in Photoshop. You can then use this new Krita layer to interact with the Colour Flats layer you had from Poser. It could also interact with a shadows layer to colourise the shadows.
The above workflow sounds complex, to accurately describe it and to warn about the pitfalls. But once you learn it, it is fairly quick.
For some types of Poser scene it can also be mimicked and bypassed inside Poser by a render using:
Single ‘flat’ IBL light, ‘flat’ meaning it is pointed straight at the scene.
Top menu, Display | Cartoon Settings | One Tone.
Set Cartoon Display mode in Document Display Style icon palette.
Then make a Preview render.
This gives you a pseudo ToonID Preview render, onto which you can paintbucket new colour, depending on how many colour segments you have. If you only have eight segments you’re fine, but if you have 200 segments per frame then you’d be at it all day.
Lastly, automation. Sadly Krita isn’t Photoshop, which means we can’t encapsulate this somewhat fiddly workflow in a semi-automated Action. But I don’t know of anything that can do what Krita can do here, inside Photoshop.





Pingback: Elder Props freebies | Tentaclii