I took a risk and purchased the old Poser Python tools with source code, currently on a $7 clearance discount from Renderosity. I was curious about what the eyetarget.py and materialtoon.py scripts do. The scripts were made by Kazuhiro Eguchi in Japan in 2010, and last updated 2012, and as such the documentation on the store is sparse. They are not a Merchant Resource. I installed them in Poser 11 Pro SR6 to C:\Program Files\Smith Micro\Poser 11\Runtime\Python\poserScripts\ScriptsMenu\ and tested with M4 and Doctor Pitterbill.
Random face.py
Randomize Face works only on V4 and M4 and Kids 4 (K4) with Morphs++. This doesn’t respond to Undo, so use with care. The expressions are quite subtle, and are not cumulative, so this seems to be for when you just want to get V4/M4/K4s’s face away from the default without the bother of finding an expression preset. Kind of useful, but not hugely.
Possibly you might get it to work with other characters, such as A3, if you were prepared to edit the script and put in the A3 face morph names?
eyetarget.py
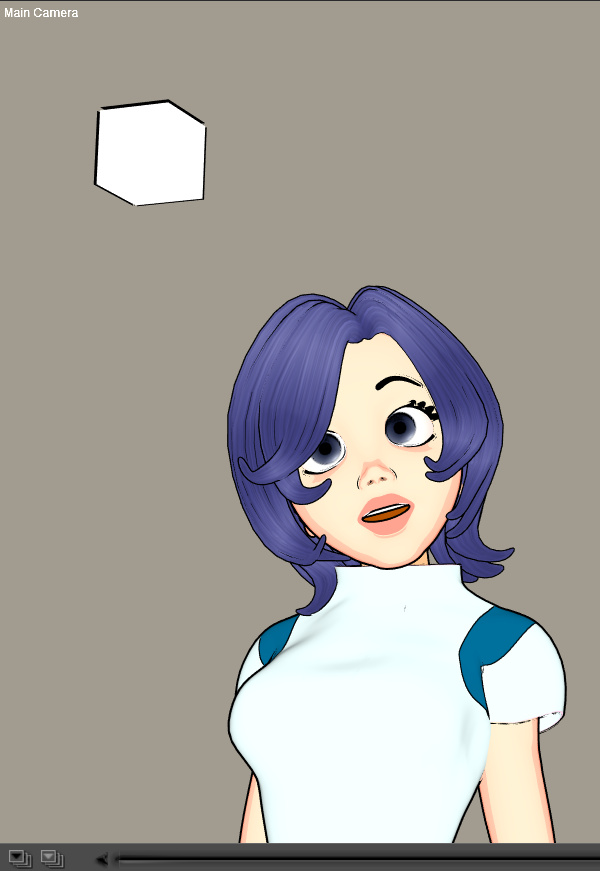
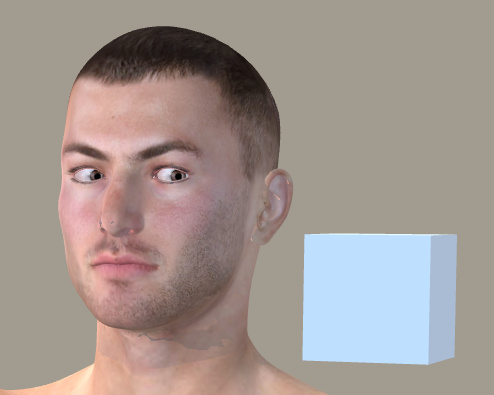
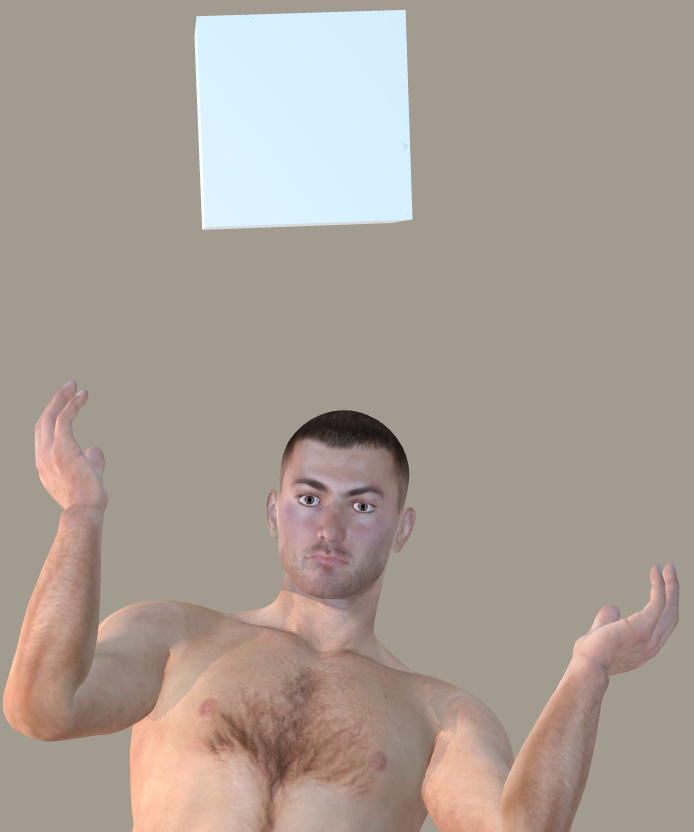
I was very pleased with eyetarget.py which works fine on M4. Select the M4 head, then the script loads a simple cube about three feet in front of the character’s eyes. Move the cube, both the eyes follow to “look” at it. Meaning, no need to fiddle about with posing the eyes. So far as I’m aware this is the only working ‘Look at…’ Python script, either commercial or free. It also worked on Aiko 3, more or less…
The cube is automatically invisible in both SuperFly and Firefly renders, without turning it off. It can be turned off for Preview (Properties panel | Visible | off), and gaze direction remains. Delete the cube and the eyes return to default. Eye positions created with the cube can’t be saved as presets to Expressions.
It can also be turned off with a few additional lines of Python code…
scene.SelectActor(scene.Actor("Figure EyeTarget"))

actor = scene.ActorByInternalName("box_1")

actor.SetVisible(0)
I guess it’s just a very quick way to do the fiddly manual setup of a ‘Look at…’ for the eyes. But to me this feature is worth the $6 on its own, though regrettably it doesn’t work at all with standalone characters like Doctor Pitterbill (even though the script suggests it should grab onto any head part labelled “eye”). For Pitterbill, and presumably for other Nursoda characters, you have to manually set up the “point at” for each eye, and then the cube works well. This is done by loading the script and then selecting an eye and from the top menu bar going: Object | Point at. Then you do the same for the other eye.
Any character with huge toon eyes doesn’t cope well with being pulled about by a box, though as you can see above I did have success with Aiko 3. All Poser characters should come with a script for posing the eyes that works like this, and there should be a drop-down menu to tailor the offsets for each character’s eye-size.
The well-commented script can be edited in Notepad++ and presumably the cube’s two basic movement parameters can be fiddled with to get a slightly better fit for a non V4/M4 character…
But I suspect the script would have to be hacked to load two cubes, one for each eye. That would also allow adjustments for big-eyed toon figures, though would still not be as useful as the sort of dedicated eye-plate that comes with the likes of Toonboy Sam.
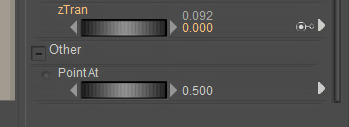
For a less abrupt eye movement, after apply the script you can also click on each eye, and scroll down to the bottom of its Parameter dials list. There you will see a new “Point at” dial. By default, this is at 1.0. Set it to 0.5 for subtler movement.
Random Pose.py
This is much more dramatic and wild than the random face. If you want someone falling wildly from a window, this is going to give you a quick pose. You can also run Symmetry.py which mirrors the pose from one side of the body to the other and thus gives the random pose a bit more balance. Could also be used in combination with a reset pose to default script and a partial selection of body parts, to tone it down.
invisible cube.py
This loads the invisible cube again, but this time it’s not connected with the eyes. You can parent it the character’s head, and then pick them up and move them around the scene more easily than otherwise. Again, the cube doesn’t render. Useful, if you get frustrated at grabbing a character to move them and find you’ve only grabbed the hair. Again, you could do this manually, but if you have a big battle scene with lots of background characters it’s the sort of thing that will save time.
material copy.py
Fairly self explanatory, and although basic it usually appears to work fine (though can also be a bit temperamental in some circumstances). Place a material onto some small part of the prop or body, copy it to multiple other surfaces.
material amb red.py
If you have a grey cast to your character’s skin, perhaps because of the light they’re in, this boosts the warmth of the skin tone by reddening it.
material toon.py
Again, it worked as described in Poser 11. It changes the selected materials to use a toon shader with edge shadow effects. It appears to load for each character or prop in a scene, so if you find your Poser scene unresponsive after application, it’s probably because there’s another instance of the material toon.py panel waiting for your input down in your taskbar.
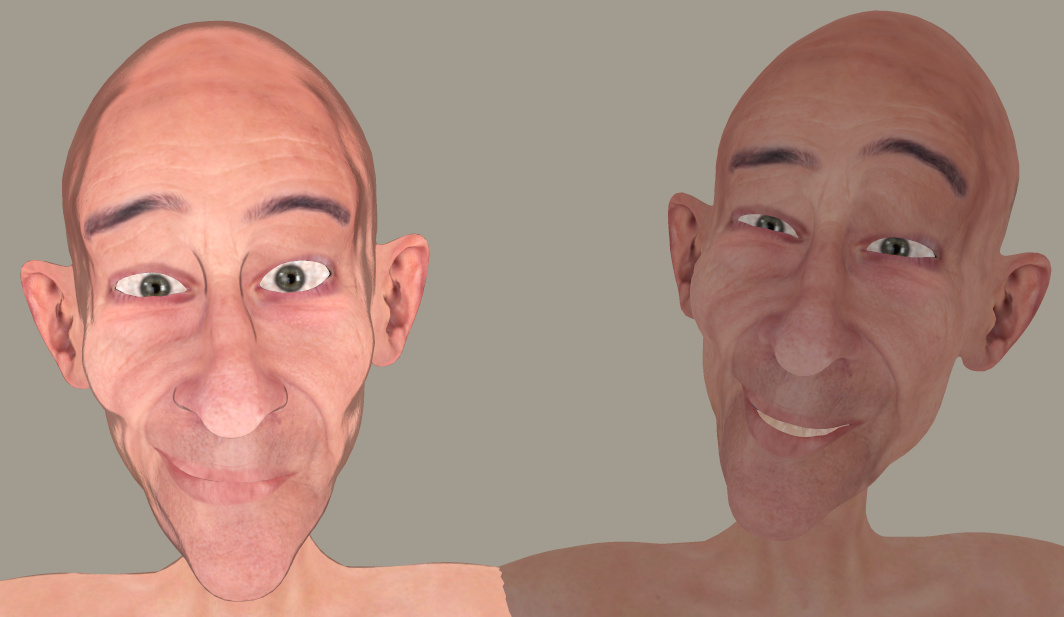
Here’s Pitterbill with a simple toon shader applied to all surfaces, ultra-flat lighting (left-hand render). It’s just a basic blended / ramped toon effect, but a quick way to get it over the existing materials.
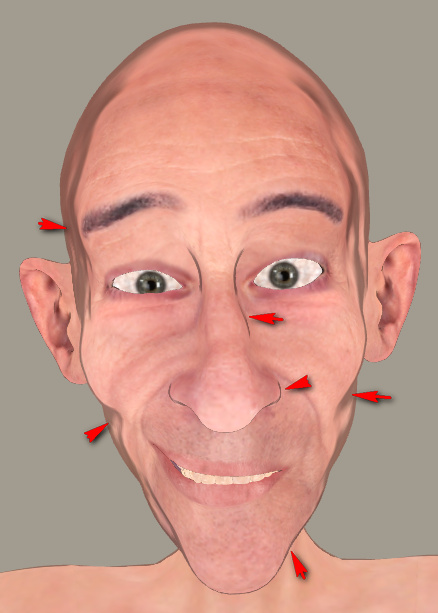
Adding the basic Comic Book mode with flat lighting shows how far the toon shader is helping, even though the 3d photo textures are still making it look far from hand-drawn/painted. He’s picking up useful nose ridge lines and nostril lines from the toon shader only. And the Comic Book mode is then inking them.
If the Toon shader is temporarily disconnected, and the Comic Book mode is applied, it shows it was the toon shader producing the nice nose-ridge and nostril lines.
Those were the pack’s scripts that interested me, but there are more. Worth $7 for the quick setup of the two types of invisible boxes, and the material toon.py looks interesting for quick tooning in combination with the Comic Book preview mode.





Pingback: Renderosity sale: all Clearance items at $3.50 each – MyClone Poser and Daz Studio blog